
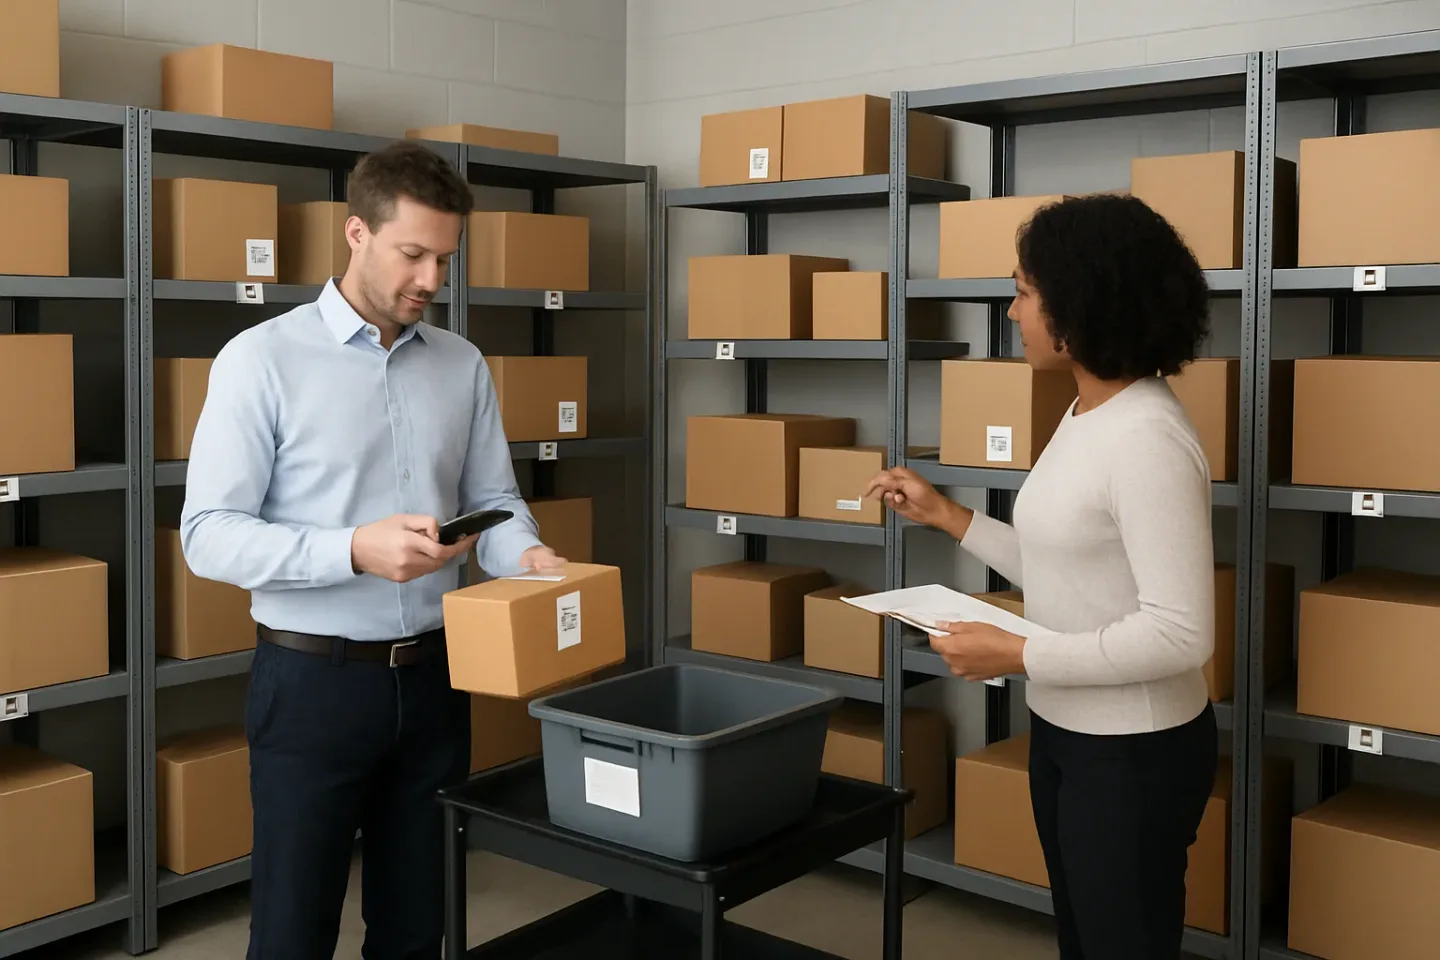
Treat the Mailroom Like a Mini-Warehouse: Weekly Package Room Reconciliation That Finds “Shadow Inventory”
Most “missing package” incidents in multifamily buildings are not theft and not a mystery. They are a visibility problem: the package is physically in the room but not “real” in your system, or it’s “real” in the system but not actually on the shelf. That gap is what warehouse teams call shadow inventory—and mailrooms create it easily through normal, rushed handoffs.
The good news is you do not need daily perfection to reduce resident complaints. What you need is a lightweight, repeatable package room reconciliation that closes the gap before residents do their own searching (or before your team burns time on ad-hoc investigations).
This article lays out a practical, 20-minute weekly mailroom audit routine that works like a mini cycle count: you count one set of shelves by zone, tag exceptions instead of “solving” them on the spot, and do a short follow-up to correct the records and re-shelve items. Done consistently, this package tracking reconciliation surfaces mis-shelved deliveries, unscanned drop-offs, and label issues without adding daily workload—while strengthening missing package prevention through simple accountability and a predictable rhythm.
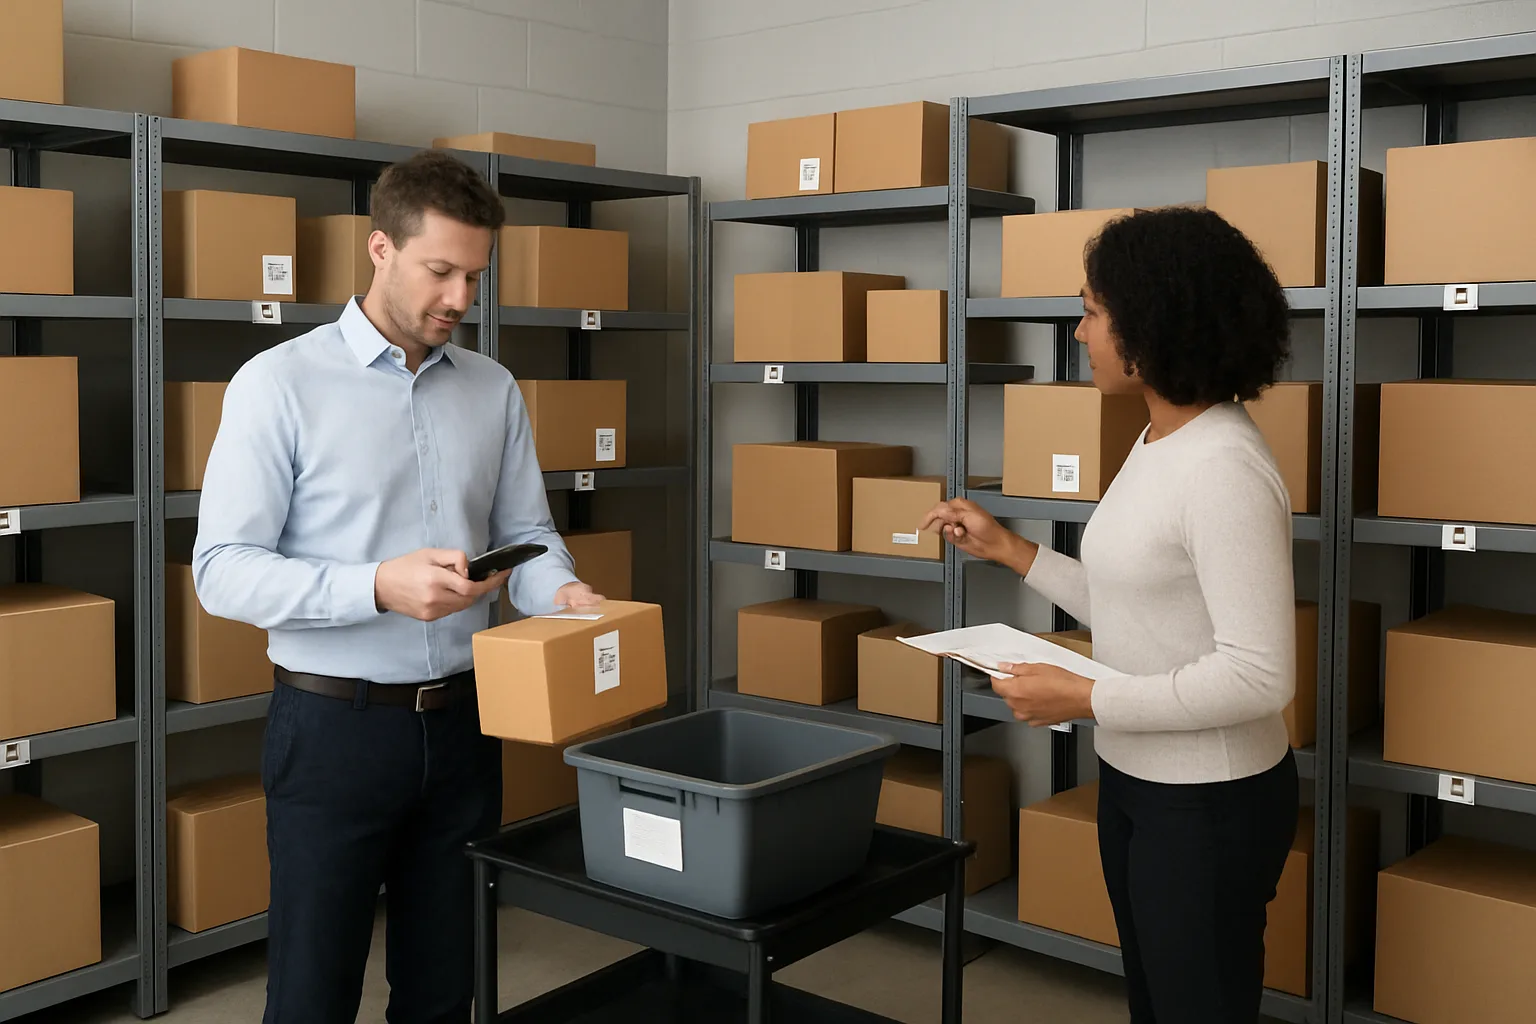
What “Shadow Inventory” Looks Like in a Package Room (and Why It Creates “Missing” Packages)
A package room functions like a mini-warehouse: items arrive, get identified, get put in a location, and later get picked up. When any of those steps happens “in the real world” but not in the tracking record (or vice versa), you get what warehouse teams call shadow inventory. In a mailroom, shadow inventory is the gap between what’s physically on shelves and what your system believes is on shelves—one of the most common roots of missing package incidents.
The key to fixing it is recognizing that shadow inventory usually isn’t theft or negligence. It’s normal operational drift: busy rushes, handoffs between people, crowded shelves, label wear, and well-intentioned “I’ll scan it in a minute” staging. The goal of package room reconciliation isn’t to blame staff—it’s to regularly pull the physical room and the digital record back into alignment before residents feel the impact.
- Shadow inventory defined: it’s anything that exists in the package room but not in the system (unrecorded reality), and anything in the system that doesn’t exist on the shelves (recorded fiction).
- How it forms: it comes from small, repeatable breakdowns—unscanned drop-offs, mis-shelving, label damage, split handoffs, and “temporary” staging piles that become semi-permanent.
- Resident-facing symptoms: residents experience the gap as either “delivered but you don’t have it” or “you have it but can’t find it,” depending on which side of the mismatch occurred.
- Why weekly beats perfect daily: daily perfection competes with front-desk workload; a short, consistent weekly mailroom audit routine catches drift while it’s still small and searchable.
Shadow inventory defined: physical packages that aren’t “real” in the system (and the reverse)
In the mailroom context, shadow inventory shows up in two directions:
1) Physical-but-not-digital: a package is sitting somewhere in the room, but there’s no corresponding “received” record (or it’s recorded under the wrong resident/unit). It’s real to your staff’s eyes, but invisible to your workflow.
2) Digital-but-not-physical: the system shows an item as “in the package room,” but it’s not actually on any shelf. It might have been picked up without being closed out, moved to an overflow area, returned to carrier, or mis-shelved into a different zone and effectively “lost in plain sight.” This is where package tracking reconciliation becomes essential: the longer the mismatch sits, the harder it is to resolve with confidence.
How it forms: unscanned drop-offs, mis-shelving, label damage, split handoffs, and “temporary” staging piles
Shadow inventory is usually created in seconds during high-traffic moments. A few common formation patterns to look for (without assuming bad intent):
Unscanned drop-offs: a carrier leaves items at the desk or just inside the package room door during a rush. Someone moves them out of the way to keep the lobby clear, intending to scan later. Later doesn’t happen—or it happens partially (some scanned, some not).
Mis-shelving by “good enough” logic: a package gets shelved in the nearest open spot, the wrong alphabetical section, the wrong tower/wing zone, or the oversize area “temporarily.” The system location (if one is captured) no longer matches where a person would search first, which makes the package feel missing even when it’s present. This is a classic missing package prevention failure: the package isn’t missing, the path to it is broken in a predictable way.
Label/QR damage: rain, condensation, torn plastic mailers, or a smudged thermal label can make the identifying barcode/QR unreadable. Staff then rely on handwritten notes, partial names, or unit guesses. Later, when a resident asks, the system can’t confidently connect the physical item to a record, and the item becomes “unknown” inventory.
Split handoffs: one person receives packages, another scans, a third shelves. Or a concierge accepts an item, a porter moves it, and a supervisor later tries to reconcile. Each handoff is an opportunity for the package to change state (moved, stacked, re-sorted) without the record following it.
Temporary staging piles: any flat surface becomes a staging area—carts, the floor by the door, “to be scanned” bins, overflow corners. The longer items live outside the standard shelving logic, the more likely they are to be forgotten, double-scanned, or shelved inconsistently. “Temporary” areas are the mailroom equivalent of a warehouse’s untracked overflow: they create shadow inventory fast.
Resident-facing symptoms: “It says delivered but you don’t have it” vs. “You have it but can’t find it”
Residents typically report missing packages in two phrases, and each points to a different side of shadow inventory:
It says delivered but you don’t have it: Often the package is physically present but not registered, registered to the wrong recipient/unit, or placed into a nonstandard staging area. The delivery confirmation creates pressure, but the mailroom’s internal record can’t locate or prove receipt.
You have it but can’t find it: Often the system shows it as received, but it’s mis-shelved, moved to oversize overflow, mixed into another zone, or sitting in an exception pile without a clear next step. In practice, this is less about “lost packages” and more about “lost retrieval paths.”
Both scenarios erode trust. The resident doesn’t care whether it’s a scanning gap or a shelving gap—they care that the building can’t produce their item on demand. That’s why package room reconciliation should be framed as a service reliability habit, not an audit designed to catch people doing something wrong.
Why daily perfection is unrealistic—and why weekly reconciliation works
A tight daily inventory check is hard to sustain in a real lobby environment. The same people who receive and release packages also manage visitors, calls, keys, access control, amenity questions, and resident issues. Even a well-trained team will prioritize the live line in front of them over perfect record hygiene every time.
A weekly package room reconciliation routine works because it acknowledges operational reality: drift is inevitable, but it’s also predictable. When you reconcile on a cadence, you reduce the search space while problems are still small. Mis-shelved items are still in the building, unscanned drop-offs are still near the intake area, and “temporary” piles haven’t had time to become permanent.
Think of it like a mini cycle count in a warehouse: you’re not trying to count everything every day. You’re establishing a short, repeatable check that finds shadow inventory early—before it becomes a resident escalation, a long investigation, or a dispute you can’t confidently resolve. That’s the practical aim of a mailroom audit routine: keep the physical room and the tracking record close enough that exceptions stand out immediately.
Set Up a 20-Minute Weekly Package Room Reconciliation (Cycle Count by Zone)
A good package room reconciliation does not try to be a perfect audit. It borrows a mini-warehouse habit: a short, consistent cycle count that surfaces the few mismatches that create most “missing” headaches. The goal is simple: in 20 minutes, confirm what is physically on the shelves matches what your log or package system thinks is there (and capture exceptions for follow-up).
The key is repeatability. When the routine is predictable, staff stop treating reconciliation like a special event and start treating it like taking out the trash: small, scheduled, and non-negotiable. That is how you reduce shadow inventory without adding daily workload.
- Choose your cadence and guardrails: same day/time, same duration, same definition of “done”
- Create zones that match how people search (not how the floor plan looks)
- What you need on hand: device or clipboard, zone map, a small stack of exception tags, pen, and a “re-shelve” bin
- The 20-minute flow: 2-minute prep, 15-minute count, 3-minute reset
Choose your cadence and guardrails: same day/time, same duration, same definition of “done”
Pick a time when deliveries are usually not peaking and the desk can spare one person for 20 uninterrupted minutes. For many buildings, that is late morning mid-week or early afternoon before residents start returning home. The exact slot matters less than making it the same slot every week so everyone plans around it.
Set guardrails so the mailroom audit routine stays lightweight:
– Same day/time: creates muscle memory and makes handoffs easier across shifts.
– Same duration: stop at 20 minutes even if everything is not perfect; you are building a weekly rhythm, not doing spring cleaning.
– Same definition of done: “Count the assigned zones, tag exceptions, and return the room to a workable state.” Not “solve every mystery on the spot.”
– Same owner: assign a primary role (front desk lead, mailroom supervisor, or rotating concierge) and a back-up if they are out.
– Same scope: only the zones assigned for that week (for example, 2–3 zones per session) so it stays achievable even on busy weeks.
A practical guardrail that reduces friction: schedule reconciliation right after a shift change briefing, when the desk is already doing a quick status pass (carriers expected, access issues, oversized backlog). It becomes part of operations instead of an extra chore.
Create zones that match how people search (not how the floor plan looks)
Cycle counts work when the zones reflect how packages are actually found in the moment. Do not overthink your building’s blueprint; model your zones on search behavior: “Where would someone look first when a resident says it’s delivered?”
Good zones are obvious, bounded, and stable. Examples you can adapt:
– Zone A: Main shelving bay (left side), top-to-bottom
– Zone B: Main shelving bay (right side), top-to-bottom
– Zone C: Locker bank (if applicable) or QR-labeled high-volume shelves
– Zone D: Oversize/awkward items (floor pallets, rolling rack)
– Zone E: Refrigerated/controlled access (if you handle perishables)
– Zone F: Front-desk hold / high-value cage
– Zone G: Return-to-carrier / outbound area
A few rules that keep zones usable week after week: (1) avoid zones that are too large (one person cannot count it quickly), (2) avoid zones that are too tiny (you will waste time switching), and (3) label zones with simple signage that matches the names used in your package tracking reconciliation notes (A, B, C or Left/Right/Oversize). If staff call it “the back shelf” but the map calls it “Area 3,” you will create more confusion than you remove.
What you need on hand: device or clipboard, zone map, a small stack of exception tags, pen, and a “re-shelve” bin
Treat this like a small kit that lives in the mailroom. The more you have to hunt for supplies, the less likely the routine survives a busy week. Minimum setup:
– Device or clipboard: whatever you normally use to reference the package log/system during a mailroom audit routine.
– Zone map: one-page, posted and/or clipped to the kit. It should show zone names and boundaries, not a detailed floor plan.
– Exception tags: a small stack (pre-cut paper tags or sticky notes you reserve for this purpose). These are for marking problems quickly, not for writing a novel.
– Pen/marker: attached to the kit so it does not disappear.
– “Re-shelve” bin: a tote or rolling bin for items discovered in the wrong place during counting. This prevents you from re-stacking while trying to count, which is where errors multiply.
Optional but helpful: a roll of replacement QR labels or a blank label sheet (if your process uses them), and a small clip/elastic band to keep damaged labels attached to the package until it is resolved.
The 20-minute flow: 2-minute prep, 15-minute count, 3-minute reset
Time-boxing is what makes weekly package room reconciliation sustainable. Here is a simple flow that fits real front-desk conditions:
2-minute prep
– Put the kit on a cart or carry it to the first zone.
– Decide today’s zones (pre-assigned on a weekly rotation schedule).
– Start a timer for 20 minutes.
– Agree on one rule: do not stop to investigate; tag and move on.
15-minute count (cycle count by zone)
– Work one zone at a time, moving left-to-right or top-to-bottom consistently.
– For each item you touch, do a quick shelf-to-system check: confirm it appears in your tracking/log as “in room” and is associated with the correct recipient (as your process allows).
– If anything is off (no record, wrong location, unreadable label, duplicate entry), apply an exception tag and move it to the Exception area or into the re-shelve bin as your rules specify.
– Keep going until the timer says you are done. The goal is coverage and exception capture, not perfection.
3-minute reset
– Return misplaced-but-clear items from the re-shelve bin to the correct zone (only if it is an obvious fix).
– Place all tagged items in the designated Exception Shelf/Bin for follow-up.
– Make sure the zones you touched are left in a “searchable” state (labels facing out, oversized items not blocking access).
One operational tip: rotate zones each week rather than trying to cover the entire room every time. For example, if you have six zones, reconcile two zones per week. You will touch every area monthly without turning package tracking reconciliation into a major project.
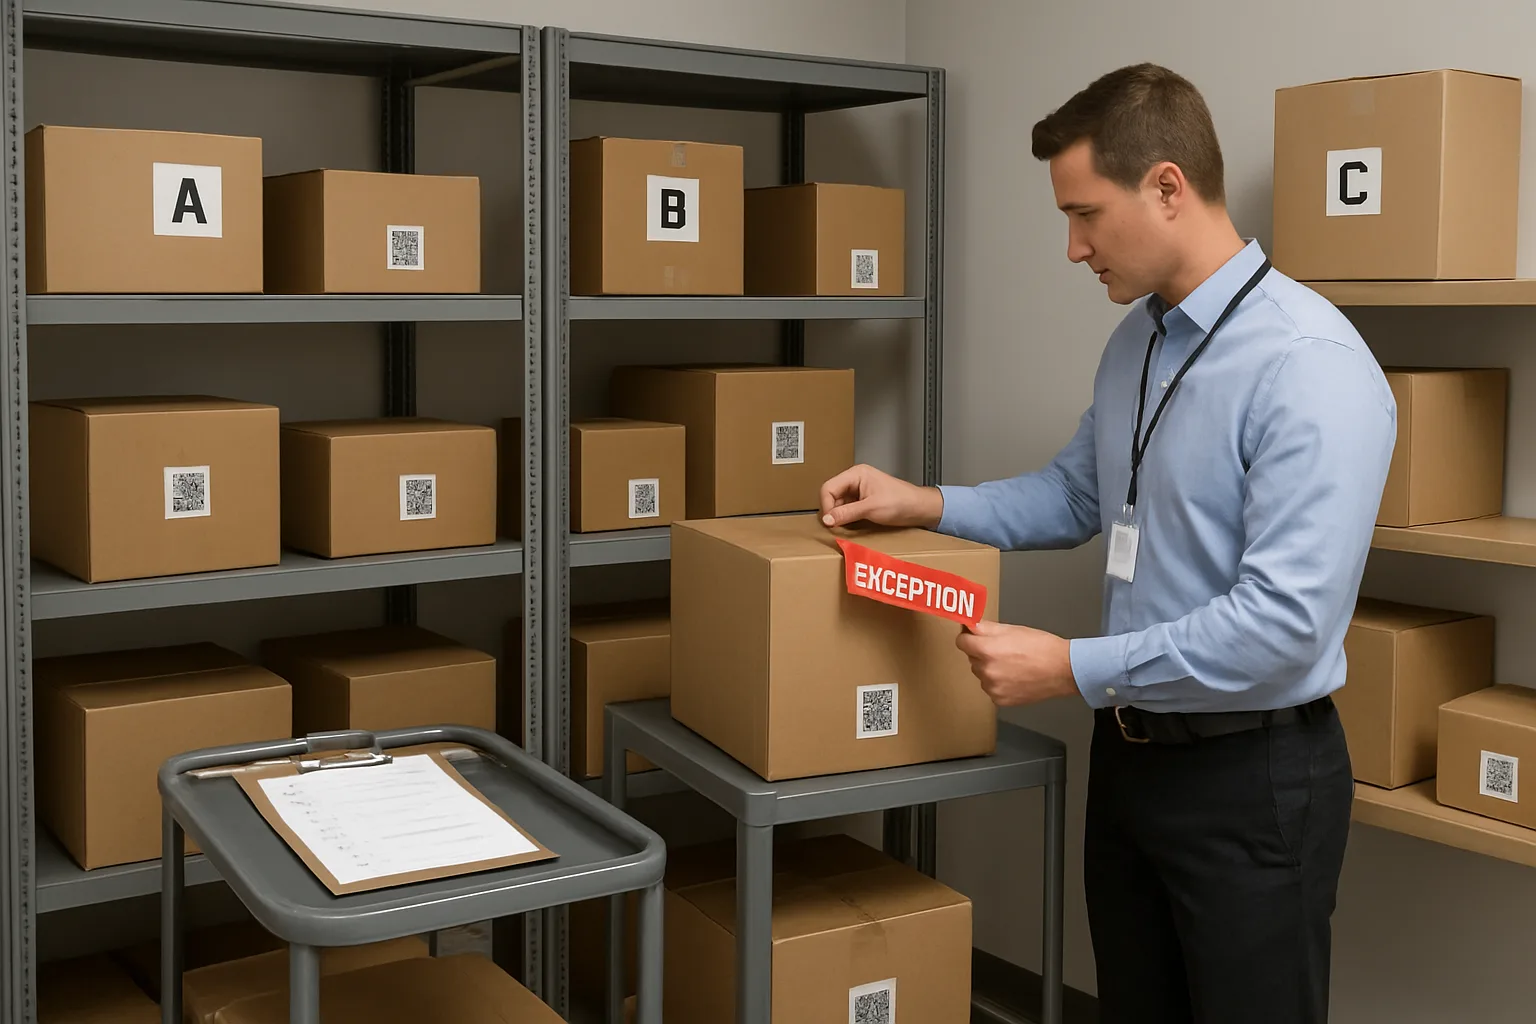
How to Run the Zone Count: A Simple Shelf-to-System + System-to-Shelf Check
A good package room reconciliation doesn’t feel like a detective story. It feels like a quick warehouse cycle count: confirm what’s physically on the shelf, then confirm what the system claims is there. The key is to keep decisions simple so you can finish within your time box and still catch the “shadow inventory” that drives missing package prevention issues.
Run the count the same way every week so results are comparable. If you’re training a new lead, have them follow the steps below exactly for two cycles before they start optimizing. Consistency beats creativity during package tracking reconciliation.
Shelf-to-system: start with what you can physically touch (fastest path to truth)
Start with the physical shelf because it’s the quickest route to reality. Pick one zone (for example: “A–D lockers,” “Oversize rack,” or “Cold storage bin”) and work left-to-right, top-to-bottom so you don’t double-count or skip.
For each package you touch, do one of three things: verify it matches the system record, create/restore a record if it doesn’t exist, or tag it as an exception if you can’t resolve it in seconds.
A practical flow that stays fast: 1) pick up the package, 2) scan the QR/label or confirm the identifier, 3) check that recipient/unit and status are correct, 4) confirm the recorded location matches the zone you’re standing in, 5) put it back in the correct spot (or into the re-shelve/exception area). This is the “shelf-to-system” half of your package room reconciliation—what’s here, and is it ‘real’ in the system?
System-to-shelf: pull a short list of “in room” items and confirm they’re actually present
After you’ve verified what you can physically see, do a quick reverse check to catch the other half of shadow inventory: records that claim a package is still in the room when it’s not on the shelf. This is where “delivered but you don’t have it” arguments start.
Keep it short and targeted so it doesn’t balloon into a full audit routine. Pull a list of items marked “in room” for the zone you just counted (or filter by location/zone if your system supports it). If you can’t filter by zone, use a time filter (for example, items logged in the last 7–10 days) and only spot-check what should reasonably still be present.
For each record you check, answer one question: can you physically point to it right now? If yes, you’re done. If no, don’t hunt the entire room—tag the record for follow-up (for example, “Not on shelf / verify pickup or mis-shelved”). This step is what turns a weekly check into real missing package prevention: you surface “ghost” records before a resident reports an issue.
How to handle unreadable or missing labels without stopping the count
Unreadable labels and damaged QR codes are common—and they’re where the count can bog down if you try to solve everything immediately. The rule is: don’t let one bad label steal five minutes from the entire zone.
Use a simple decision tree:
1) If the label is partially readable: capture the minimum identifier you can (carrier tracking number fragment, unit number, resident name) and tag it for relabeling. Move it to the Exception Shelf/Bin so it’s not re-misplaced during normal retrievals.
2) If the package has no usable identifier: treat it as “Unknown recipient” and tag it immediately. Do not guess and do not re-shelve it into a normal zone.
3) If the item is clearly for the building but the system has no matching record: tag it as “Unscanned drop-off” and set it aside for a quick rescan/relabel during closeout.
4) If it looks like a duplicate (two labels, two entries, or a re-used container): tag it as “Duplicate record” and keep it with exceptions until reconciled so staff don’t accidentally hand it out twice during the week’s rush.
The goal is to keep your mailroom audit routine moving while still capturing the problem in a way that can be resolved later without memory or blame.
Speed rules: touch once, scan once, decide once
A weekly zone count works only if it stays lightweight. These speed rules keep the reconciliation from turning into a daily workload in disguise:
Touch once: Don’t pick up the same package multiple times because you’re unsure what to do. If it’s not immediately verifiable, route it to re-shelve or exceptions and move on.
Scan once: One scan should be enough to confirm status and recipient. If the scan fails or the code is damaged, stop scanning and tag it—don’t keep retrying the same label for a minute hoping it works this time. That’s what follow-up is for, not the 20-minute window of package room reconciliation work.
Decide once: Every item ends the interaction in one of three places: back on the correct shelf in the correct zone, in the re-shelve bin (if it belongs in a different zone), or in the Exception Shelf/Bin with a tag. Avoid “temporary staging” on counters or carts; that’s how shadow inventory recreates itself between counts.
If your team follows these rules consistently, the cycle count stays fast, your package tracking reconciliation stays predictable, and the number of “missing” incidents caused by internal mismatch drops because the system and shelves stop drifting apart week after week.
Exception Tags: The Fastest Way to Surface Mis-Shelved and Unscanned Items
A package room reconciliation works best when it stays time-boxed. The moment the team starts “investigating” during the count, the routine drifts from a 20-minute cycle into an open-ended search mission—and it stops happening weekly.
Exception tags solve that. They let the person counting capture a problem in seconds, move the package into a known holding spot, and keep counting. The investigation happens later, during closeout, not in the middle of the mailroom audit routine.
Think of exception tags as a bridge between the physical shelf and your package tracking reconciliation: they mark “this item exists, but it doesn’t match what the system expects (yet).”
- Use exception tags for speed: identify, tag, move to the Exception Shelf/Bin, and continue the count.
- Keep the tag format minimal so staff actually completes it under time pressure.
- Treat exceptions as work items (trackable and fixable), not as “mistakes” (emotional and vague).
What an exception tag is (and what it is not)
An exception tag is a temporary identifier you attach to a package when something about it prevents a clean match between the shelf and the system. It flags the item for follow-up without requiring immediate research.
It is not a replacement label and not a permanent “unknown package” sticker. The goal is to keep your package room reconciliation moving while preserving enough information to resolve the issue later.
In practice, exception tagging is how you quickly surface shadow inventory: mis-shelved items, unscanned drop-offs, or packages with damaged labels that would otherwise become “missing package prevention” incidents days later.
A minimal tag format staff will actually use: date, zone, issue code, initials
If the tag takes more than a few seconds to fill out, it won’t be used consistently. The winning format is short, consistent, and readable from arm’s length on a shelf.
Use a small stack of pre-cut paper tags (or a notepad of peel-off labels if you have them) and write only four fields:
Date: When it was found (not when it was delivered). Zone: Where it was found during the count. Issue code: A short code from your standard list. Initials: Who tagged it (for quick follow-up questions). The package itself already carries most other details; the tag just tells you how it went “out of sync.”
Recommended issue codes: Unscanned drop-off, Wrong zone, No label/QR damaged, Duplicate record, Oversize overflow, Unknown recipient
Use a small, fixed set of issue codes so your team doesn’t invent new wording every week. Consistent codes are what turn the mailroom audit routine into repeatable operations.
Recommended codes (keep them printed on the zone map or taped inside a cabinet door):
Unscanned drop-off: The carrier-delivered package is physically present but there’s no corresponding record because it never got scanned/entered. Common when drivers leave items at the desk, in a lobby corner, or in an overflow area during rush periods. Wrong zone: The package has a valid label/QR, but it’s sitting in the wrong shelf/area relative to how residents (and staff) search. No label/QR damaged: The shipping label is torn, smudged, or covered; the QR label is missing/damaged; or the identifier can’t be read quickly enough to verify. Duplicate record: Two system entries appear to represent the same physical package, or an old record never got closed out and is still showing “in room.” Oversize overflow: Large items that ended up in a hallway, back room, or floor staging area because the intended oversize spot was full or undefined. Unknown recipient: The package appears to belong to no current resident (name mismatch), no unit is visible, or it’s clearly intended for a different address but landed in your room.
Where tagged items live: one clearly marked “Exception Shelf/Bin” for follow-up
Exception tags only work if every tagged item goes to the same place, every time. Otherwise, you’ve just created a new shadow inventory pile.
Set aside one clearly marked location: a single shelf, bin, or rolling cart labeled “Exceptions.” It should be easy for the front desk or mailroom lead to access without hunting, and it should never be used for regular storage.
Rule of thumb: if a package gets an exception tag, it leaves its current spot immediately and goes to the Exception Shelf/Bin. That physical move is what makes follow-up reliable—everyone knows where to look first when resolving discrepancies from the package room reconciliation.
How exceptions reduce blame and increase accountability: problems become trackable work items
Exception tagging shifts the conversation from “Who messed up?” to “What category of mismatch is happening, and how do we close it fast?” That’s crucial for consistency—people will keep doing the routine when it feels like maintenance, not a gotcha.
Because each exception has a date, zone, and issue code, you can review patterns without debating anecdotes. If “Unscanned drop-off” keeps spiking, that points to a handoff/scan-point problem. If “Wrong zone” dominates, your zone design or signage may not match how staff actually shelves items.
Most importantly, exceptions turn vague missing-package complaints into a short, actionable list. Instead of re-searching the entire room, the team can start at the Exception Shelf/Bin and resolve the items that are most likely to trigger resident tickets. That’s how a lightweight package tracking reconciliation reduces “missing” incidents without adding daily workload.

Weekly Closeout: 10-Minute Follow-Up That Prevents Recurrence (Without Adding Daily Work)
The weekly zone count surfaces the truth fast. The closeout is where you turn that truth into fewer resident escalations. Keep it time-boxed: 10 minutes right after the reconciliation (or the next quiet window), focused on resolving the highest-risk exceptions and capturing just enough context to stop repeats. This is the key to consistent package room reconciliation without adding daily overhead.
Think of the closeout as two moves: (1) clear resident-impact issues now, (2) convert patterns into tiny operational upgrades. You are not doing detective work; you are restoring system-to-shelf alignment and leaving the room easier to run next week.
- Triage order: handle the exceptions that can turn into “missing” complaints first
- Fix paths: choose a quick, standard resolution for each tag type (no custom workflows)
- Root-cause notes: one sentence per exception, written in plain language
- Micro-upgrades: small changes that prevent the same exception next week
- Track only what matters: weekly exception count by issue code to measure missing package prevention
Triage order: resident-impact first (time-sensitive, high-value, access-controlled)
Start closeout by sorting exception-tagged items into a simple priority stack. The goal is to reduce the chance of a resident arriving before you have the item properly recorded and findable.
A practical triage order for most buildings:
1) Time-sensitive: perishables, medication, same-day delivery, anything with obvious temperature risk or “deliver by” cues. Even if your building policy limits what you accept, you want these resolved (or properly refused/returned) fast so they do not sit in shadow inventory.
2) High-value signals: signature-required packaging, branded electronics boxes, luxury retail packaging, or items pulled from a locked cage/closet. These are the ones residents escalate quickly.
3) Access-controlled inventory: anything that was found outside its normal security posture (for example, a cage item discovered on an open shelf, or an oversize delivery left in a hallway). Move first, reconcile second.
4) Everything else: wrong zone, duplicate record, no label/QR damaged, unknown recipient. These are important, but less likely to create an immediate incident.
Fix paths: rescan and relabel, correct location, merge duplicates, return-to-carrier workflow, notify recipient when appropriate
Closeout works when each exception code has a default “fix path” that any trained lead can execute quickly. If people have to decide from scratch every time, the follow-up will drag and the shadow inventory will rebuild.
Use these fix paths as your standard menu:
Rescan and relabel (Unscanned drop-off, No label/QR damaged):
– Confirm recipient and unit from the carrier label or packing slip.
– Create or update the record in your package system.
– Print or write a fresh QR/ID label if you use them, and place it where it will not tear (flat surface, not across seams).
– Send the normal notification if your process includes it.
– Re-shelve into the correct zone and mark the exception resolved.
Correct location (Wrong zone, Oversize overflow):
– Do not “fix” the system if the record is already correct; fix the shelf first.
– Move the item to the right zone immediately.
– If the system stores a location, update it only after the item is physically in place.
– For oversize, move to the designated oversize area and apply the oversize rule (see micro-upgrades below).
Merge duplicates (Duplicate record):
– Keep the record with the cleanest recipient/unit and the best tracking reference.
– Close or void the duplicate entry using your system’s normal method.
– Confirm the remaining record points to the item’s actual zone.
Return-to-carrier workflow (Unknown recipient, refused deliveries, damage, or policy exclusions):
– Do not let “unknown” packages live indefinitely on an exception shelf.
– Apply a consistent hold window (whatever your building policy allows) and a clear “return by” date on the tag.
– Stage returns in one marked spot so they do not get re-counted as active inventory.
– Record the action so a future inquiry has a simple answer: received, held, returned.
Notify recipient when appropriate:
– If you can confidently identify the resident, a quick notification prevents the “delivered but missing” cycle.
– If the label is ambiguous (similar names/units), do not guess. Resolve the identity first to avoid mis-delivery.
One realistic closeout example:
– You find a small box on the “A–F” shelf with no QR label and no record.
– Fix path: rescan and relabel. You create the entry, label it, and re-shelve it.
– Result: it stops being shadow inventory and becomes a normal pickup—before the resident shows up with a carrier proof-of-delivery screenshot.
Root-cause notes that matter (keep it to one sentence): “Why did this happen?”
Root-cause notes are not performance reviews. They are tiny operational breadcrumbs that help you adjust the process without adding management overhead. Keep it to one sentence per exception, written on the tag or in a simple log.
Use a consistent sentence starter:
– “Likely caused by …”
Examples that are specific enough to be useful:
– “Likely caused by driver left items on counter during rush; not scanned at drop-off point.”
– “Likely caused by oversize had no defined overflow spot; staged in hallway.”
– “Likely caused by label placed on seam; tore when resident name was checked.”
– “Likely caused by handoff between shifts; item moved to wrong zone during cleanup.”
Avoid notes that do not change behavior:
– “Staff error.”
– “Busy day.”
In package tracking reconciliation, the best root-cause note tells you which step needs a guardrail (where scanning happens, where items stage, how zones are labeled), not who to blame.
Tiny process upgrades: a designated drop-off scan point, zone signage, oversize rule, end-of-shift sweep checklist
Most recurring shadow inventory comes from unclear “where” rules: where carriers drop, where staff scan, where oversize goes, where exceptions live. You can eliminate a surprising amount of friction with small upgrades that take minutes to implement and seconds to follow.
High-impact micro-upgrades that support a reliable mailroom audit routine:
Designated drop-off scan point:
– Create a single, obvious spot where all deliveries are scanned or logged before they touch any shelf.
– Make it physically easy: clear surface, working label printer/markers, spare exception tags.
– If you cannot control carrier behavior, control your intake behavior: anything found outside this point is treated as “unscanned drop-off” until verified.
Zone signage that matches how people search:
– Use large, simple labels (A–F, G–L, M–R, S–Z; or Locker 1–3; Oversize; Cold/Perishable if allowed).
– Add a one-line rule at eye level: “Shelve by last name” or “Shelve by unit range,” whichever you use.
Oversize rule:
– Decide one rule and stick to it: for example, “Oversize never goes on standard shelves,” or “Oversize must be tagged and placed in the marked oversize area immediately.”
– Include what happens when oversize is full: a clearly marked overflow spot that is still part of the mailroom map.
End-of-shift sweep checklist (2 minutes, not a new daily audit):
– This is not a reconciliation; it is a reset to prevent staging piles.
– Checklist items should be binary:
– “No packages on counter/floor.”
– “Exception shelf only contains tagged items.”
– “Returns staged in return area.”
– “Oversize area is labeled and not blocking access.”
These small rules reduce the volume of exceptions your weekly package room reconciliation has to clean up, without requiring perfect scanning every minute of every day.
How to track improvement: weekly exception count by code (no vanity metrics)
To prove the routine is working, track only the numbers that change behavior. You do not need complex dashboards or resident complaint counts (those lag and can be noisy). Track what your reconciliation actually produces: exceptions by code, week over week.
A simple weekly log is enough (paper or shared spreadsheet):
– Week of (date)
– Total exceptions found
– Count by code (Unscanned drop-off, Wrong zone, No label/QR damaged, Duplicate record, Oversize overflow, Unknown recipient)
– One note: “Top repeat cause this week”
How to use it:
– If “Wrong zone” stays high, your zone labels or shelving logic is unclear.
– If “Unscanned drop-off” spikes, your intake scan point is being bypassed (often during peak delivery windows).
– If “No label/QR damaged” repeats, change label placement and keep spare labels at the scan point.
– If “Unknown recipient” accumulates, tighten the return-by date and standardize how you record incomplete labels.
This is missing package prevention you can manage: fewer exceptions means less shadow inventory, which means fewer moments where a package exists but cannot be located (or is “in the system” but not actually on the shelf).
Frequently Asked Questions
How do I keep a weekly reconciliation from turning into a blame session?
Treat it like a warehouse cycle count, not a performance review. Use neutral language (“exception,” “mismatch,” “needs relabel”) and require that every problem becomes a tagged work item—not a story. Two rules help: (1) no investigating during the 20-minute window; only tag and move to the Exception Shelf/Bin, and (2) focus on fixes that change the system or the shelf (rescan, relabel, correct zone, merge duplicates). When someone asks “who did this,” redirect to “what allowed this” (unclear zones, no scan point, damaged labels, overflow rules).
What should we do if carriers leave packages outside the room or after hours so nothing gets scanned?
Create a single, unmistakable intake point that is easy for staff to clear quickly. Examples: a bright “Drop Here for Scan” mat or bin inside the package room door, plus a sign that says “All deliveries must be placed in this bin.” If your building has after-hours access constraints, add an “After-Hours Intake” shelf inside the secured area that the opening shift scans first. During reconciliation, any item found on shelves with no system record gets an exception tag with the code “Unscanned drop-off” and goes to the Exception Shelf/Bin for immediate rescan/relabel.
How do we handle packages with unreadable labels or no recipient name without stalling the count?
Don’t stop the count to research. Tag it and move it. Use an issue code like “No label/QR damaged” or “Unknown recipient,” write the date/zone/initials, and place it on the Exception Shelf/Bin. In the follow-up, resolve it with a quick decision tree: (1) check the carrier label for unit/last name fragments, (2) look up recent deliveries in the system by carrier and time window, (3) if still unknown, apply a temporary internal label (e.g., “Unknown-1”) and hold per your building policy, and (4) if required, start your return-to-carrier workflow rather than letting it drift on a random shelf.
We’re too busy—what’s the minimum version of package room reconciliation that still works?
Do a rotating zone count: one zone per week, same day/time, hard stop at 20 minutes. Keep zones sized so a person can touch every package in that zone within 15 minutes. Use exception tags aggressively so you don’t get bogged down. Even a partial routine works if it’s consistent: the goal is to regularly surface shadow inventory (mis-shelved items, unscanned drop-offs, duplicates) before residents report “missing” packages.
How do we reconcile when storage is split across multiple areas (locker bank, oversize closet, back office, refrigerated items)?
Make those areas explicit zones with clear names that match how staff search: “Lockers,” “Oversize Closet,” “Back Office Hold,” “Cold Storage,” etc. During the weekly cycle count, include at least one “high-risk” zone every time (often oversize overflow and back office hold). Use a dedicated issue code like “Oversize overflow” so overflow doesn’t become invisible shadow inventory. If an item must temporarily live outside its normal zone, it gets an exception tag and goes to the Exception Shelf/Bin unless there is a formal, labeled overflow shelf that is also treated as a zone.
What’s a simple way to tell if reconciliation is actually preventing missing-package incidents?
Track one operational signal: weekly exception count by issue code (e.g., Unscanned drop-off, Wrong zone, No label/QR damaged, Duplicate record). You’re looking for patterns, not perfect numbers. If “Wrong zone” stays high, improve zone signage and retrain on shelving rules. If “Unscanned drop-off” spikes, tighten the intake point and opening/closing sweeps. The reconciliation is working when exceptions shift from resident-reported “missing” to staff-caught “tagged and fixed” before pickup time.
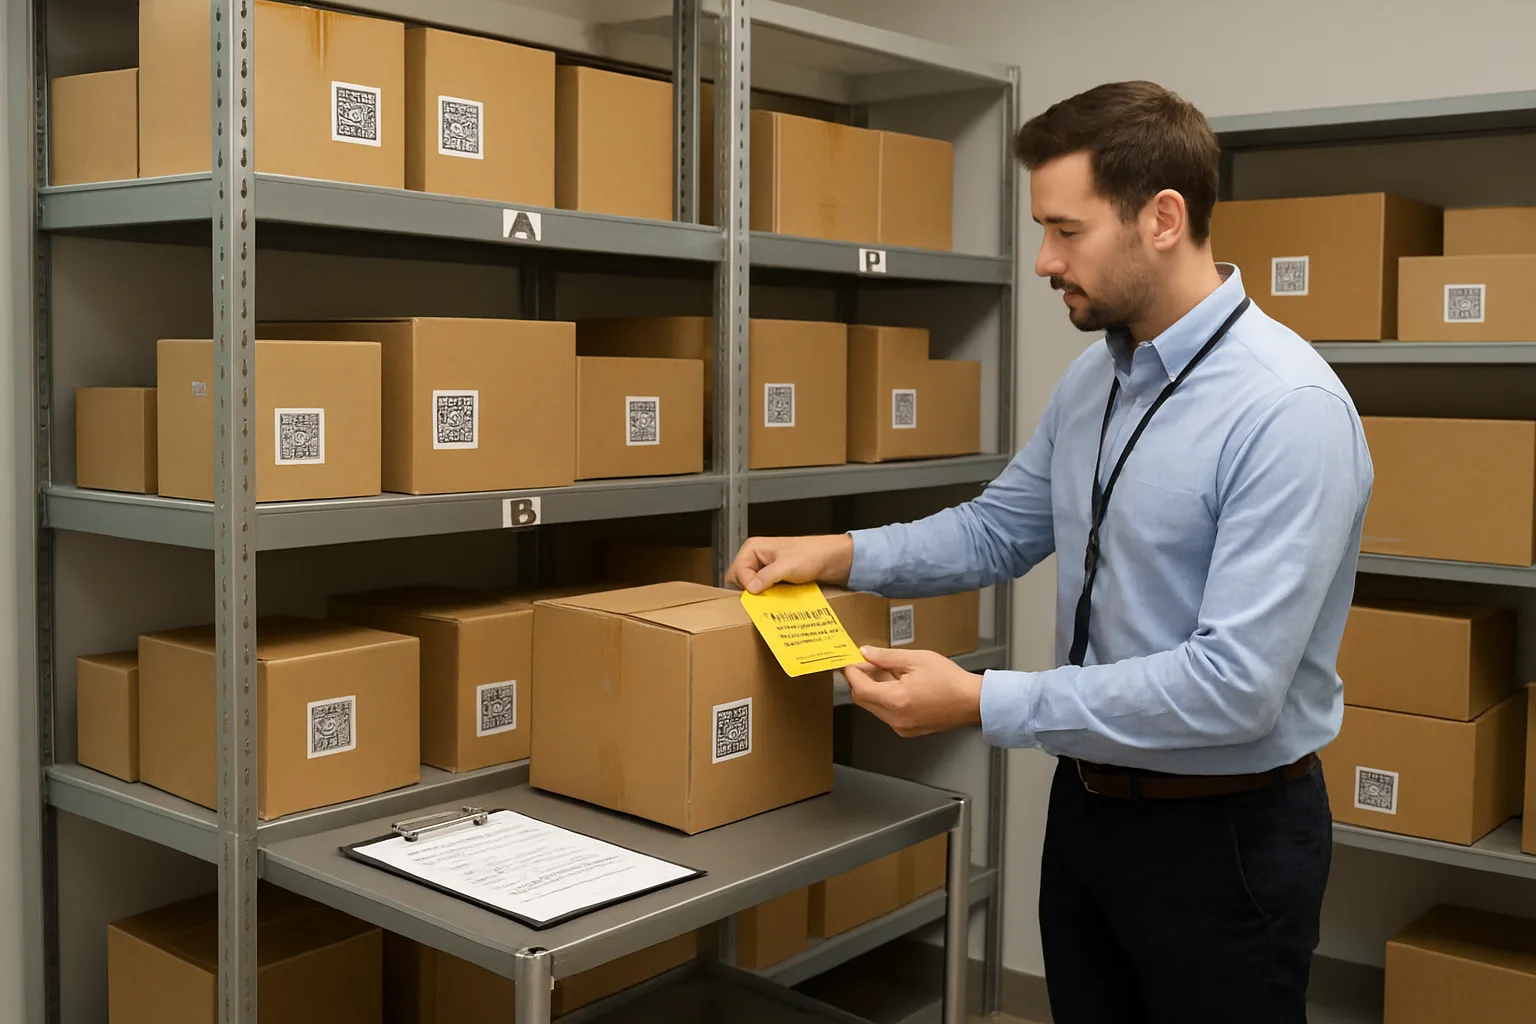
CTA
Want a simple one-page checklist for a weekly package room reconciliation (zones, timing, exception codes, and closeout steps) that your front desk or mailroom team can run consistently?
Get the Weekly Reconciliation Checklist
Consistency Beats Intensity: Make Shadow Inventory Hard to Hide
A package room does not stay accurate by accident. It stays accurate because you give it a short, recurring moment where the physical shelves and the digital records are forced to agree. A weekly package room reconciliation—time-boxed, zone-based, and paired with simple exception tags—finds the “delivered but not found” items, the “found but not logged” items, and the slow drift that turns normal operations into resident-facing problems.
Keep the commitment small and non-negotiable: same day, same time, 20 minutes to cycle count by zone, and one clearly marked place for exceptions. Then use a short closeout to correct what matters most and capture the pattern behind repeat issues. When the mailroom runs like a mini-warehouse, missing-package incidents stop being dramatic events and become routine, trackable fixes.
Pick your day and time, print or prep a stack of exception tags, assign zones, and run your first reconciliation this week—before the next “it says delivered” conversation happens at your front desk.