
When a Resident ‘Pre-Claims’ a Missing Package, Start With a 10-Minute Interview—Not a Search Party
The moment a resident says, “My tracking shows delivered, but I don’t have it,” you’re in the pre-claim window: emotions are high, details are still recoverable, and a small misread (wrong unit format, name variant, scan timing, delivery photo confusion) can spiral into days of back-and-forth. This is where a consistent resident claims missing package process pays off—because your first job is not to prove fault. Your first job is to capture the right facts while they are fresh.
A structured 10-minute intake interview acts as a WISMO workflow gate. It separates four very different realities that all sound like “missing”: carrier tracking discrepancies, address errors, resident confusion, and true loss. Instead of ping-ponging between the resident, the carrier, and your own team, you collect proof once, ask the right package claim intake questions in the right order, and route the issue to the correct next step the same day.
This article gives you a tight script and a one-page form designed for front desk and concierge teams. The goal is dispute prevention through clean proof collection and clean handoffs: you leave the conversation with timestamps, delivery location details (door/locker/package room), photo context, unit/name variants, and a clear owner and due time for next actions—before the resident repeats the story to three different people and before your team repeats the same questions three different ways.
H2: The ‘Pre-Claim’ Moment: Why You Interview Before You Investigate
A resident ‘pre-claim’ happens in the first minutes after they believe a package is missing—before anyone has confirmed what actually occurred. This is the moment they walk up to the desk (or call) with a screenshot that says Delivered, a vague “it’s not here,” or a time-sensitive need (“it was medication,” “it’s a gift,” “it’s expensive”). Emotions spike because the resident is already picturing the worst outcome (loss or theft) and expecting an immediate fix.
paragraphs
Operationally, you want to treat this as a controlled intake step in your resident claims missing package process—not an investigation and not an argument. The goal is to capture the right facts while they’re available (tracking details, delivery photo, name/unit variants, where they checked, who has access) so you don’t spend the next three days asking the same follow-up questions across email, phone, and management escalations.
Here’s a clean way to define the stages so everyone is aligned:
Complaint: “I can’t find my package.” It’s an expression of frustration and urgency; facts may be incomplete or incorrect.
Pre-claim: You run a short, structured intake interview to confirm identifiers and classify the issue (scan discrepancy, address error, confusion, or likely true loss). This is the gate that prevents unnecessary WISMO workflow churn and dispute prevention issues later (e.g., “you lost it” vs. “the carrier never delivered it”).
- Formal claim: A documented request to a carrier or shipper to investigate and potentially reimburse/replace. This requires specific proof and often must be initiated by the shipper (depending on carrier and service level). Your intake should produce the artifacts needed for that step—without promising outcomes.
What goes wrong without an intake script (common escalation loops)
When staff start investigating before they’ve captured a complete, consistent story, you typically get the same three escalation loops:
Loop 1: Partial tracking leads to wrong search. Resident shows a delivered status, staff searches the package room by recipient name, but the label used a nickname, an old unit format (e.g., “#508” vs “Unit 508”), or a different last name. Everyone wastes time, and the resident feels dismissed.
Loop 2: The ‘carrier said delivered’ stalemate. Staff tells the resident to “contact the carrier,” resident comes back saying “the carrier said you have it,” and now the desk is mediating a circular dispute with no shared evidence (no delivery photo, no timestamp, no scan type, no location). This is classic carrier tracking discrepancies turning into a relationship problem instead of a solvable operations problem with proof collection attached to one record.
What the interview must accomplish in 10 minutes (four outcomes)
Your 10-minute pre-claim intake is a gate in the WISMO workflow. It controls scope (what you will and won’t do), speed (same-day next steps), and quality (no re-contact to re-ask basics). To work, it must reliably produce four outcomes:
1) A single, accurate package identifier set. Tracking number (full if possible), carrier, delivery date/time, and recipient name as shown on the label/order. This prevents searching for the wrong item or mixing multiple orders into one issue.
2) A clear ‘last known’ delivery scenario. Where the carrier says it was delivered (front door, parcel locker, mailroom, reception), whether there’s a delivery photo, and whether any access constraints were in play (concierge hours, locked vestibule, elevator fob). This is where many ‘missing’ reports become resolvable confusion rather than true loss.
Roles and boundaries: what front desk can confirm vs. what only the carrier/shipper can determine
A pre-claim interview also protects your team by setting boundaries early. In a professional resident claims missing package process, the desk gathers facts and verifies building-side records—but does not guess, assign blame, or promise reimbursement.
Front desk/concierge can confirm:
What the building has logged or scanned in (package room entries, QR-label scans, locker assignments, release signatures if used). That is internal chain-of-custody evidence, not carrier evidence, but it’s critical for dispute prevention and for clean handoffs to management or the shipper/carrier if needed.
H2: The 10-Minute Script: Exact Package Claim Intake Questions (in the Right Order)
Use this as your resident claims missing package process interview for the moment a resident says, “My package shows delivered, but I don’t have it.” The goal is fast fact-finding (not fault-finding): capture the details that usually trigger carrier tracking discrepancies, address errors, or simple confusion before you start pulling logs or calling anyone.
Run the questions in this order. It’s designed to (1) de-escalate, (2) lock down tracking facts, (3) confirm identity/address variables, (4) reality-check delivery location, and (5) define what “missing” means right now. This order prevents the common WISMO workflow problem where you investigate first, then have to re-ask the same basics three times.
- Staff note: Ask for screenshare only if your policy allows; otherwise ask the resident to read the tracking page line-by-line or send a screenshot.
- Staff note: If the resident is upset, slow down—not by debating, but by repeating the next question and writing down the answer. The intake is your dispute prevention tool.
- Staff note: Keep language neutral. Avoid “stolen,” “lost,” “our fault,” or “the carrier lied.” Use “not yet located” and “we’re going to verify the delivery details.”
Minute 0–2: Calm reset + consent to fact-find (de-escalation opener)
Say this first (verbatim is fine):
“I can help. I’m going to ask a quick set of questions so we don’t miss anything and you don’t have to repeat yourself. It’ll take about 10 minutes, and then I’ll tell you the next step today. Is now a good time?”
Then ask these package claim intake questions (keep them tight):
– “Before we start: are you saying the tracking shows Delivered, or it just hasn’t moved?”
– “What’s the best number/email to reach you today, and do you prefer text or email updates?”
– “Do you need this package urgently (meds, keys, work equipment), or is it standard?”
– “Is there anything unique about this delivery (signature required, alcohol, large item)?”
If emotions are high, add a boundary that still helps:
– “I’m going to focus on what we can verify in our building and what the tracking shows. If we find a mismatch, we’ll document it clearly for the shipper/carrier.”
Minute 2–5: Tracking and scan basics (carrier, number, timestamps, photo)
This is the fastest way to sort carrier tracking discrepancies from building-side issues. Your aim: capture the exact tracking facts, not a summary.
Ask in this order:
1) “Which carrier is it (USPS, UPS, FedEx, Amazon, DHL, other)?”
2) “What is the full tracking number? Please read it slowly—letters and numbers.”
3) “What does the most recent scan line say exactly (for example: Delivered, Left at front door, Delivered to agent, Delivered to locker)?”
4) “What date and time does it show as delivered?”
5) “Does the tracking show a delivery photo or GPS/map pin? If yes, what does the photo show?”
6) “Does it list a city/ZIP on the tracking page, and does it match our property’s ZIP?”
7) “Any earlier scans today that mention ‘Out for delivery,’ ‘Attempted,’ ‘Exception,’ or ‘Incorrect address’?”
Follow-up prompts that catch common issues:
– “Does it say ‘Delivered to: Reception’ or ‘Mailroom’ or ‘Front desk’?” (This often changes your building checks.)
– “Does it show a name or initials for who received it?” (If it does, write it exactly.)
– “Is it possible you’re looking at the order number instead of the carrier tracking number?” (Ask only if the format looks wrong.)
Proof collection prompt (still within the minute 2–5 window):
– “Can you send a screenshot of the tracking page that shows the delivered scan details and photo, if there is one?”
– “If there’s no photo, can you screenshot the page that shows the delivered time and location line?”
Minute 5–7: Address and identity verification (unit, name variants, old address, nicknames)
This is where a surprising number of “missing” packages get resolved—without anyone being wrong—because labels, unit formats, and saved addresses vary. You’re looking for name/unit variants that break matching in logs, locker systems, or carrier labels.
Ask these questions exactly:
1) “What name is on the package label?”
2) “What unit number is on the label, and how is it formatted (for example: 1207 vs 12-07 vs Apt 1207)?”
3) “Have you ever used a different name for deliveries (nickname, maiden name, partner’s name, company name)?”
4) “Do you have multiple accounts that could place orders (Amazon household member, work account, guest checkout)?”
5) “Have you recently moved units, updated your lease, or changed your mailing address in the last 60 days?”
6) “Is it possible the sender used an old address, a previous building name, or a different entrance address?”
Quick verification (keep it neutral):
– “Can you confirm your current unit and the best spelling of your last name so I can check our logs accurately?”
If the resident hesitates about privacy:
– “I’m only using this to match the label to our building intake records and avoid pulling the wrong package.”
Minute 7–9: Delivery location reality check (door/locker/package room, access, concierge hours)
Now you connect tracking claims to real delivery points in your building. This is where misunderstandings happen: a carrier says “front door” meaning building front door, a resident hears “my unit door.”
Ask these in order:
1) “Where do your packages usually go in our building: package room, lockers, front desk, or to your unit door?”
2) “For this specific package, where did you expect it to be left?”
3) “Do you have any delivery instructions on your account (leave at door, deliver to leasing office, call box code, gate code)?”
4) “Did you receive any building notification (email/text) about a package check-in, locker code, or QR label scan?”
5) “When you checked, which areas did you personally look in: your unit door, hallway, mailroom/package room shelves, lockers, or with a neighbor?”
6) “Was anyone home during the delivery time window?”
7) “Any access constraints today (elevator down, call box outage, construction, restricted hours) that might have caused a carrier to leave it in an alternate spot?”
Precision prompts that prevent a second round of questions later:
– “If the tracking photo shows a door, can you tell if it looks like a unit door or a building entrance?”
– “If it says ‘Delivered to agent,’ do you know if anyone in your household asked someone else to grab it?”
– “If lockers are used: have you checked spam/junk for the locker code message?”
Minute 9–10: What ‘missing’ means today (when last checked, who else may have picked up, expected packaging)
Close by defining the current state and gathering identifiers that make a fast search possible. You’re also quietly ruling in/out “already retrieved” scenarios without accusing the resident.
Ask these questions:
1) “When did you last check for it (time and place), and was it definitely not there at that time?”
2) “Who else in your household or circle could have picked it up (roommate, partner, dog walker, friend, caregiver)?”
3) “If someone else might have it, can you text them now while I start the check?”
4) “What is the item and approximate size (envelope, small box, long box), and what brand or markings might be on the packaging?”
5) “How many packages are you expecting today total? Any chance there are two shipments with similar delivery times?”
6) “Is this a replacement order already in progress, or is this the first report?”
Set the immediate expectation (end the intake cleanly):
– “Here’s what I’m going to do next: I’ll check our intake/logs for name and unit variants, verify the delivery location the tracking indicates, and do a quick sweep for look-alike labels. I’ll update you by (time today). If we see a mismatch with the carrier scan, I’ll document it so you have a clean next step with the shipper/carrier.”
H2: The One-Page Pre-Claim Form (Copy/Paste Template)
Use this one-page form any time a resident says they are about to claim a package is missing (or you can tell they are headed there). The goal is to capture the full set of identifiers, proof, and building checks in one pass so you do not have to re-contact the resident multiple times—or re-litigate the same details across shifts.
Treat it as the front desk version of a WISMO workflow gate: if the form is complete, you can route the issue cleanly (carrier scan issue, address error, confusion, true loss) and hand it off without restarting from scratch.
- How to use: fill this out during the 10-minute intake interview, attach the requested proof (or note what is missing), complete the building-side checks immediately after the call, then assign one owner + a due time for the next update.
- Tip: keep a printable copy at the desk and a shared digital version for copy/paste into your ticketing system. The fields below are intentionally specific—they prevent the common ‘one more question’ follow-ups.
Resident + package identifiers (must-have fields)
Copy/paste template (keep it to one page; do not add narrative unless needed):
PRE-CLAIM INTAKE (Missing Package) — One-Page Form
Case ID: _______________________ Date: ____/____/_____ Time: _______ Intake by: _______________________ Channel: Phone / In person / Email / Text (circle one)
Proof collection checklist (screenshots, delivery photo, order confirmation)
Resident information
Resident name (legal): _______________________ Preferred name: _______________________
Unit: _________ Building/phase (if applicable): _______________________ Phone: _______________________ Email: _______________________
Building-side checks (log/QR label scan, camera zones, locker audit)
Package identifiers (resident-provided)
Carrier: USPS / UPS / FedEx / Amazon / DHL / Other: ____________
Tracking number (full): ____________________________________________ Last 4 digits: _______ (for quick matching)
Outcome routing checkbox: scan issue vs. address error vs. confusion vs. true loss
Retailer/shipper (if known): _______________________ Order number: _______________________
Item description (what is it, in plain terms): ____________________________________________
Expected packaging (box, padded envelope, polybag, branded tape): _______________________ Approx. size: S / M / L / Oversize
Next action + owner + due time (tight follow-through)
Delivery claim details (from tracking / resident)
Tracking status shown to resident: Label created / In transit / Out for delivery / Delivered / Available for pickup / Exception
Delivered date/time shown: ____/____/_____ at _______ (AM/PM) Time zone: Local / Unknown (circle one)
H2: Sorting Signals: How to Distinguish Scan Issues, Address Errors, Confusion, and True Loss
Once you’ve run your package claim intake questions, the fastest way to reduce WISMO workflow churn is to sort the report into one of four buckets. This keeps the resident claims missing package process focused: you’re not “investigating everything,” you’re confirming which path is most likely and taking the right next steps with clean documentation.
Think of this as a decision tree you can apply in under two minutes after the intake interview. Your goal is not to prove fault; it’s dispute prevention: capture the right proof collection artifacts, document carrier tracking discrepancies clearly, and route the issue to the party that can actually resolve it (front desk, property manager, shipper, or carrier).
- Quick routing question: Do we have evidence it reached the building (delivery photo, correct address, and/or building log/QR-label intake)? If no, treat as a carrier scan issue or address error until proven otherwise.
- Second routing question: Does the resident’s information match the label and the tracking record (name, unit format, building name, ZIP+4)? If no, treat as address error or confusion.
- Third routing question: Do our internal records show intake and release to someone (locker pickup, concierge handoff, signature, QR scan)? If yes, treat as confusion unless there’s a clear mismatch.
- Only classify as true loss after you have (1) delivery to this building, (2) internal intake confirmation, and (3) no release record after checks are completed.
Carrier scan issue indicators (e.g., ‘Delivered’ but wrong geo/odd time/no photo)
This bucket is about carrier tracking discrepancies: the tracking says “Delivered,” but the details don’t line up with your building reality. If you misclassify this as theft or a building failure, you’ll waste days repeating the same questions across multiple parties.
Common signals include a delivery time that doesn’t match access hours, a “Delivered” scan without any photo where the carrier typically provides one, or a proof-of-delivery photo that clearly isn’t your property (wrong lobby, different door hardware, different flooring, outdoor scene when your deliveries are indoor). Another strong signal: the tracking shows “Delivered” but the address on the carrier page is truncated or missing the unit, or the scan is “Delivered to parcel locker” when your building has no lockers for that carrier.
Address error indicators (unit format, building name, ZIP+4, old account address)
Address errors look like a missing package, but the package never had a real chance to land correctly. These are often fixable quickly if you catch them early, especially when the resident uses multiple shopping accounts or autofill.
Signals: the resident reads the address from their order confirmation and it’s missing the unit, uses a different unit format (e.g., “Unit 1203” vs “Apt 1203” vs “#1203”), lists a similar building name nearby, or shows an old address in their account history. ZIP+4 mismatches can also matter in dense areas, as can the wrong street suffix (Ave vs St) or a transposed number. Another classic indicator is when the resident’s name differs from the label (nickname vs legal name, partner’s name, previous tenant name) and your package room is organized strictly by label name.
Resident confusion indicators (multiple orders, roommate pickup, locker code, pickup window)
This bucket is the most common cause of repeat contacts because it feels like loss, but it’s actually a mismatch between expectation and how deliveries are processed. Your goal is to spot confusion without sounding accusatory and to close the loop with a quick building-side check.
Signals: the resident is referencing an estimated delivery date, not a delivered scan; they have multiple packages in the same week and can’t distinguish the tracking numbers; they expect door delivery, but the carrier typically drops at the package room; they assume “Delivered” means “to my door.” Other indicators include: a roommate/partner/pet-sitter may have picked up, the resident recently changed phones and missed locker notifications, they checked the package room before intake was processed, or they searched only by their preferred name while the label uses a different variant.
True loss indicators (confirmed delivery to building + logged intake + no release record)
Classify as true loss only after you’ve removed the other explanations and can state, in a neutral and factual way, that the package appears to have entered your custody but cannot be located or accounted for by release records.
Signals: tracking shows delivered to your address with a credible photo or carrier proof; your team’s log/QR-label scan shows the parcel was accepted into the package room or by concierge; and there is no corresponding release event (no pickup scan, no locker retrieval record, no signature, no handoff note). Also watch for internal anomalies: duplicate labels, a parcel logged under a similar unit, or an intake entry without a matching physical item during a sweep. True loss often reveals itself when the documentation is strong but the object is not present.
What to do in each case: first three actions that prevent rework
Use the same three-action structure every time. It keeps the resident claims missing package process consistent, reduces back-and-forth, and ensures each next contact moves the case forward instead of restarting it.
Carrier scan issue: (1) Capture proof collection immediately: screenshots of the tracking timeline, delivery status, and any delivery photo; note the stated delivery address exactly as shown. (2) Do a targeted building check: sweep likely drop zones (lobby desk, mailroom, package room overflow) and check for “similar label” matches (same first name, adjacent unit, partial tracking match). (3) Route with clarity: tell the resident what you can confirm (your building checks) and what you cannot (carrier scan accuracy), then direct the formal claim to the shipper/carrier while providing your documented findings.
Address error: (1) Confirm the exact ship-to address from the order confirmation (not just what the resident remembers) and record any unit/name variant. (2) Check internal logs under close matches: name variants, unit formatting differences, and partial tracking numbers; look specifically for the package logged to “no unit” or a neighboring unit. (3) Provide a correction plan: advise the resident to update their account address format and initiate the shipper’s replacement/claim path if needed; avoid promising recovery if the address was incomplete or incorrect, but do document what you searched and why it likely misrouted.
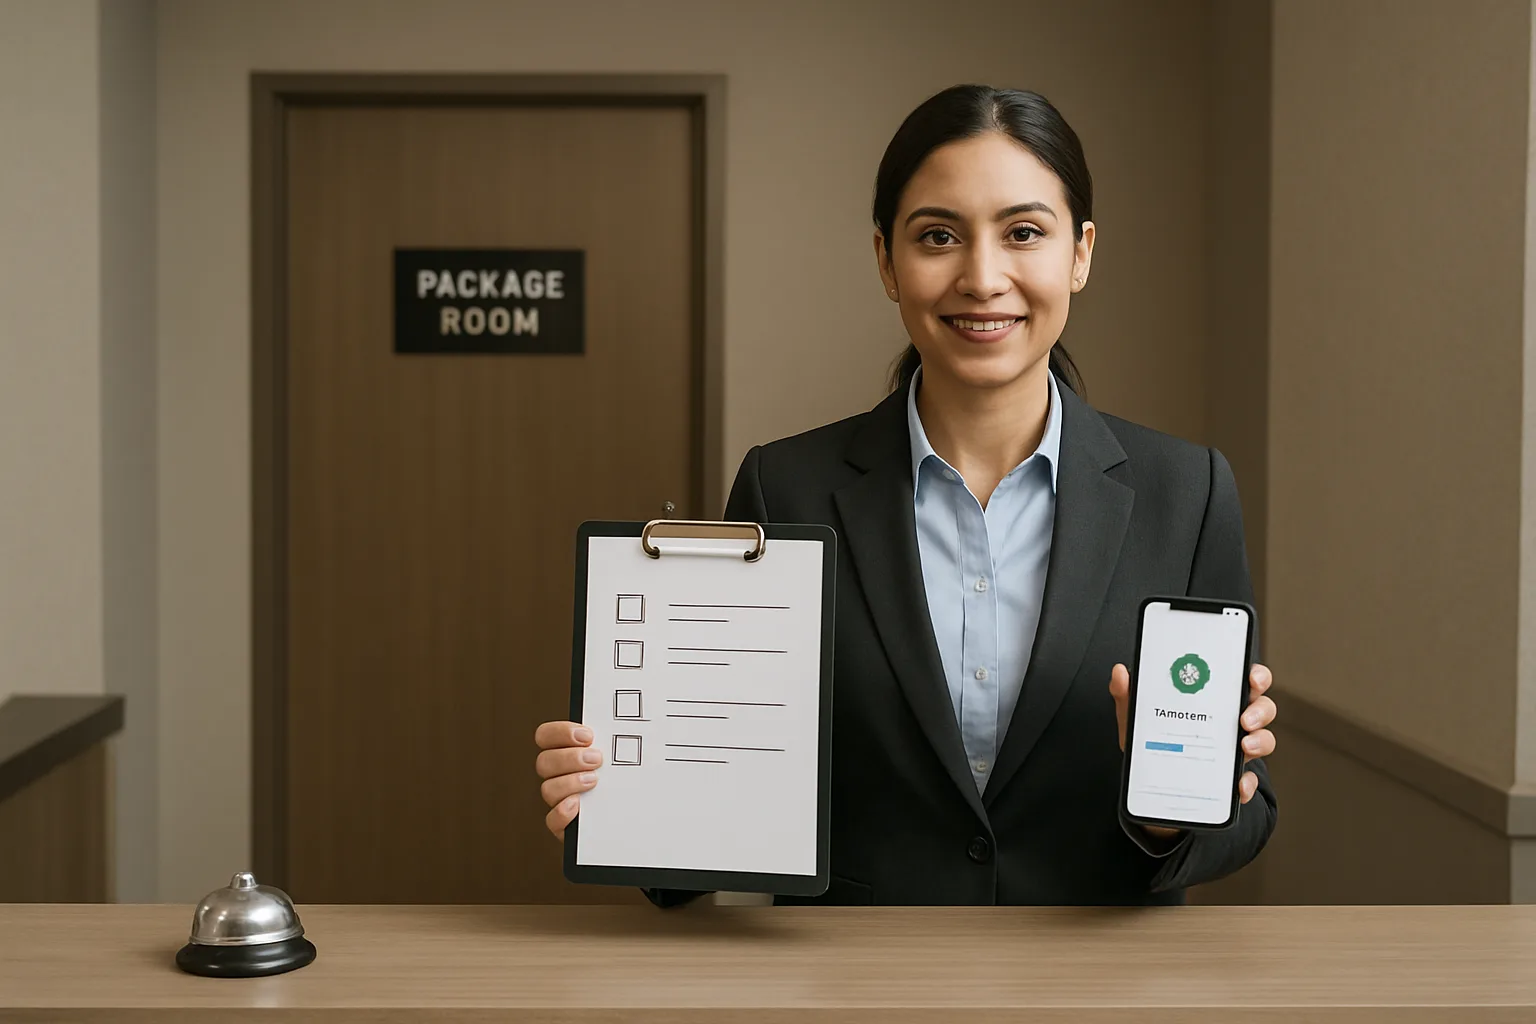
CTA: Standardize Your Intake Today
Create (or refresh) your one-page pre-claim form and train the team on the 10-minute script so every resident report starts with the same proof collection and routing. Use it at the desk, by phone, or at the package room door—then log one clean thread with all screenshots, photos, and notes attached.
Build Your 10-Minute Pre-Claim Intake
Consistency Beats Heroics: Run the Interview, Capture Proof, Route the Right Path
A missing-package complaint feels urgent, but the fastest way to resolution is almost never “go look harder.” It is running the same resident claims missing package process every time: a calm 10-minute pre-claim intake, immediate proof collection, and a clean decision on which lane this belongs in (scan issue, address error, confusion, or true loss). That structure prevents the most common failure mode—days of messages where everyone is sincere but nobody has the same set of facts.
When your team uses the same package claim intake questions, you reduce escalations because you can explain, in neutral language, what is confirmed, what is not, and what happens next. You also protect staff time: one complete intake means fewer re-contacts, fewer “can you send that screenshot again?” moments, and fewer dead-end carrier calls that should have gone to the shipper (or vice versa).
Make the commitment simple: every pre-claim gets the 10-minute interview, every intake gets documented in one place, and every case ends with a named owner and a due time for the next update. That’s how you turn a tense front-desk moment into a professional, auditable workflow—and increase first-contact resolution without overpromising outcomes.