
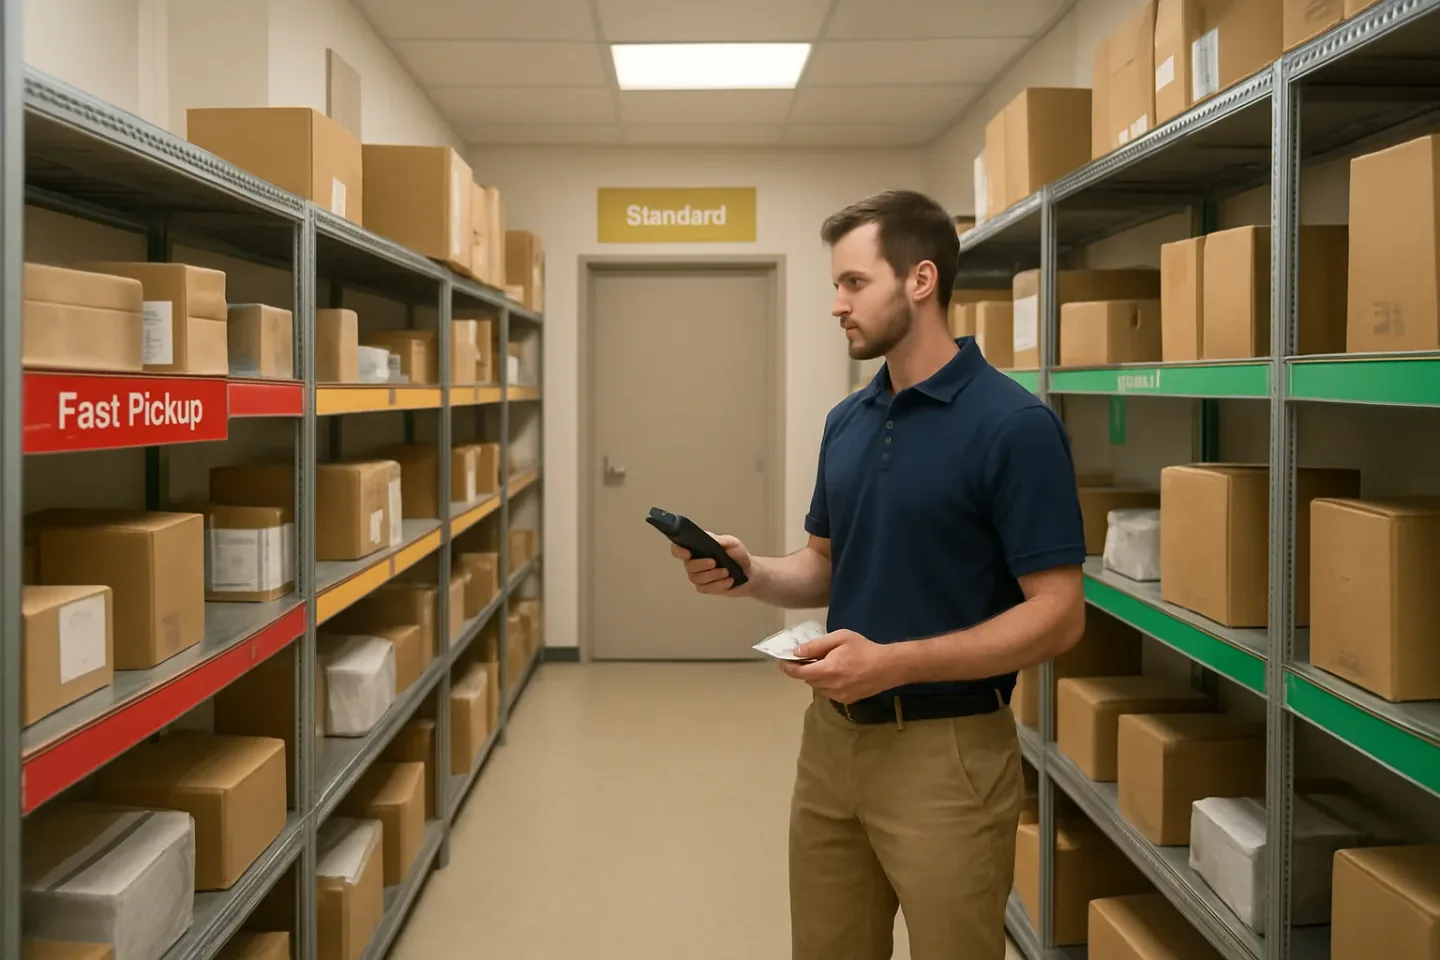
Stop Shelf Bloat by Organizing for Retrieval Time, Not Package Size
Shelf bloat rarely starts as a space problem. It starts as a time problem: staff searching, reshuffling, and creating “temporary” piles that become permanent. On a busy day, the package room fills, residents arrive in bursts, and the fastest way to keep the line moving is often the least organized way to store items. That’s when mis-sorts creep in, “can’t locate” moments spike, and you end up re-handling the same packages multiple times just to access what’s behind them.
Most package rooms try to solve this by sorting by package size (small boxes here, big boxes there). Size-based sorting feels logical, but it breaks down in high-volume buildings because it ignores the real operational variable: how soon a resident will pick the package up. A large same-day pickup placed deep in the room is a guaranteed time sink. Meanwhile, a small long-tail package sitting in the most accessible spot quietly steals your best shelf space for days.
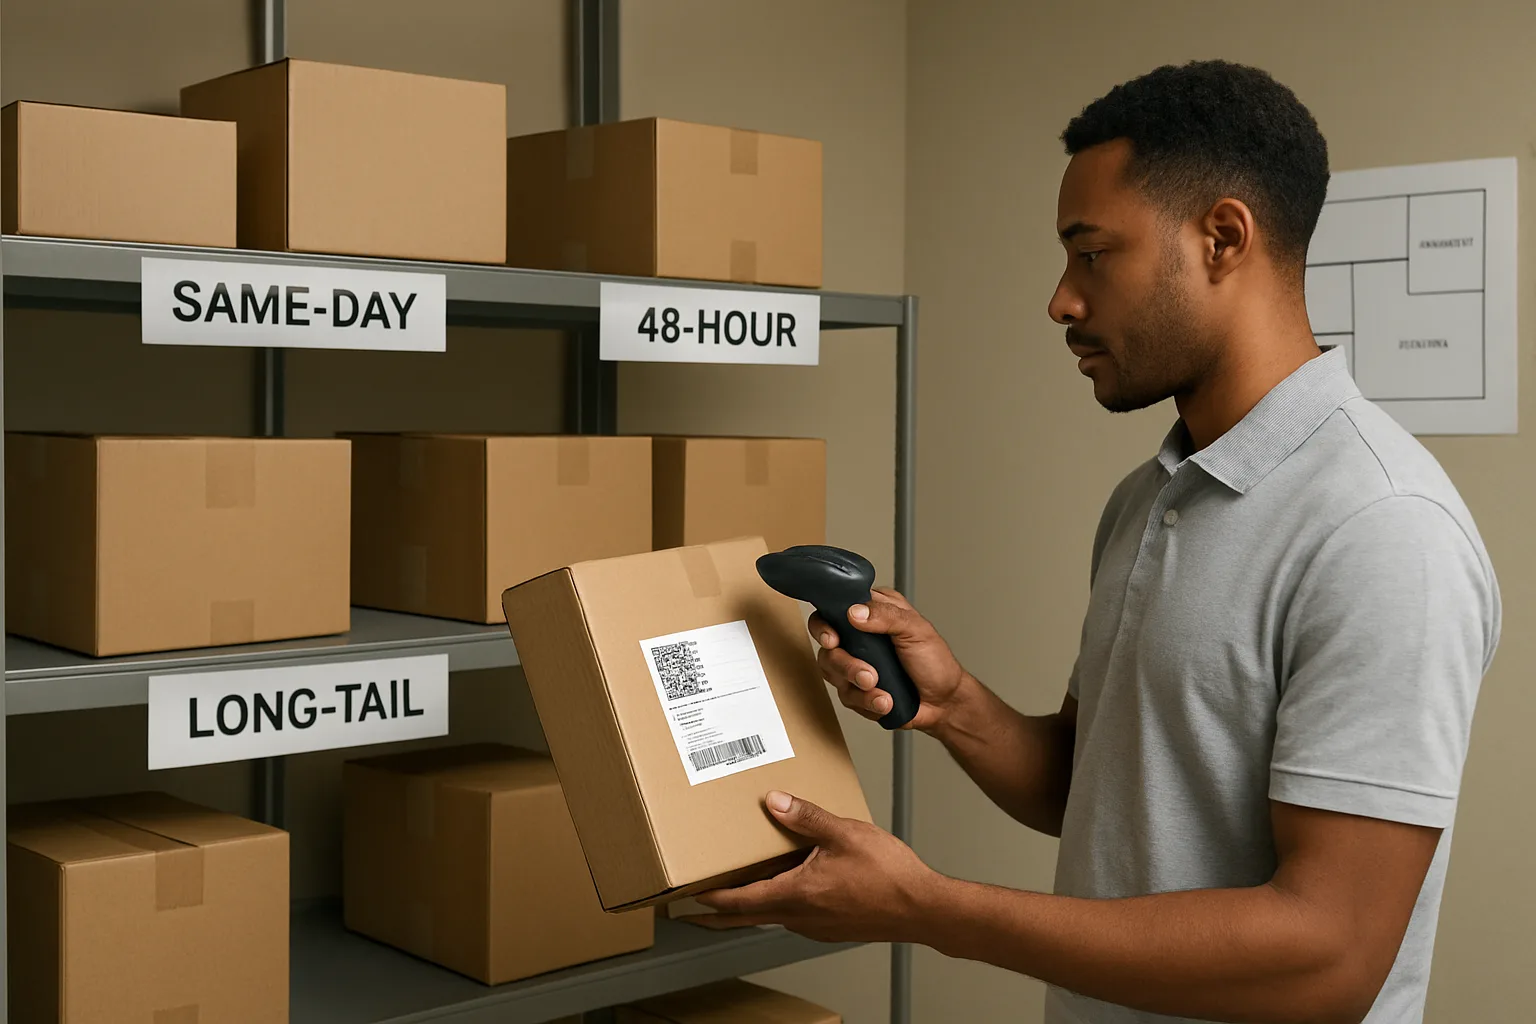
A package room slotting system borrows a proven warehouse concept and adapts it to apartments: slot by pickup velocity. Instead of asking “How big is it?” you ask “How fast will it leave?” You create three zones—Same-Day, 48-Hour, and Long-Tail—then place the fastest-moving items closest to the handoff point so they’re the easiest to grab during peak pickup windows. The result is retrieval time reduction without new shelving, renovations, or complicated software: less searching, fewer re-handles, and fewer exceptions.
This article lays out a practical package room organization method you can implement with your existing shelves and a few printed labels. You’ll map zones to your current layout, set simple cutoff rules that match your building’s behavior, and use a quick weekly re-slot routine to prevent drift—so the room doesn’t slide back into random placement the moment volume spikes. The goal isn’t perfection; it’s consistent, repeatable mailroom layout optimization that makes finding a package feel routine again.
Define the problem: “shelf bloat” shows up as search time, not square footage
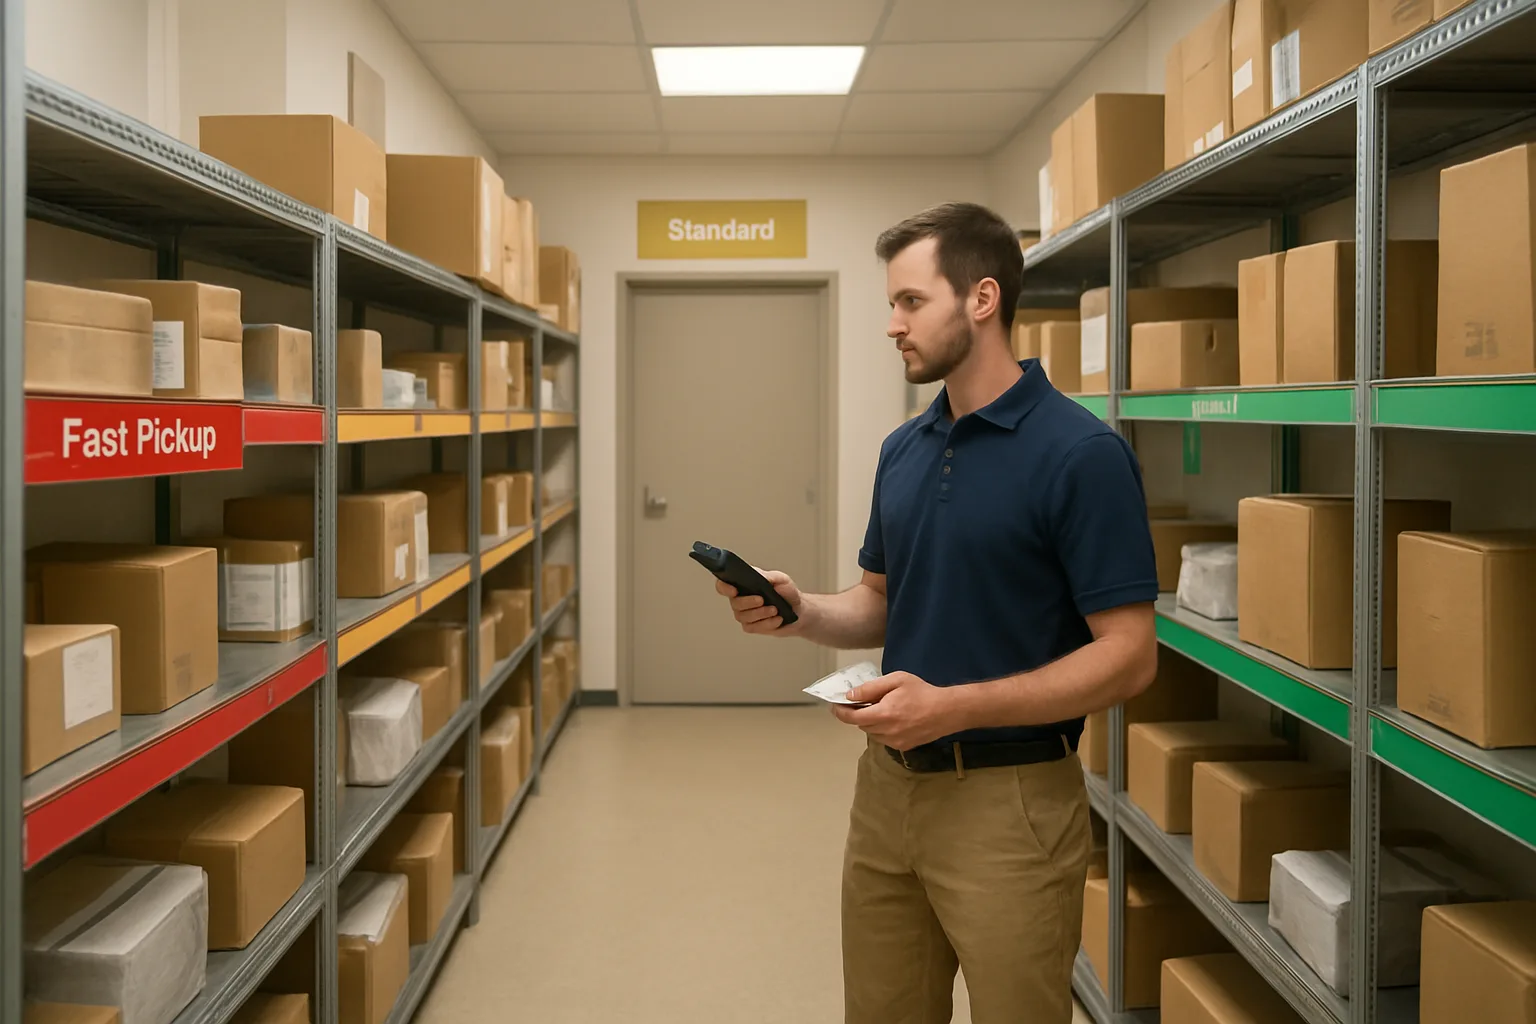
“Shelf bloat” in a package room is rarely about running out of shelves. It’s what happens when the room still has physical space, but staff and residents lose time because packages aren’t consistently findable. The true constraint becomes retrieval time: how long it takes to locate the right item, confirm it’s the right item, and complete the handoff without creating a new mess.
When a room is organized primarily by package size (small/medium/large), it can look tidy while still performing poorly. Size-based sorting doesn’t match the real workload: some items turn over within hours, others sit for days. Mixing those behaviors on the same shelves creates constant reshuffling, exceptions, and “mystery piles” that slow everyone down. A package room slotting system starts by naming these failure modes so you can measure and fix them.
What shelf bloat looks like on a busy day (and why it compounds)
On a high-volume day, shelf bloat has a consistent pattern. It starts with good intentions (quickly placing packages wherever there’s room) and ends with staff relying on memory, improvised piles, and repeated touches.
Common symptoms you can recognize immediately:
– The “front edge” problem: the nearest shelves become a dense wall of the newest deliveries, while older items get pushed back, buried, or moved “temporarily.”
– Visual sameness: dozens of similar brown boxes and soft mailers make scanning by eye unreliable, especially during resident pickup rushes.
– Orphan packages: items placed on the floor, on top of lockers, or behind doors because the “right shelf” is full.
– Shelf drift: packages migrate away from their original spot when staff make room for incoming deliveries, so the logged location (if you log one) stops matching reality.
– The memory trap: one person knows where a carrier dump was placed, and retrieval collapses when that person is off shift.
Why it compounds: every misplacement creates future work. One package “temporarily” staged becomes two more temporarily staged because the first one never gets reconciled. Then retrieval takes longer, which reduces intake discipline, which creates more misplacements. This is how rooms feel like they “suddenly blew up,” even if the package count only rose slightly.
The hidden cost: exceptions, re-handling, and resident line pressure
The most expensive part of shelf bloat is not the extra steps to walk to a shelf. It’s the exception handling triggered by unreliable placement. Exceptions force staff to break their normal flow, and each break increases the chance of a handoff error.
Where the time and friction actually go:
– Re-handles: touching the same package multiple times (move to make space, move again to “organize,” move again when it blocks access).
– Mis-picks: grabbing the wrong package because labels are obscured, items are stacked, or the resident name is similar; the correction costs more time than a careful first pick.
– “Can’t locate” escalations: staff pause intake to search, check behind shelves, review camera footage, or ask another team member. Even when found, it trains residents to expect delays.
– Front-desk line pressure: when pickups slow down, residents cluster at the counter. Staff feel rushed and start skipping steps (like confirming name/unit or placing a QR-label consistently), which increases downstream errors.
– Carrier drop-off disruption: a large delivery wave forces staff to “just get it inside,” which creates floor staging and unlabeled stacks that become hard to unwind.
Size-based organization tends to worsen these issues because it encourages broad buckets (small/medium/large) without a consistent retrieval logic. Fast-moving items get mixed with slow movers of the same size, so the “small shelf” becomes a constantly disturbed surface where yesterday’s packages are repeatedly displaced by today’s.
Simple baseline metrics to capture in 20 minutes (no new tools): average find-time, re-handles, “can’t locate” incidents
Before you change anything, capture a quick baseline so you can tell whether your package room organization method is actually improving retrieval time reduction. You don’t need new software or a full audit—just a short, consistent sample.
In one 20-minute window during a typical pickup period, track the following (pen-and-paper is fine):
– Average find-time: For 10 pickups, time from “staff starts walking to retrieve” to “package is in hand at the counter/door.” Record each time, then compute a simple average.
– Re-handles: During those same 10 pickups, tally how many extra touches occur (e.g., moving other packages out of the way, shifting a stack to read labels, pulling multiple items to find the right one). Count touches beyond the final correct pull.
– “Can’t locate” incidents: Count how many times staff cannot find a package within 60 seconds and must switch into search mode (asking another staff member, checking an overflow area, scanning the room repeatedly, or telling the resident to wait while searching).
Optional notes that add context without adding effort:
– Where the search started (which shelf/area).
– Whether the label was visible or blocked.
– Whether the package had a QR-label and whether it matched the placement.
These three baselines give you a clear problem statement: the room doesn’t just feel crowded—it’s taking too long to retrieve. That clarity is what makes a package room slotting system worth implementing, because it targets the real bottleneck: predictable placement and fast location under pressure.
The package room slotting system: zone by pickup velocity (same-day, 48-hour, long-tail)
A package room slotting system borrows a simple warehouse idea: put the items that move fastest in the easiest-to-reach locations, and push slow movers farther out. In apartments, “movement” is not about how quickly staff can process packages; it’s about how quickly residents retrieve them. When you zone by pickup velocity, you reduce searching because most pickups come from a small, predictable area close to the handoff point.
paragraphs
This package room organization method is intentionally data-light. You are not building a perfect model. You are creating a repeatable default that supports mailroom layout optimization: fewer steps, fewer shelf scans, fewer “I think it was over here” moments, and a clearer mental map for every team member—especially during shift changes and rush periods.
In practice, you’ll run three zones based on retrieval time: same-day, 48-hour, and long-tail. The labels are less important than the behavior: fast movers get premium placement; slow movers get stable storage that does not constantly get disturbed. That stability is what drives retrieval time reduction and fewer mis-picks over time.
- Core principle: slot by retrieval time (pickup velocity), not by package size
- Target outcome: make the “most likely” pickup location obvious for staff under pressure
- Design goal: reduce decision-making at intake to one quick question: “How soon will this be picked up?”
Velocity beats size: why you want your fastest-moving items closest to the handoff point
Sorting by size feels logical because it makes shelves look tidy. But in a high-volume room, “tidy” doesn’t equal “fast.” Size-based organization tends to spread pickups across the entire room, forcing staff to hunt across multiple shelves, piles, and corners—especially when carriers drop mixed loads and residents arrive in waves.
Velocity-based zoning flips the priority: it optimizes for the most common task (retrieval) rather than the most visible task (making shelves uniform). If half your pickups occur within a day or two, those packages should not be scattered across every shelf just because one is a small box and one is a polybag.
Think of the handoff point (the door, counter, or scanning station) as your “pick face.” The closest shelves are reserved for fast movers. That way, when residents line up or a courier arrives during a rush, staff can pull most packages with minimal walking and minimal scanning. This is the simplest path to retrieval time reduction without adding shelving or expanding the room.
Pick your cutoffs: a practical way to define same-day vs 48-hour vs long-tail
Your cutoffs should match how your residents actually behave, not a generic standard. Start with three buckets because they’re easy to remember and enforce during intake. The moment you create five or six categories, staff will improvise—and your slotting will drift back to random placement.
Use these definitions as a starting point, then tune them after a week of observation:
Same-day zone: items expected to be picked up the day they’re logged (common for residents who get notifications and swing by after work). This zone should be the most accessible and easiest to scan visually, because it will churn constantly.
48-hour zone: items likely to be picked up within two days. This is usually your “main flow” zone—larger than same-day, still close to the handoff point, and organized enough that new staff can locate items without tribal knowledge.
Long-tail zone: anything that tends to linger. This includes residents who pick up once a week, travel, or don’t respond to notifications quickly. The operational purpose is stability: long-tail should be out of the way so it doesn’t get rehandled every time a fast-moving package comes in.
Handling special cases without breaking the system (oversize, perishables, signature-required, lockers)
Special cases are where most systems fall apart. The key is to treat special handling as an overlay, not a separate world. You can keep a velocity-based slotting structure and still accommodate exceptions—by defining a few controlled “rule-outs” that staff can apply quickly and consistently.
Oversize: Don’t let oversize items become the unofficial staging pile that blocks everything. Give oversize a clearly marked area (even if it’s a taped footprint on the floor or one dedicated shelf section). Within that area, still slot by velocity: keep the “likely same-day” oversize closest to the handoff point and push long-tail oversize to the back.
Perishables: If you accept perishables, treat them as same-day by default. Assign a clearly labeled spot that is protected from being buried (a dedicated shelf segment, bin, or marked area). The rule should be simple: perishables never go into long-tail, even if the resident is slow to pick up.
Signature-required or controlled handoff: These items should be separated for accountability, but you can still use velocity. Create a small “controlled” zone near the handoff point where staff can maintain chain-of-custody (for example, a lidded tote, a locked cabinet, or a designated shelf section). Then subdivide mentally: today vs not-today, so the retrieval motion stays fast.
Lockers: If lockers are part of your operation, treat them as a same-day accelerator, not a separate organizing philosophy. Use lockers primarily for high-velocity items when you have capacity. When lockers fill, overflow should go to the same-day zone (not an ad hoc pile). That keeps your mailroom layout optimization consistent: fast movers are always in the closest, most structured locations.
Unlabeled or questionable items: If a package arrives without a clear resident name/unit or the label is damaged, it should not “float” between zones. Create a small “needs research” spot near the intake station so it’s resolved quickly and doesn’t contaminate your slotting system.
A practical rule of thumb: exceptions should be few, visible, and reversible. If an exception category starts growing, it’s a signal to adjust staffing, intake steps, or zone space—rather than inventing more categories.
Design the layout without renovations: map zones to your existing shelves and walk paths
A package room slotting system only works if staff can apply it under pressure. The goal here is mailroom layout optimization without new shelving, construction, or complicated maps: you’ll assign clear velocity zones to the shelves you already have, align them to how people naturally walk, and add just enough labeling to eliminate “mystery piles.” Think in terms of reducing steps and decisions, not perfect geometry.
Start by standing at the handoff point (front desk window, package-room door, or counter where residents usually meet staff). From that exact spot, you’re going to design the room so the fastest-moving packages are closest and most visible, and slow movers are pushed farther out—without blocking access or creating dead corners that become junk drawers. This is how a practical package room organization method turns into retrieval time reduction in real operations.
- Rule of thumb: design for the busiest 10 minutes of the day, not the quietest hour.
- Keep zone rules simple enough that a new team member can follow them from a sign on the wall.
- Prevent “mystery piles” by assigning every surface a purpose: either it is a zone, or it is not used for storage.
Walk-path thinking: where the “golden zone” should be (and what to keep out of it)
Define a “golden zone” as the first shelves you can reach in 3–5 steps from the handoff point. This area is for same-day pickup velocity only. When a resident is waiting, staff should be able to turn, grab, and return without weaving through the room.
To find your best golden zone, do a quick walk test: start at the handoff point, walk to the nearest usable shelf bay, then back. Repeat for 2–3 candidate shelf areas. The one with the fewest turns and least chance of collision (with residents, doors, or other staff) wins.
Keep these out of the golden zone: supplies (tape, bins, spare labels), returns, long-tail packages, problem packages awaiting research, and anything that requires “thinking time.” If staff have to pause and interpret, the golden zone is already compromised. Create a separate “exceptions spot” (even a single marked shelf) so problem items don’t contaminate your fastest shelves.
Zone setup options for tight rooms vs large rooms (shelf blocks, rolling racks, floor staging rules)
You do not need matching shelves or a perfect rectangle. You need clear boundaries. Assign three velocity zones to whatever storage you have: same-day (closest), 48-hour (middle), and long-tail (farthest). Then make sure each zone has an obvious start and end so packages don’t drift.
Tight rooms (one narrow aisle, limited shelving): use shelf blocks instead of scattered shelves. For example, designate the first full shelf section near the door as same-day, the next section as 48-hour, and the far end as long-tail. If you have only one long wall of shelving, split it into thirds with big, visible zone markers. If the room has a “dead corner,” that is your long-tail zone by default.
Large rooms (multiple shelves, racks, or islands): use “pods.” Create a same-day pod nearest the entrance/handoff path, a 48-hour pod behind it, and long-tail along the perimeter or back wall. The goal is to keep staff from crossing the entire room for common pickups. If you use rolling racks, assign each rack to a zone and lock that assignment—don’t let racks become floating overflow that changes daily, or you’ll lose location memory.
Labeling that supports fast retrieval: shelf IDs, row/level logic, and QR-label placement
Labeling should answer one question instantly: “Where do I go first?” Your package room slotting system needs two layers of labeling: zone identification (big, unavoidable) and location identifiers (simple enough to call out over the radio or write on a slip).
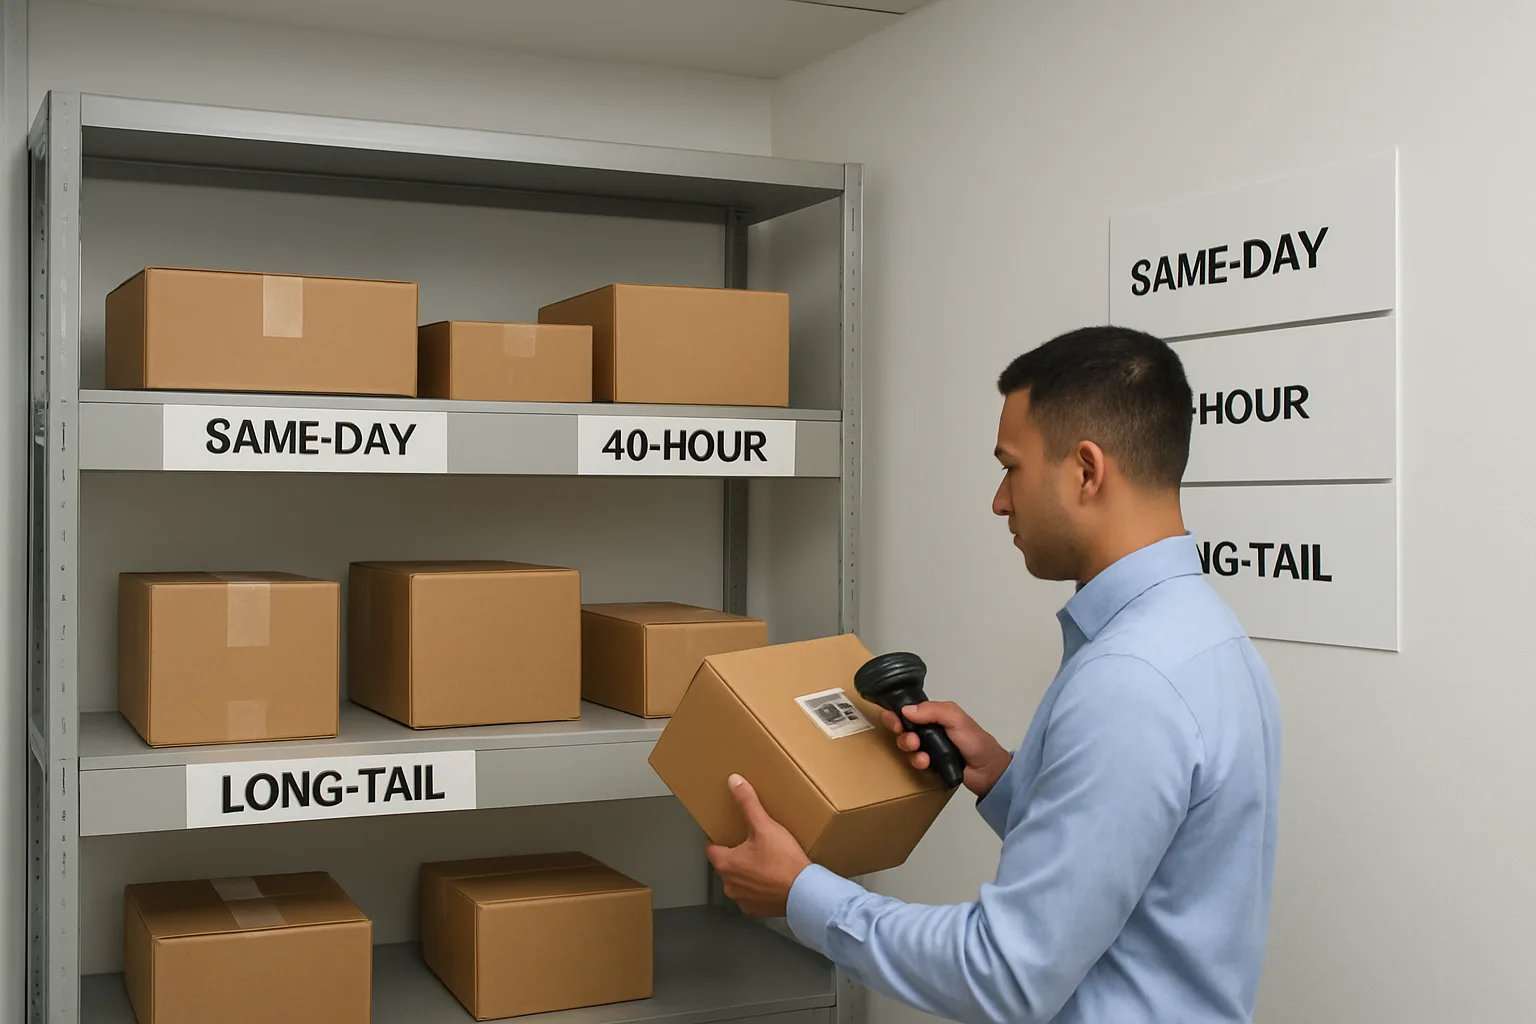
Zone identification: mark each zone at eye level with large, plain language signs: SAME-DAY, 48-HOUR, LONG-TAIL. Use consistent wording everywhere (don’t alternate between “fast,” “urgent,” “today,” etc.). Place a zone marker at the start of the shelf block and another at the far end so boundaries stay clear even when shelves are full.
Location identifiers: give each shelf block a short ID, then use row/level logic that matches how humans scan. A practical format is: Zone-ShelfBay-Row-Level. Example: SD-A-2-3 (Same-day, bay A, row 2, level 3). Keep it physically consistent: rows left-to-right, levels bottom-to-top (or the reverse), but pick one and never change it. Put the shelf ID on both ends of the shelf so staff can see it from either direction in the aisle.
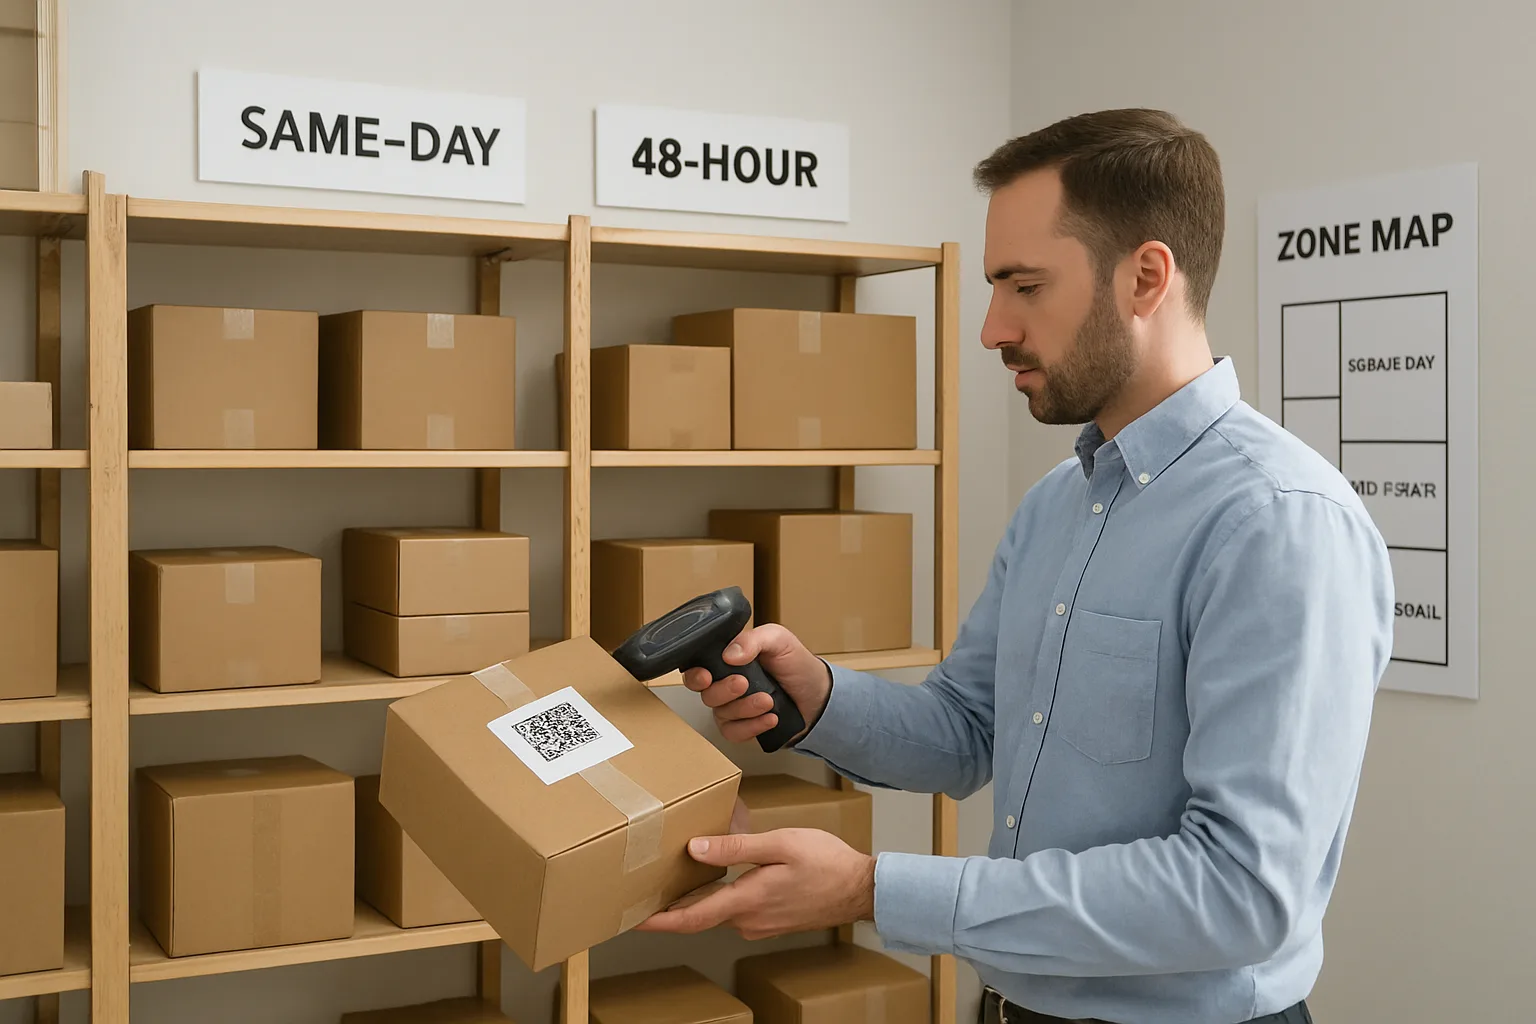
QR-label placement (if you use QR labels for package logging or shelf IDs): place QR labels where scanning doesn’t require moving packages. Put the shelf location QR on the upright post or shelf lip, not on the flat surface where it gets covered. Put package QR labels on a consistent face of the package (top-front corner is common) so staff can scan without rotating boxes in a tight aisle. The aim is fewer touches: touch to place, touch to handoff—no extra spins just to find a label.
A simple intake flow that assigns a zone in seconds (decision tree for staff)
Intake is where the system either holds or collapses. The fastest version is: log it, label it, assign a velocity zone, place it, and confirm the location—without debating package size or hunting for the “perfect” spot. Use a short decision tree that staff can memorize and that you can post by the intake counter.
Decision tree (post this as a one-page sign):
1) Does it require special handling? (perishable, signature-required holding, locker-only, hazardous restriction, clearly damaged)
– Yes: place in the designated special-handling area and note it in the log.
– No: continue.
2) Is it an oversize item that physically won’t fit the shelves safely?
– Yes: place in the oversize area with a marked floor position (see below) and record its location.
– No: continue.
3) Assign velocity zone based on your building’s cutoffs:
– Expected pickup same-day: place in SAME-DAY zone.
– Expected pickup within 48 hours: place in 48-HOUR zone.
– Otherwise: place in LONG-TAIL zone.
4) Assign the exact shelf location:
– Pick the next open location within the correct zone (don’t “shop” across zones).
– Place label facing outward.
– Record/confirm the location (shelf ID + row/level).
Floor staging rules (for overflow or oversize): tape simple rectangles on the floor labeled OS-1, OS-2, etc. Oversize can be “slotted” too; the key is that every rectangle is a known location, not a random corner. Never allow unlabeled floor piles—those are the fastest path back to searching and reshuffling.
When you enforce this decision tree, placement becomes a routine, not a judgment call. That consistency is what makes mailroom layout optimization stick: staff stop improvising under load, and residents stop waiting while someone “tries to remember where it went.”
Daily operations: intake, resident pickup, and exception handling that keep zones clean
A package room slotting system only works if daily habits protect it. The goal is to make the correct action the fastest action: staff should be able to intake and retrieve without thinking, and residents should experience a consistent, low-friction handoff. This section lays out a package room organization method built for real rush periods, with simple accountability steps that reduce mis-picks and prevent shelves from drifting back into random placement.
These procedures assume your room is already divided into pickup-velocity zones (same-day, 48-hour, long-tail) and that each shelf block has a clear ID (for example: SD-A, SD-B, 48-C, LT-D) so placement can be confirmed, not guessed.
- Operating rule to repeat in training: No label, no zone. No zone, no shelf ID. No shelf ID, not stored.
- Operating rule for speed: Touch each package once whenever possible (carrier drop to shelf, shelf to resident). Re-handling is the fastest path to shelf bloat.
- Operating rule for accuracy: Every handoff has a close-out step (mark picked up, write time/initials, or scan-out) so “can’t locate” does not become “maybe already left.”
Intake checklist: scan/log, label, zone, and placement confirmation
Intake is where most drift starts. When staff are interrupted, they skip the small steps (labeling, shelf ID, placement confirmation) that keep the system searchable. Use a short checklist that works even if you are processing 30 packages at once.
Aim for a two-pass rhythm: pass one creates a traceable record (log + label), pass two puts items in the correct zone and captures the shelf ID. If you can only do one pass, do it in this order: log, label, zone, place, confirm shelf ID.
Pickup flow: resident verification, quick locate, handoff, and close-out
A clean pickup flow protects retrieval time reduction. The moment a staff member starts searching without a consistent locate method, the system gets “corrected” on the fly and packages migrate to wherever there is space. Keep pickup steps strict, especially during peak hours.
The fastest pickup is not the fastest walk; it is the fewest decisions. Train staff to use the zone and shelf ID first, then only visually confirm the label matches the resident before handing over.
Exception rules: unlogged drop-offs, damaged labels, carrier dumps, and after-hours overflow
Exceptions are normal in high-volume rooms. What breaks a slotting approach is letting exceptions live outside the system as mystery piles. Create a small, clearly marked exception area with its own rules so it stays a funnel, not a landfill.
When exceptions happen, the priority is to restore traceability (who is it for, when did it arrive, where is it now). The second priority is to return the item into the correct velocity zone as soon as possible.
How to prevent “zone swapping” during rush periods (and what to do when it happens)
Zone swapping is when staff place same-day items in long-tail (or anywhere there is room) “just for now.” It feels efficient in the moment but creates tomorrow’s search problem, because retrieval patterns no longer match the room layout. Preventing swapping is mostly about giving staff a faster alternative than improvisation.
The fix is not perfection; it is containment. If swapping happens, you want it to happen in one controlled overflow spot with a clear reset trigger, not across the entire room.
The weekly re-slot routine: 30–45 minutes to prevent drift and keep retrieval fast
A velocity-based zoning approach only stays fast if you periodically correct what everyday pressure does to it: overflow gets “temporarily” parked in the wrong place, long-tail items accumulate, and a few shelves become the default dumping ground. A short, consistent weekly reset keeps the package room slotting system accurate without requiring more shelving or a remodel.
This routine is intentionally data-light. You do not need reports or dashboards to run it well—just a quick walk-through, a short list of problem spots, and a controlled set of moves so you do not create new confusion while fixing old drift.
- When to do it: same day/time each week (often mid-morning midweek, after peak carrier drops)
- How long: 30–45 minutes, with a hard stop (unfinished items roll to the next session)
- What you need: a marker, a small stack of replacement labels, a clipboard or shared checklist, and access to whatever logging/scan process you already use
- Rule of thumb: move the fewest packages necessary to restore the zones—do not “reorganize everything”
What to review weekly: overflow points, long-tail buildup, and repeat problem shelves
Start with a five-minute scan that tells you where retrieval time is being lost. You are looking for patterns, not perfection. If the same shelf keeps turning into a mixed pile, it is a layout or procedure issue—not a “staff being careless” issue.
Walk the room in the same direction each week (for example, from the handoff point clockwise). Take notes on three categories only; that keeps the review tight and actionable.
Re-slot steps: expand/shrink zones, move only the outliers, and update signage
After the quick review, make a small set of controlled adjustments to bring the room back to “zones you can trust.” The goal is to restore fast retrieval, not to create an aesthetically perfect room.
Treat zone boundaries as flexible. If same-day is consistently bursting and 48-hour is half empty, that is not failure—it is information. Re-slotting is how you keep mailroom layout optimization aligned to real pickup behavior.
Aging rules for long-tail: escalation, resident reminders, and return-to-sender workflows
Long-tail is where shelf bloat quietly becomes permanent. Weekly re-slotting should include a predictable aging routine so older items do not occupy prime shelf space and newer packages do not get buried behind them.
Keep the rules simple enough that any trained team member can apply them consistently, even during a busy week. Consistency matters more than intensity.
Roles and accountability: who does it, when, and how to confirm it’s done (checklist)
A weekly reset fails when it is “everyone’s job,” because it becomes no one’s priority. Assign an owner, define a backup, and make completion visible. The best accountability is a short checklist that lives where the work happens (clipboard in the room or a shared task list).
If you run a front desk with multiple shifts, the handoff matters: the person who re-slots should also leave a brief note about what changed so the next shift does not unknowingly undo it.
Make it measurable: a simple scorecard for retrieval time reduction and fewer errors
A package room slotting system only “sticks” if your team can see, week over week, whether it is actually producing retrieval time reduction and fewer handoff mistakes. The goal is not to build a dashboard project; it is to use a data-light scorecard that takes minutes to maintain and gives clear direction on what to adjust in your package room organization method.
Treat measurement as part of mailroom layout optimization: you are testing whether your zone placement (same-day, 48-hour, long-tail) is minimizing steps, searching, and re-handling under real workload. If the scorecard doesn’t change your decisions, it’s too complex.
- Keep sampling consistent: measure at the same times of day and on the same types of days (e.g., one weekday rush, one slower window).
- Measure the process, not the people: record what happened and where, without naming staff. Focus on fixing layout and flow.
- Use “good enough” precision: minutes and simple counts are sufficient if you collect them consistently.
- Tie every metric to an action: if a number moves the wrong way, you should know what you’ll check first (zone sizing, signage, intake discipline, overflow rules).
Two core measures: average find-time and “can’t locate” count (with consistent sampling)
If you track only two things, track these. They directly reflect whether your slotting zones are reducing searching and whether packages are being placed where the log/label says they are.
1) Average find-time (sampling method). Pick a short daily window that mirrors your real pressure (for many buildings, that’s the after-work pickup rush) and time a small sample of retrievals from “resident verified” to “package in hand.” Use the same start/stop definition every time. If your process includes walking the resident to the room vs retrieving behind the desk, measure the part you control consistently (the actual locate-and-grab time).
2) “Can’t locate” count. This is the number of times a package is marked as present (in your log, QR-label list, or carrier manifest) but staff cannot find it within a reasonable search window and must escalate (second search, manager help, call-back, or incident note). This is your most important error signal because it captures mis-sorts, drift between zones, and intake shortcuts that break accountability.
Operational signals to watch: re-handles, overflow frequency, and pickup wait times
Once the two core measures are in place, add a few lightweight operational signals. These help you diagnose why find-time is rising even if “can’t locate” stays flat (or vice versa).
Re-handles. Count how many packages get moved after initial placement (for example: “same-day shelf got crowded so we shifted items to 48-hour,” or “carrier dumped everything on the floor so we sorted later”). Re-handling is a root cause of shelf bloat because it creates new “mystery locations” and steals staff time during peak windows.
Overflow frequency. Track how often any zone hits an overflow condition (e.g., same-day zone full, long-tail zone spilling onto floor staging, or the 48-hour area encroaching into the golden zone near the handoff point). Overflow is not a failure; it’s a sizing signal. If overflow is frequent in one zone, your cutoffs or space allocation need tuning, not more ad-hoc piling elsewhere in the room. This is where mailroom layout optimization becomes visible without renovations: you’re reallocating the same shelves to match retrieval velocity instead of package size alone.
90-day tuning: adjusting zone cutoffs as resident behavior changes (holidays, move-in season)
A package room slotting system is not “set it and forget it.” Resident pickup patterns shift. Carriers change drop times. Move-ins create bursts. The point of your scorecard is to tell you when to tune your velocity cutoffs and shelf allocation without disrupting daily operations.
On a 90-day cadence (or sooner during obvious seasonal shifts), review: (1) whether the same-day zone is routinely overflowing, (2) whether the 48-hour zone is acting like a second same-day shelf, and (3) whether long-tail is accumulating beyond your aging rules. Then make one deliberate change at a time: either adjust the cutoff definition (what qualifies as same-day vs 48-hour) or adjust how many shelves/rows each zone owns.
A practical way to tune without analysis paralysis: when find-time rises but “can’t locate” does not, your issue is usually walk path and density (too many items in the fastest zone, creating visual searching). When “can’t locate” rises, your issue is usually compliance (intake placement confirmation, shelf ID/row-level logic, label damage, or staff “zone swapping” during rush). Adjust the system accordingly: change the space and signage for the first case; reinforce the intake/pickup checklist and shelf ID discipline for the second.
Quick-start: 7-day launch plan to implement the slotting zones with current staff and shelves
This is a fast implementation that builds measurement in from day one. The goal is to stand up the scorecard, launch the zones, and end the week with clear next actions. No renovations, no special tools required beyond whatever logging method you already use (spreadsheet, package log, or QR-label workflow).
Day 1: Define the scorecard and sampling rules. Agree on your exact find-time start/stop definition. Create a one-page scorecard sheet (paper or shared doc) with fields for: date/time window, number of timed retrievals, total minutes, average, “can’t locate” count, re-handles count, overflow notes, and one “what we changed” line.
Day 2: Baseline sample (before changes). During your chosen window, time a small set of retrievals and record “can’t locate” incidents. Do not fix anything mid-sample; capture reality. This baseline becomes your reference for retrieval time reduction later without needing any invented benchmarks or outside stats; you are competing against your own prior week’s friction, not an industry average.
Frequently Asked Questions
What is a package room slotting system, and why does it stop “shelf bloat”?
A package room slotting system is a warehouse-inspired way to place packages based on how quickly they will be picked up (pickup velocity), not how big they are. “Shelf bloat” usually feels like a space problem, but it’s often a retrieval-time problem: packages get re-handled, shifted, and stacked in ways that slow down locating.
When your fastest-moving items sit closest to the handoff point and have consistent, labeled homes, staff spend less time walking, scanning shelves, and undoing piles. The result is retrieval time reduction and fewer “can’t locate” moments, without changing your shelving or adding square footage.
How do we choose the right cutoffs for same-day, 48-hour, and long-tail in our building?
Start with behavior, not guesswork. Use a simple 20-minute sample: check a handful of recent deliveries and note when they were actually picked up (or are still waiting). Then set cutoffs that match reality and are easy to teach.
A practical approach:
– Same-day zone: packages you expect to leave within the day (your “high-velocity” stream)
– 48-hour zone: packages that typically clear within two days
– Long-tail zone: anything that routinely sits beyond 48 hours (including missed notifications, travel, or residents who pick up weekly)
If you are unsure, keep the system simple at launch: use same-day and 48-hour as your default intake zones, and treat long-tail as an aging destination (moved after it misses the 48-hour window). Then adjust after two weekly re-slot cycles based on what actually happens.
We already organize by size. Why is velocity-based zoning better for mailroom layout optimization?
Sorting by size makes shelves look tidy, but it does not optimize for the job you do most: finding the right package fast while residents are waiting.
Velocity-based zoning supports mailroom layout optimization because it aligns shelf placement with walking paths and frequency:
– The packages you touch most often live closest to the handoff point (“golden zone”), reducing steps and search time.
– Slower-moving packages are pushed farther out, protecting your high-velocity shelves from clogging.
– Staff learn where to look first, which reduces mis-picks and repeated shelf scanning.
You can still keep size rules inside a zone (for stability and safety), but size should be secondary to pickup speed.
How do we handle exceptions like oversize items, perishables, signature-required deliveries, lockers, and carrier dumps?
A package room organization method only works if exceptions have clear, repeatable rules that do not create mystery piles.
Practical exception rules:
– Oversize: assign an Oversize strip along a wall or floor-marked area, but still slot by velocity (e.g., Oversize-Same-Day, Oversize-48-Hour). If you can’t split physically, use two colored stickers or two label marks to show expected velocity.
– Perishables: use a dedicated Perishable zone with a strict aging rule (for example, same-day handling priority). Treat it as its own velocity stream because it is time-sensitive.
– Signature-required: keep a Signature Hold area at the front desk or in a controlled shelf section, with a simple check-out log. Do not mix it into general shelves.
– Lockers: treat lockers as a separate zone. If lockers fill up, define an overflow shelf that mirrors locker organization (e.g., Locker-Overflow Same-Day). Avoid scattering overflow across the room.
– Carrier dumps (unlabeled piles): use a single Intake Staging shelf or cart. Rule: nothing leaves staging until it is logged/labeled and assigned a zone. This prevents the “we’ll sort it later” pile from becoming permanent.
What labeling approach actually speeds retrieval without creating admin work?
Use labels to remove decision-making during a rush. The goal is that any team member can find a package with the same mental map.
A low-friction labeling pattern:
– Shelf IDs that match how humans scan: Zone name + Row + Level (example: SD-A-3 for Same-Day, Row A, Level 3)
– Big, visible shelf markers at eye level; smaller markers on each shelf edge
– Place QR-labels (or the package’s ID label) consistently: same corner of the box/bag every time so staff can scan quickly
– Require a placement confirmation step: once labeled, staff verify the shelf ID before walking away (a quick say-it-out-loud habit works if you do not have a tool)
Even if you are not using software, writing the shelf ID on the label or on a small sticker reduces searching and prevents “I think it’s over there” placement.
How can we measure whether the slotting system is working without new tools or reports?
Keep measurement small and consistent. You are trying to prove retrieval time reduction and fewer errors, not build a data project.
A simple scorecard you can run with paper or a notes app:
– Average find-time sample: once per day for a week, time 5 pickups from “resident arrives” to “package in hand.” Use the same time window each day (for example, peak hour).
– “Can’t locate” count: tally each incident where staff cannot find a package within a reasonable search window and must escalate (second search, call another staff member, or mark as missing).
– Re-handle notes: count how many times staff had to move packages just to access others during intake or pickup (a quick tick-mark method works).
Review the scorecard weekly during your 30–45 minute re-slot routine. If find-time improves but “can’t locate” stays high, it usually points to drift (packages placed in the wrong zone) or weak exception handling (unlogged carrier drops, damaged labels).
Next Step: Launch Your Slotting Zones This Week
Use this quick checklist to get started: 1) Walk the room and identify the handoff point and the most reachable “golden zone.” 2) Label three zones: Same-Day, 48-Hour, Long-Tail. 3) Decide cutoffs your team can apply in seconds. 4) Add shelf IDs (simple row/level logic) and standardize QR-label placement so packages face the same direction. 5) Start a weekly 30–45 minute re-slot block on the calendar with one owner and a completion check. If you want a clean way to enforce accountability at intake and pickup, TrackNest can support consistent logging, QR-label workflows, and handoff checklists so the slotting system holds up under pressure.
A Velocity-Based Slotting System Keeps the Room Calm When Volume Isn’t
Shelf bloat doesn’t announce itself as “disorganization.” It shows up as extra minutes per pickup, repeated re-handling, and that nagging sense that the room is always one delivery away from chaos. A package room slotting system fixes the root cause by treating retrieval time as the organizing principle: keep fast pickups in the most accessible zone, push slow movers out of the walk path, and make placement decisions simple enough to hold up during rush periods.
The most important part isn’t the initial setup—it’s the maintenance. A lightweight weekly re-slot (30–45 minutes) prevents the slow creep of overflow piles, keeps Long-Tail from squatting in prime locations, and gives your team a predictable moment to reset the room’s “default.” Combined with clear labeling (zone names, shelf IDs, consistent QR-label placement) and a tight intake-and-handoff routine, you get fewer “can’t locate” incidents and smoother pickups without changing your footprint.
Run this next week as a practical starting point: define your Same-Day/48-Hour/Long-Tail cutoffs, assign zones on your existing shelves, and pick one simple measure to track (average find-time during a consistent daily window). If the zones stay clean for seven days, you’ve already proven the method—and you’ll have a baseline to tune cutoffs as seasons, move-ins, or holiday delivery surges change resident pickup behavior.