
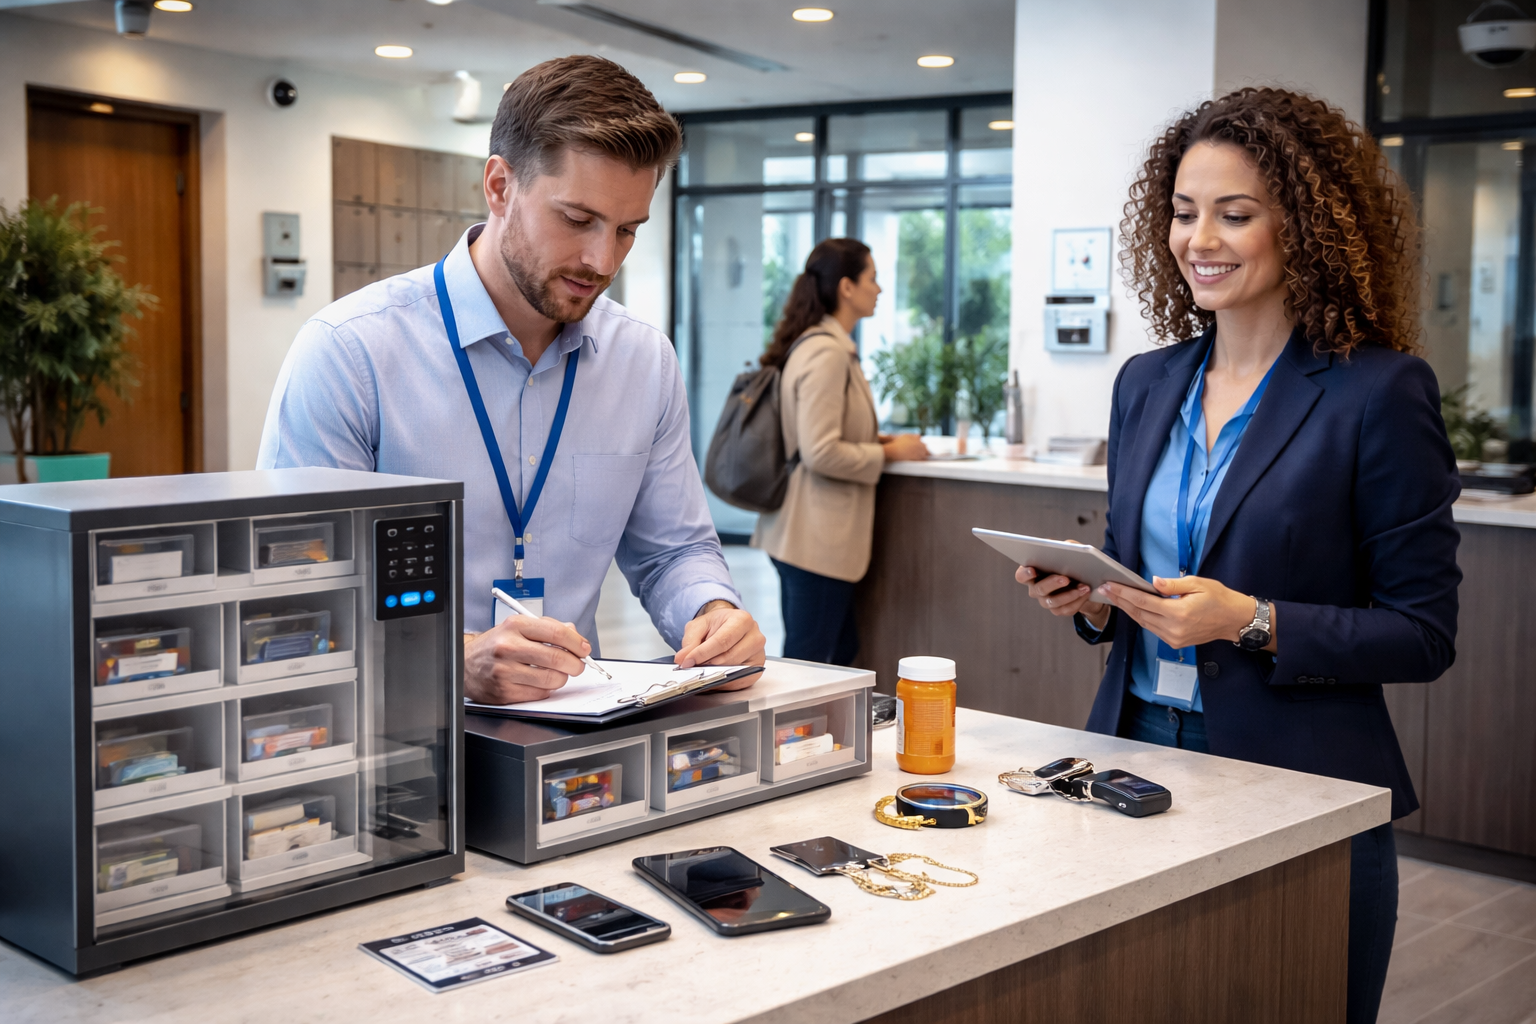
Why lost-and-found in residential lobbies is a risk-control process (not a courtesy desk)
Lost-and-found in a condo or multifamily building isn’t like a hotel. Residents return days later, multiple staff members rotate across shifts, and the items you handle often control building access or contain personal data.
A defensible workflow protects residents and staff: it reduces “it disappeared between shifts,” helps you avoid privacy missteps with IDs/medical items, and cuts repetitive calls by making claims trackable and consistent.
[!QUICK ANSWER] The safest lost-and-found workflow is: secure intake + classify sensitive vs. non-sensitive + assign a storage location + verify the claimant (unit-based) + log every handoff/release + follow a defined retention/disposal rule.
What makes multifamily/condo lost-and-found different from hotel workflows
Unit-based verification replaces “guest stay” context
In residential buildings, the key question is “Who is authorized for this unit/building access?” not “Who checked in.” Your procedure should verify identity and authorization using building records and access rules, especially for keys, fobs, IDs, and wallets.
Access items and personal data change the stakes
A found key ring, garage remote, or fob is not just “lost property.” It’s a security credential. Likewise, IDs and medication can expose sensitive personal data—your intake and storage rules should reflect that.
Conflicts are common and predictable
Roommates, partners, guests, dog-walkers, cleaners, and delivery personnel may all claim the same item. A good SOP anticipates disputes and gives staff a script and escalation path.
[!EXPERT INSIGHT] Treat lost-and-found as a mini chain-of-custody program: if you can answer “who touched it, where was it stored, and why was it released,” you reduce liability and staff stress.
Define your item classes before you define your log
Class A: Sensitive items (restricted handling)
These items require stricter intake notes, tighter storage, and stronger claim verification.
- Government IDs, passports, immigration documents
- Keys, fobs, garage remotes, access cards
- Wallets, credit cards, checks
- Prescription medication, medical devices, insulin, EpiPens
- High-value electronics and jewelry
Class B: Standard items (normal handling)
These can typically be logged and stored with normal controls.
- Clothing, umbrellas, water bottles, books
- Non-valuable accessories (e.g., hats, inexpensive gloves)
- Miscellaneous items without personal data
Class C: Perishable or hazardous (special handling)
These need a quick decision—keep briefly or dispose—based on safety.
- Food, opened beverages
- Broken glass, sharp objects, unknown substances
[!WATCH OUT] Don’t record more personal information than you need. For IDs and medical items, excessive details (full ID number, full DOB, medication name/dose) can create unnecessary privacy risk.
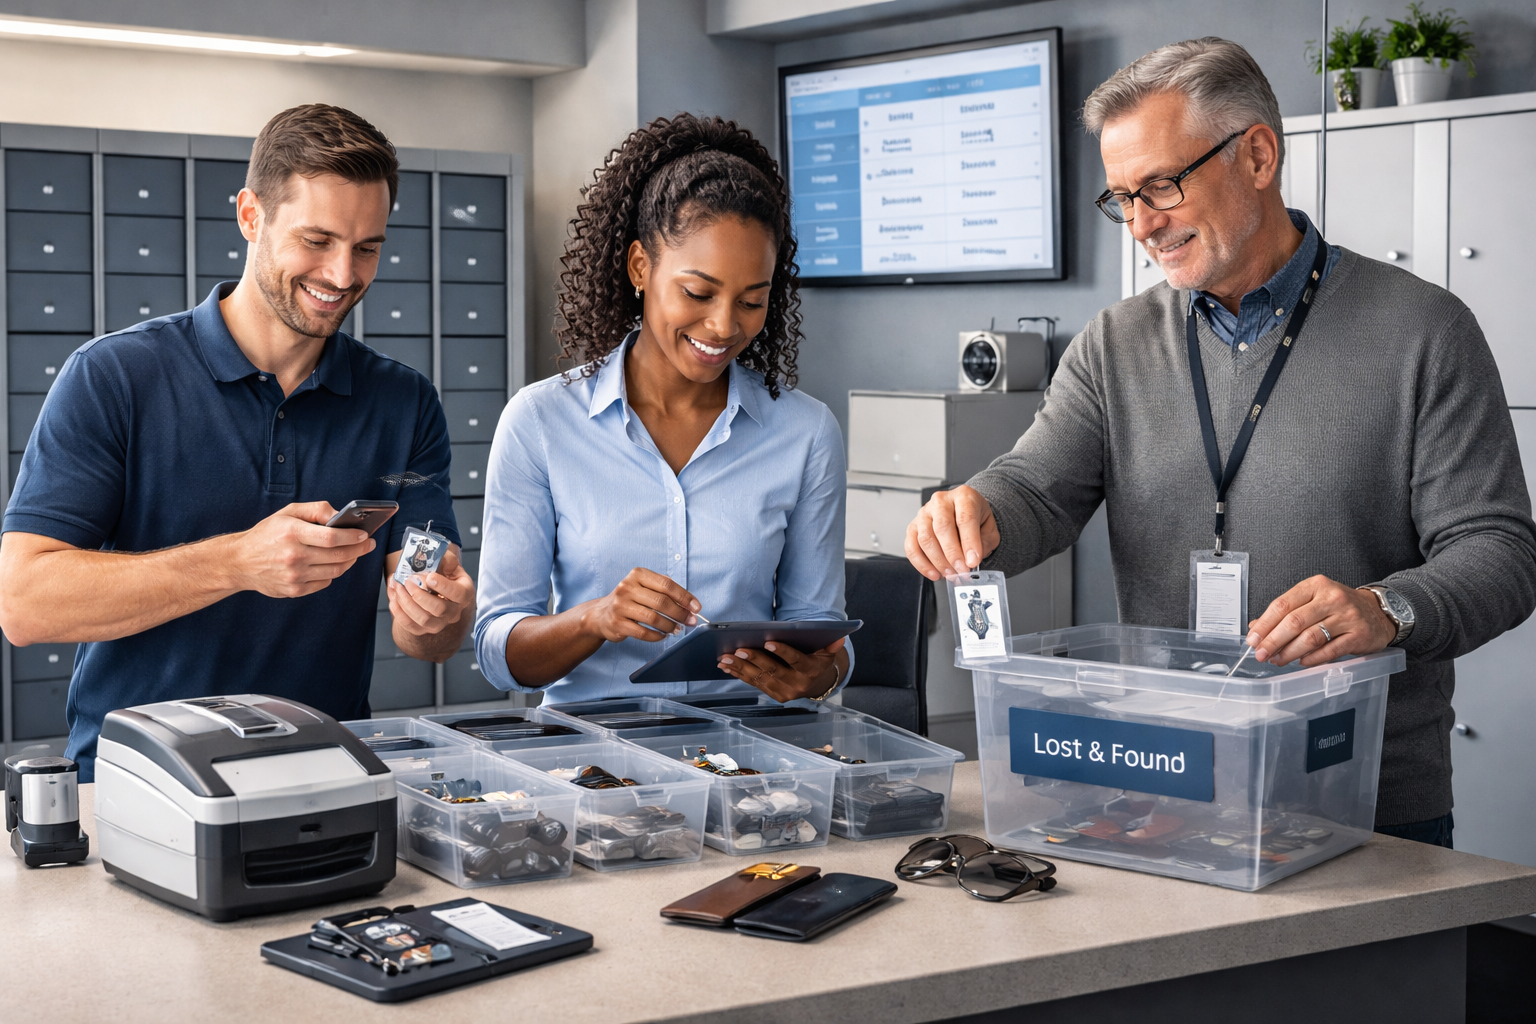
The chain-of-custody workflow: intake, storage mapping, verification, release
Step 1: Secure intake (make the item “real” in your system)
At the moment an item is found, your goal is to prevent informal handoffs and unclear responsibility. Intake should happen immediately—before the item sits on a counter, goes in a drawer, or gets passed to “whoever is on next.”
Record a consistent, minimal set of fields:
- Date/time found
- Found location (lobby sofa, elevator 12, gym, mailroom)
- Finder (staff name or “resident/contractor” if applicable)
- Item category and brief description (color, brand, distinguishing marks)
- Condition (intact/damaged) and visible identifiers (last 4 digits on a key tag, “State ID present”)
- Provisional storage location (assigned in Step 2)
If your team uses a digital front-desk workflow, capture intake on a computer, phone, or tablet so it’s consistent across shifts. If you use label scanning or AI-assisted label reading for tags/labels, keep it limited to what helps identify the item without collecting unnecessary personal data.
Step 2: Classify and route to the right storage location (stop “where did we put it?”)
Once logged, route the item to a mapped storage spot. The map is the real secret to reducing call volume and shift-to-shift confusion.
Create storage zones that match your risk level:
- Zone S (Secure): locked cabinet/safe for Class A sensitive items
- Zone G (General): labeled bins/shelves for Class B standard items
- Zone H (Hazard/Perishable): sealed container or designated disposal holding area for Class C
Assign each zone clear labels (e.g., S-1, S-2, G-3 shelf) and require staff to log the exact location. If you can’t physically lock a cabinet, at least restrict access to a staff-only room and keep a written key-control policy for that storage.
Step 3: Verify the claimant and release with a receipt trail
Release is where most liability and conflict happens. Your goal is to verify authorization, document the handoff, and close the loop.
For Class B standard items, verification can be lighter:
- Ask claimant to describe the item (brand, color, unique mark) before you show it
- Confirm name and unit number
- Capture a signature/acknowledgment and time/date of pickup
For Class A sensitive items, use stronger verification:
- Verify the claimant’s identity and unit authorization against building records
- For keys/fobs: confirm they are an authorized resident/owner or approved occupant
- For wallets/IDs: require identity confirmation that matches the ID (without copying the ID unless your policy and local law allow it)
- Log the releasing staff member and any manager approval if required
If your building offers resident self-serve claim requests (e.g., “I lost my keys” submitted digitally), treat the request as a lead, not proof. The item still must be verified at pickup.
Privacy-safe intake rules for IDs, medication, and medical devices
Keep records minimal but useful
When an item contains personal data, log only what you need to distinguish it. “Blue wallet, driver’s license visible (State), initials J.M.” is usually enough for staff to match a claim.
Avoid recording full ID numbers, full address, or full DOB in your log unless required by your legal counsel and policy. The more you store, the more you must protect.
Handle medication like a safety item
Medication raises both privacy and safety concerns. You may need a written rule that staff do not open pill bottles or inspect contents.
Log it generically (e.g., “Prescription bottle with name label visible”) and store it in Zone S. If your policy allows contacting the resident, keep the outreach minimal and don’t disclose details to anyone not authorized for the unit.
[!EXPERT INSIGHT] A practical standard: describe what you can see without opening anything. If you have to open, unfold, or power on a device to identify it, stop and escalate.
Conflict scenarios: roommates, ex-partners, guests, and “I’m picking up for them”
Use an authorization-first decision rule
Conflicts aren’t personal; they’re procedural. Create a simple rule: If the claimant is not an authorized person for the unit, do not release Class A items.
For example, a partner claiming a fob “for Unit 12B” should be treated like an access request. If they are not listed as authorized, the answer is no—regardless of how convincing the story is.
Provide staff a short script and escalation path
Your team needs language that is calm and consistent.
- “For keys, fobs, IDs, and wallets, we can only release to an authorized resident/owner with verification.”
- “If you’d like, we can contact the unit owner/authorized resident to confirm, or you can return with them.”
- “If there’s a dispute, a manager must approve the release.”
This reduces pressure on individual staff members and keeps the desk from becoming an argument forum.
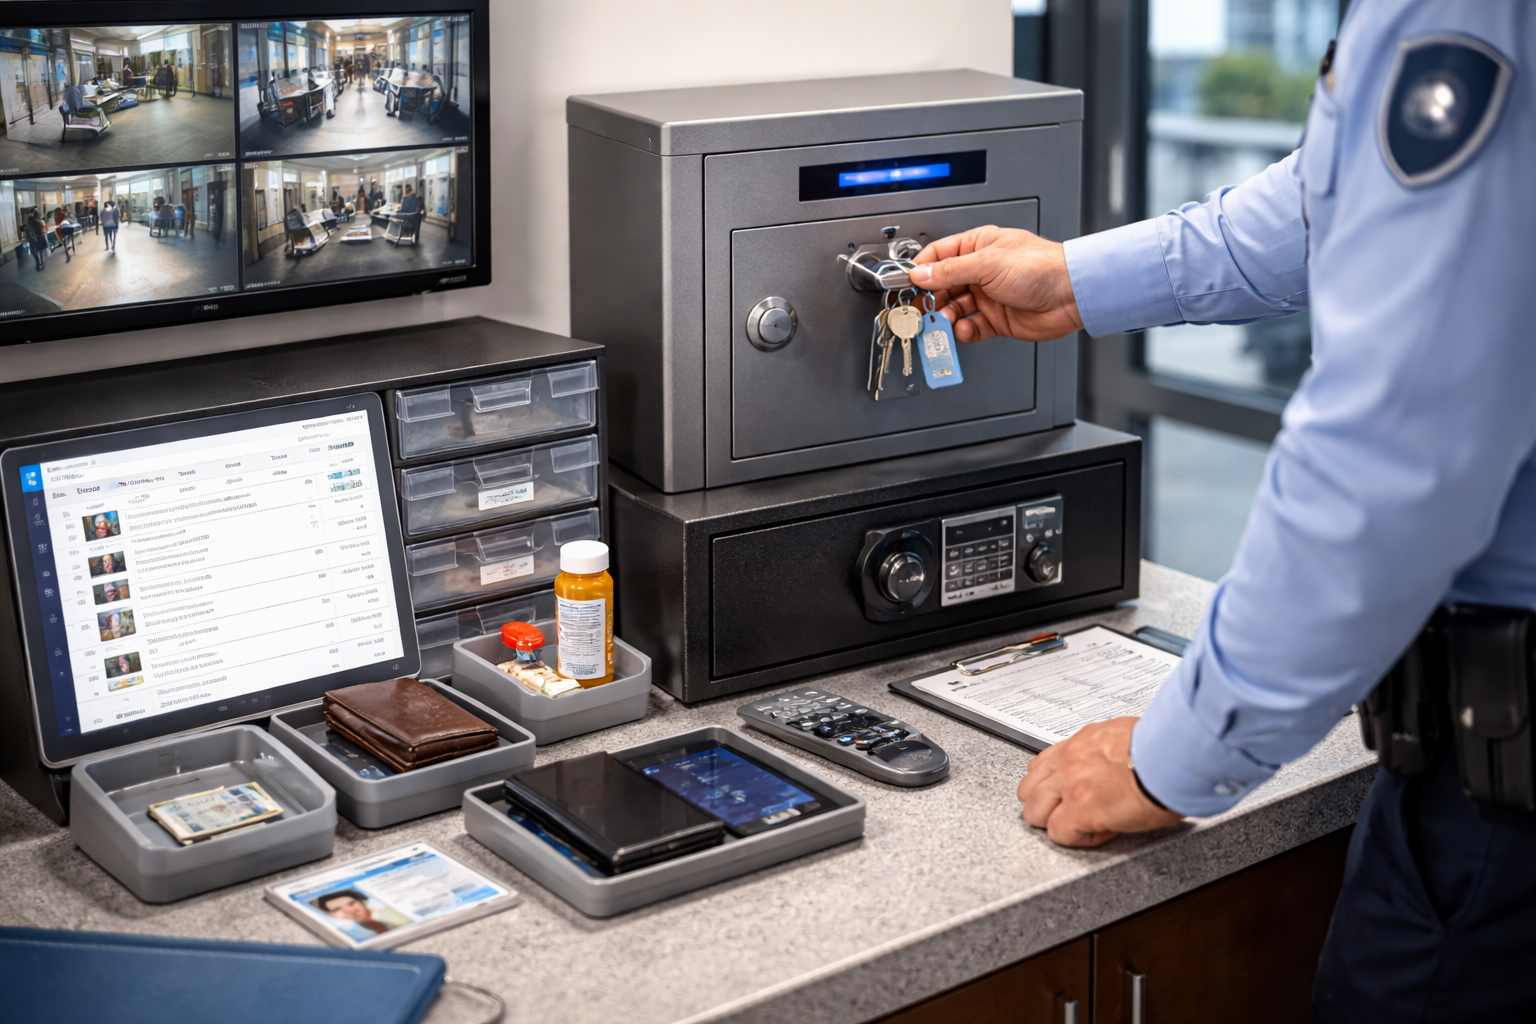
Retention and disposal: set expectations before you need them
Pick retention windows by class
A simple retention policy prevents indefinite storage and confusion.
- Class A sensitive: longer retention, secure storage, documented disposal method
- Class B standard: moderate retention (e.g., 30–60 days) then donation/disposal
- Class C perishable/hazard: short holding period (same day/24 hours) then disposal
Align retention rules with your building’s legal guidance and any condo association requirements. Post a resident-facing summary (without listing sensitive details) so expectations are clear.
Document disposal like a release
Disposal is a chain-of-custody event. Record date/time, method (donated, discarded, turned over to authorities where applicable), and staff member.
Resident self-serve claims without turning your log into a privacy leak
Let residents request—don’t let residents browse
In residential settings, a public “gallery of found items” can backfire. Items often imply where someone lives, what they own, or what access credentials they carry.
A safer model is self-serve claim submission:
- Resident submits a request describing their lost item
- Staff matches it to logged items and replies through approved channels
- Resident completes verification at pickup
Reduce “Did you find my…?” calls with status clarity
Whether you use paper logs or a digital workflow, make it easy to answer two questions fast:
- “Is there an item that matches this description?”
- “Where is it stored, and who can release it?”
This is where consistent categories and storage mapping pay off.
[!ACTION CHECKLIST] Use this checklist to implement a chain-of-custody lost-and-found SOP in one week:
- Define Class A/B/C categories and examples specific to your property
- Label storage zones (S/G/H) and create a simple location map for staff
- Standardize intake fields (what to record, what not to record)
- Set verification rules for Class A vs. Class B (unit authorization + ID check)
- Create a conflict script and an escalation rule (manager approval triggers)
- Set retention/disposal timelines and document disposal steps
- Train staff on shift-change handoffs and weekly audits of storage zones
How to keep it consistent across shifts (where most programs fail)
Add a shift-change handoff routine
Make lost-and-found part of every shift change, not a special project. A 3-minute handoff prevents items from sitting unlogged or being “temporarily placed” somewhere.
Handoff basics:
- Confirm all newly found items are logged
- Confirm all Class A items are in Zone S and recorded to the correct location
- Review pending claims/disputes and note who can approve release
Do small audits instead of big cleanups
A weekly mini-audit of Zone S and Zone G catches drift early. Check that physical items match log entries and that disposal timelines are being followed.

Key Takeaways
- Multifamily lost-and-found should run like a chain-of-custody process, not a casual courtesy desk.
- Classifying items (sensitive vs. standard vs. perishable) drives privacy rules, storage, and verification.
- Storage-location mapping eliminates “where did we put it?” and reduces repeat resident calls.
- Unit-based authorization is essential for keys, fobs, IDs, wallets, and medical items—especially in conflicts.
- Disposal is a documented event; retention rules prevent clutter and reduce risk.
Frequently Asked Questions
How should we log a found driver’s license without creating privacy risk?
Log minimal descriptors (e.g., state, name initials, “ID present”) and where it’s stored. Avoid recording full ID numbers, full address, or DOB unless your policy and counsel require it.
What’s the safest policy for found keys and fobs?
Treat them as security credentials: store in a locked zone, release only to verified authorized residents/owners (or approved occupants), and log the releasing staff member plus time/date of pickup.
Can we release an item to a roommate or partner?
Only if your building records show they’re authorized for the unit (or you have documented approval from an authorized resident, per your policy). For Class A items, don’t “make exceptions” at the desk.
Should we post photos of found items for residents to browse?
In residential buildings, it’s often safer to avoid public galleries because items can reveal personal data or security-related details. Use a claim-request approach and verify at pickup.
How long should we keep lost-and-found items?
Use class-based retention windows (longer for sensitive, shorter for standard, shortest for perishable/hazard). Align the exact timelines with your building policy and local guidance.
Take the Next Step
A consistent, auditable lost-and-found process is one of the simplest ways to reduce lobby risk, resident frustration, and shift-to-shift confusion—without adding hardware like lockers.
If you want to modernize intake, storage tracking, and pickup records across computers, phones, and tablets, request a walkthrough of TrackNest’s workflow: https://tracknest-isst.us/request-a-tracknest-demo/