
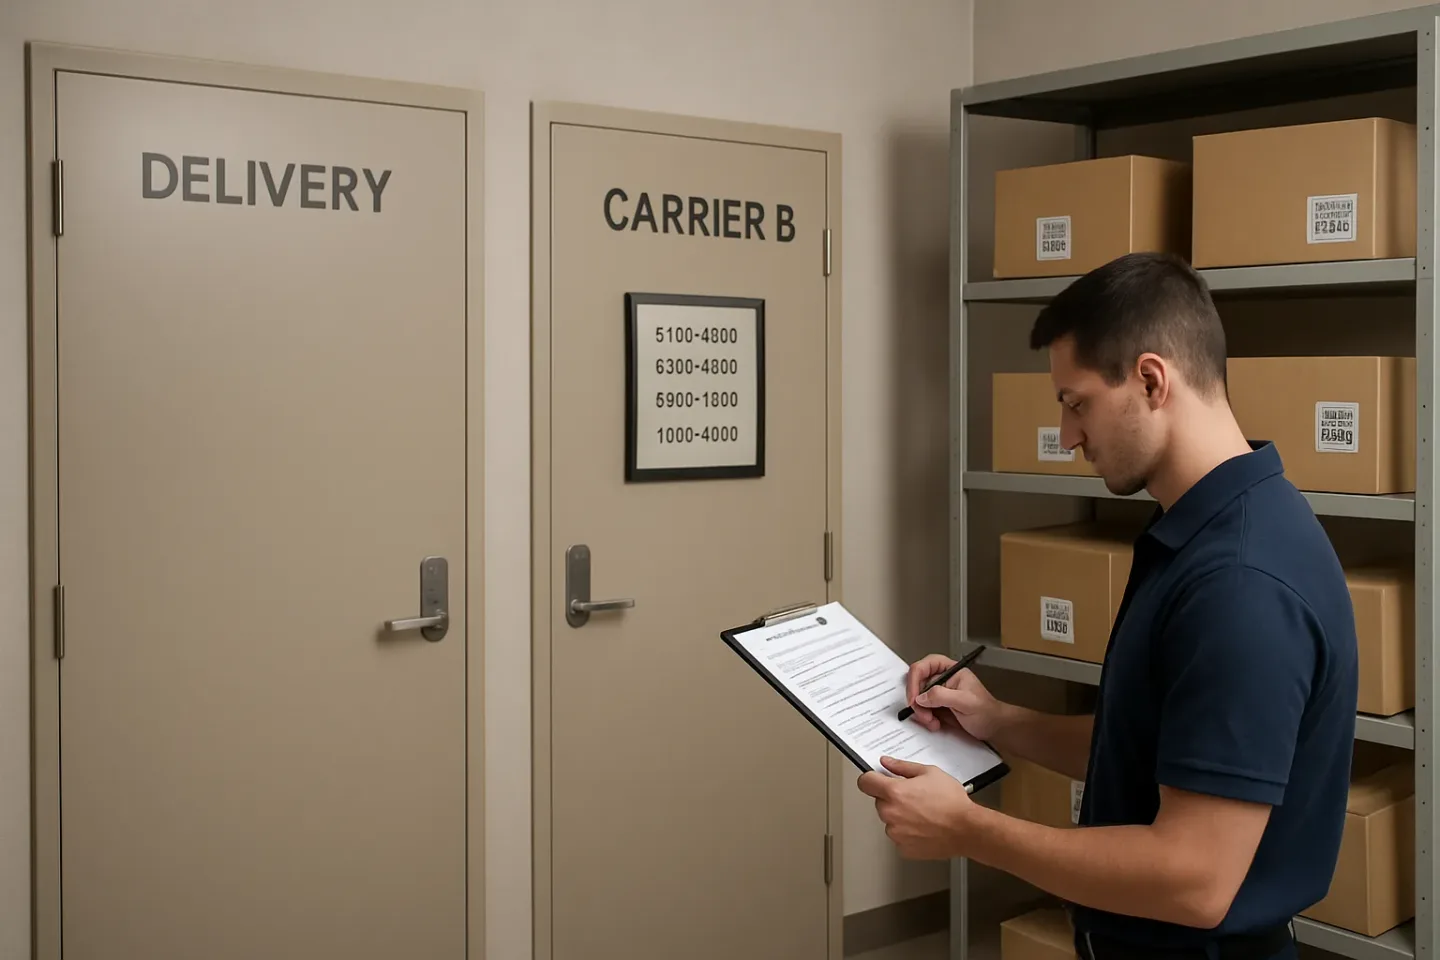
Carrier Arrival Smoothing: Door Rules + Micro Time-Windows Without Contracts
If your lobby and package room feel calm most of the day and then become chaos in two predictable bursts, the root problem is rarely staffing effort. It is timing. When multiple carriers arrive at once, a small receiving area turns into a choke point: residents thread through stacks of boxes, staff rush sorting decisions, and mis-shelving increases because there is no safe, consistent place to put the next item.
This article lays out a lightweight carrier delivery scheduling apartment building approach that shapes arrivals without trying to run a full dock scheduler. The idea is simple and cooperative: define door assignment rules by carrier (and sometimes by package type), publish micro delivery time windows that respect route variability, add a few clear overflow triggers so staff always knows what to do when volume spikes, and track compliance with two neutral metrics (on-time-to-window and re-delivery rate).
The goal is not to force carriers into contracts or long email threads. The goal is lobby congestion reduction through small constraints that make your intake predictable: carriers know exactly where to go, residents keep clear paths, and your team gets time back because fewer decisions happen under pressure. If you already use QR labels, checklists, or a package-room handoff process, this slots in cleanly: you are not adding steps so much as stabilizing when and where the steps occur.
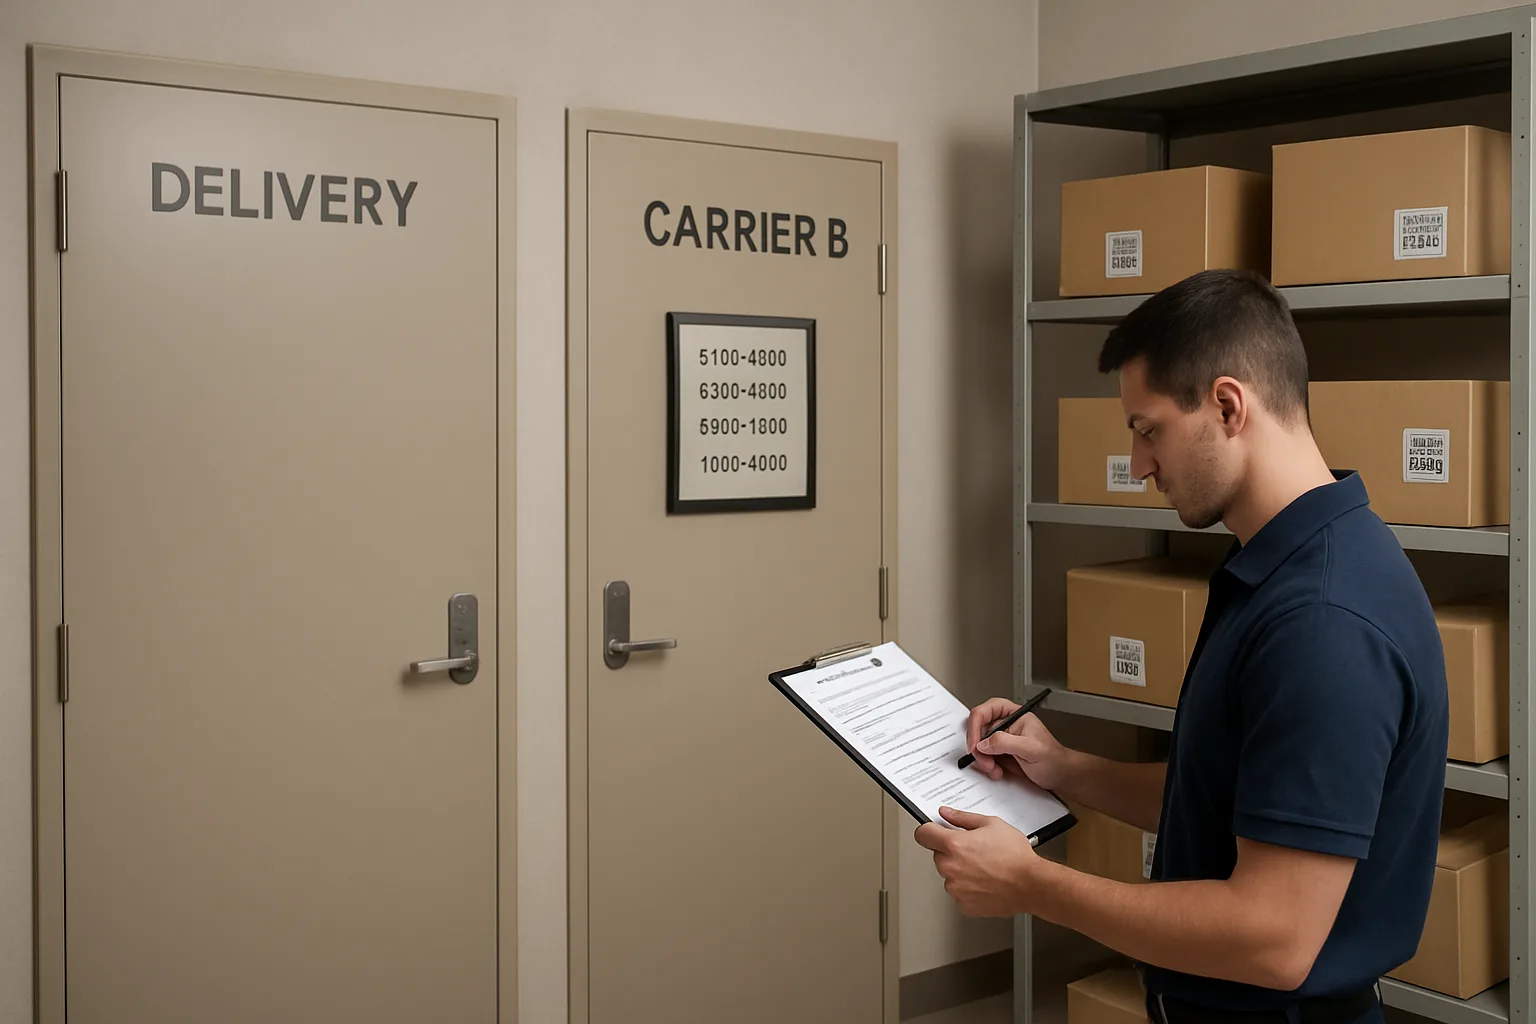
Define the operating goal: reduce peak arrivals without becoming a full dock scheduler
In carrier delivery scheduling apartment building operations, the win is not perfect appointment precision. The win is predictable enough flow that your lobby and package room do not hit a tipping point where staff start improvising, residents get blocked, and packages get mis-shelved under pressure.
Think of this as dock scheduling lite: a few clear constraints that shape when and where carriers arrive, without forcing carriers to call ahead, sign contracts, or follow a complex booking system. You are smoothing peaks, not micromanaging routes.
Set a simple operating goal you can repeat internally and externally: reduce peak-time collisions (multiple carriers plus resident traffic) while keeping drop-off friction low for drivers and manageable for the front desk. That goal will guide every rule you add later (door assignment, delivery time windows, and overflow triggers).
- Practical target outcome: fewer moments where more than one carrier is waiting inside the same small area.
- Practical target outcome: fewer rushed “just put it anywhere” piles that lead to mis-shelving and hard-to-find packages.
- Practical target outcome: a calmer handoff rhythm that fits your existing staffing (no new headcount).
What problems this solves (and what it does not)
This approach is built for buildings that see multiple daily carriers but do not have a true loading dock operation with a dock master, staging lanes, and appointment-only freight. It addresses predictable friction points without pretending you can fully control delivery networks.
What it solves:
– Lobby congestion reduction during predictable peaks (late morning and late afternoon are common, but you should verify yours). The goal is to prevent two or three carriers from converging at once in the same choke point.
– Resident traffic conflicts at the front desk: fewer moments where residents are trying to pass a carrier cart, sign for a package, or ask questions while staff are mid-intake.
– Rushed intake behavior that causes mis-shelving: fewer “temporary stacks” that become permanent, fewer unscanned items, fewer items placed in the wrong zone.
– Confusion about where to go: carriers learn consistent door assignment expectations so staff are not repeatedly redirecting drivers in real time.
What it does not solve:
– It will not guarantee exact arrival times. Carriers have route variability, weather delays, and dispatch changes.
– It will not eliminate volume spikes (holidays, move-in weekends, promotional drops). It helps you absorb them with defined overflow behavior.
– It will not replace access control or secure storage limitations. If your package room is physically undersized, this reduces chaos but not the need for longer-term space planning.
If you frame it correctly, you are not telling carriers how to run their routes. You are telling them: “Here is how to succeed in our building with minimal time lost and minimal re-deliveries.”
What you need before you start: doors, space map, and a 1-week arrival baseline
You can start with very little, but you do need three inputs so your rules are based on reality rather than anecdotes.
1) Doors and constraints list (15 minutes)
Write down every possible intake point and its limitations. Example fields:
– Door name (Front Desk, Service/Loading, Garage Entry)
– Access method (key fob, call box, staffed hours)
– Cart friendliness (ramps, tight turns, elevator proximity)
– Resident interference risk (high at leasing/front entry, lower at service corridors)
– Security risk (public visibility, camera coverage)
2) A simple space map (30–60 minutes)
Sketch your intake flow from door to final shelf. Include:
– Where carts can park without blocking residents
– Where a temporary staging grid could exist (even if it’s only 6–10 floor squares)
– Any choke points (single doorway into package room, narrow hallway, elevator bank)
This does not need to be a formal drawing. It needs to be something staff can point to during a shift handoff.
3) One-week arrival baseline (no special tools required)
For five to seven days, log each carrier arrival with four quick notes:
– Time (rounded to 5 minutes is fine)
– Carrier name
– Door used
– Rough volume indicator (small/medium/heavy, or a quick count bucket like 1–10, 11–30, 31+)
If you already use QR-label intake or scanning at the desk, you can piggyback on the first scan timestamp. If not, a clipboard or shared note works. The point is to see clustering: when do arrivals overlap, and which carriers create the highest collision risk.
At the end of the week, you should be able to answer two questions with confidence:
– What are our top two peak windows where multiple carriers overlap?
– Which door/zone is failing first (lobby, desk counter, package-room entrance, shelving)?
The lightweight promise: no contracts, no new headcount, minimal carrier back-and-forth
To keep carrier coordination cooperative, define what you are not asking carriers to do. Your system should feel like a shortcut, not a burden.
Make these promises internally and in carrier-facing notes:
– No contracts, no penalties: you are publishing preferences and building rules, not enforcing a formal dock appointment program.
– No booking calls: carriers do not need to phone the desk to reserve a slot.
– No extra staff tasks: the desk should log arrivals in a few seconds (time + carrier + door + exception code if needed), not maintain a calendar all day.
– Minimal back-and-forth: carriers should be able to comply by remembering two things: which door to use and which micro delivery time windows to target.
Operationally, this matters because the front desk cannot become a dispatcher. The system must survive real conditions: shift changes, resident interruptions, and unpredictable spikes. If a rule requires constant negotiation, it will collapse during the exact moments you need it most.
A good litmus test: if a new staff member can learn the intent in one shift handoff (“We steer Carrier X to Door A in the late morning window, and we use overflow trigger Y when shelves hit capacity”), you are in dock scheduling lite territory. If it requires ongoing appointment management, you have accidentally built a dock program your building cannot staff.
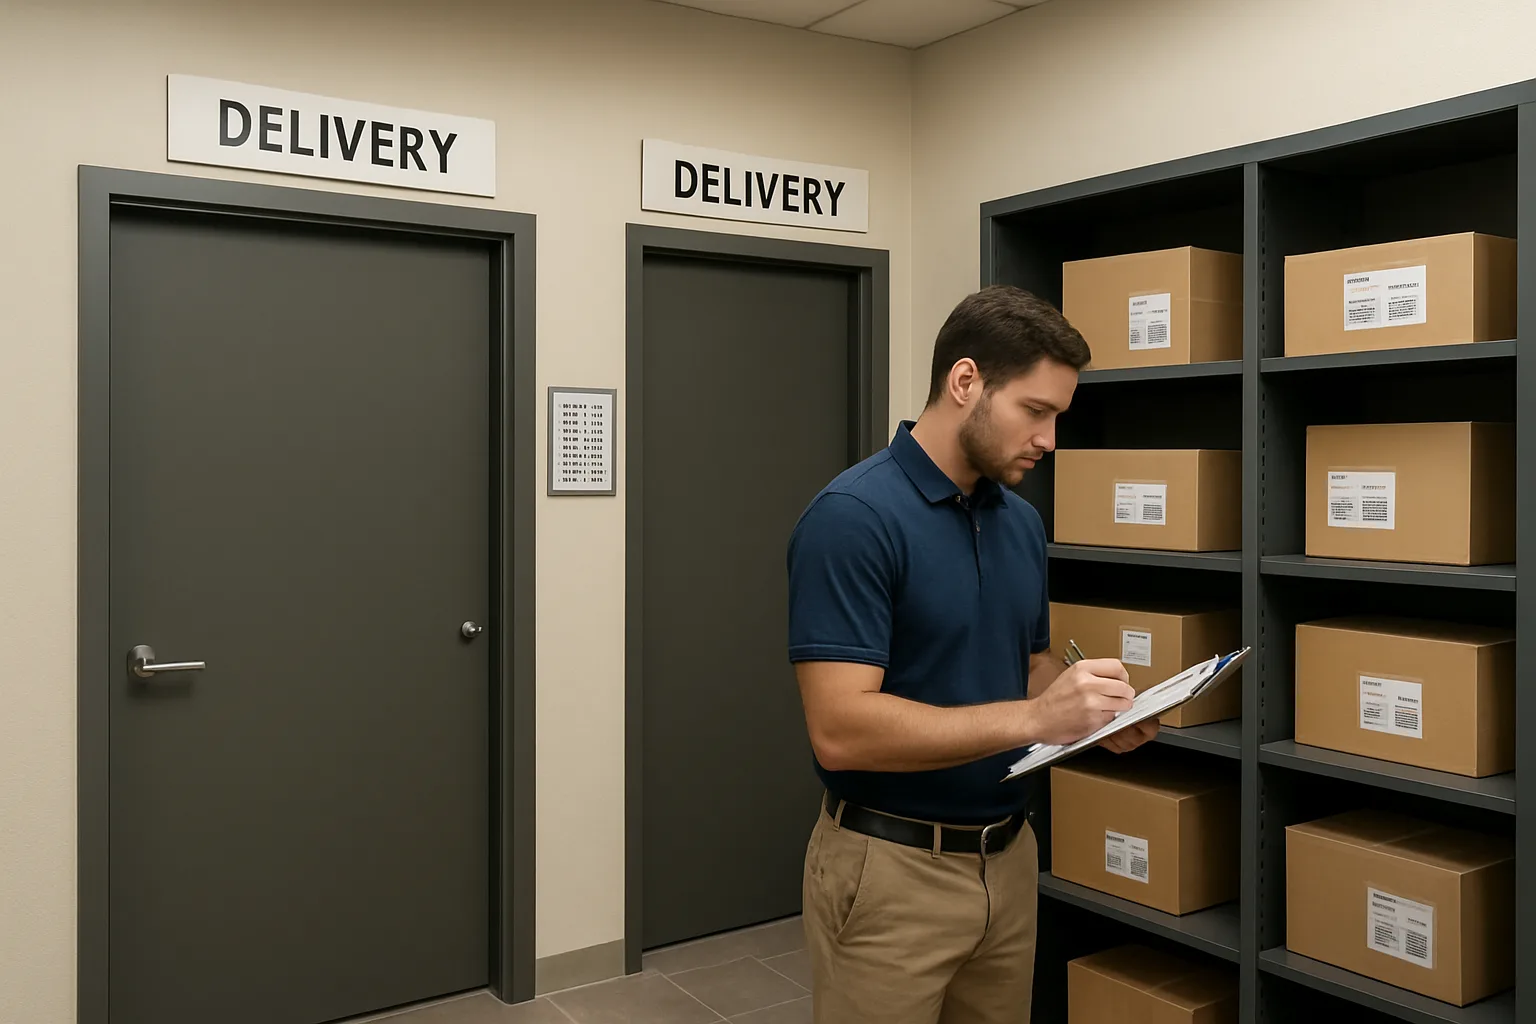
Create door assignment rules by carrier (and by package type)
Door assignment is the backbone of carrier delivery scheduling apartment building operations that feel calm instead of improvised. When every driver has a predictable drop point, your desk team stops making in-the-moment judgment calls, residents stop getting funneled into the same choke points as hand trucks, and mis-shelving drops because packages enter the system through the same few controlled paths.
Think of this as wayfinding plus access control: you are not telling carriers how to run their routes; you are telling them where deliveries enter your building so intake stays safe, secure, and repeatable. The goal is consistency under pressure, especially when multiple carriers arrive close together or a single stop has a large volume.
A good rule set fits on one page, uses plain language, and is enforceable with simple on-site cues (signs, door labels, and a front-desk script). It also includes an intentional “no” list (areas carriers should not use) so exceptions do not become the default.
- Design principle: make the default path the easiest path (closest legal parking, clearest signage, fastest handoff).
- Keep it building-realistic: if a door requires a fob or staff escort, treat it as a secondary door, not the primary.
- Minimize cross-traffic: avoid routing carts through peak resident corridors, amenity entrances, and narrow vestibules.
- Make rules observable: staff should be able to see quickly whether a drop followed the door rule (door used + timestamp).
Simple rule set: primary door, secondary door, and prohibited zones
Start with a three-part rule structure for each carrier. This keeps it simple enough for drivers to remember and strict enough for your team to enforce consistently.
Primary door is the default: where drivers go 90 percent of the time. Secondary door is your pressure-release valve: used only under defined conditions (after-hours, blocked access, overflow trigger, or scheduled freight). Prohibited zones are the places that create friction or risk (leasing entry, resident-only elevators, package room interior, back-of-house hallways, fire egress paths).
Write each carrier’s door rule as one line plus two short clarifiers: (1) where to stage, and (2) who confirms receipt. This prevents “left in lobby” from becoming the unspoken fourth door.
When to split by package type: oversized, temperature-sensitive, high-value, returns/pickups
Door rules by carrier are usually enough, but certain package types warrant a split because they stress your space, your security posture, or your handling time. The trick is to split only when the handling difference is meaningful; too many categories create confusion and reduce compliance.
Oversized items (large boxes, furniture, multiple-bag grocery orders, bulky pet supplies) typically need a different flow because they block paths and consume staging space. Temperature-sensitive deliveries (meal kits, pharmacy, refrigerated groceries) need a shorter path to a controlled holding area or immediate resident notification workflow. High-value items (electronics, jewelry, signature-required parcels) should enter through the most controlled door and, if possible, be staged where staff has line-of-sight. Returns/pickups (carrier bag pickups, label-based returns, outgoing parcels) benefit from a dedicated pickup point so drivers do not roam or interrupt intake.
If you use QR labels internally for accountability, define where the label is applied (at the door, at the intake counter, or at the staging grid). Consistency matters more than sophistication: the same package type should enter the same intake step every time.
Examples: ‘Door A for daily parcel carriers, Door B for scheduled freight, leasing entry never used’
Below are building-style examples you can adapt. The point is not the exact doors, but the pattern: one default entry per high-frequency carrier, one controlled alternative, and a clear no-go list that protects resident flow and reduces disputes.
Example 1: High-frequency parcel carriers (multiple daily arrivals). Rule: “Door A (Service Vestibule) is the only drop door for daily parcel carriers. Stage on the marked ‘Parcel Grid’ inside Door A. Do not enter the main lobby.” Secondary: “After 6 pm, use Door C (Loading) and call the front desk for access.” Prohibited: “Leasing entry and resident elevator bank.”
Example 2: Scheduled freight and large-item deliveries. Rule: “Door B (Loading) only, by appointment window. Driver checks in at intercom; staff directs to bay and staging zone.” Secondary: “If loading is blocked, hold at curb and call; do not stage in lobby.” Prohibited: “Any interior hallway staging.” This prevents oversized freight from clogging the same path as small parcels and residents commuting home from work or school runs.
How to post the rules so they stick: signage, carrier notes, and front-desk scripts
Door assignment fails when it lives only in someone’s email or in the memory of one seasoned concierge. Make the rules visible at decision points: where a driver parks, where they enter, and where staff receives. The goal is low-friction compliance, not repeated arguments at the threshold.
Use three layers of reinforcement. First, physical signage at each relevant door: big door letter/name, who should use it, where to stage, and a short “do not use” note for prohibited doors. Second, a carrier-facing note you can paste into carrier portals, driver notes, or recurring messages: one paragraph with the primary door, secondary door conditions, and a simple reason (“to reduce lobby congestion and keep resident paths clear”). Third, a front-desk script so every staff member enforces it the same way, especially during peaks.
Operational tip: when a driver uses the wrong door, correct it in the moment with a consistent sentence and a clear redirect. Then log a quick exception (carrier + door used + reason if stated). This keeps the interaction cooperative while giving you the data to adjust the rule if it is unrealistic (for example, access issues, confusing signage, or a staging area that is too small).
Publish micro delivery time windows that are easy to follow
Micro delivery time windows are the smallest scheduling constraint that still changes behavior. You are not trying to control a carrier’s route; you are giving the building a predictable rhythm so the lobby and package room do not get hit by three carriers at once, right when residents are moving through the front desk.
Done well, delivery time windows feel like a courtesy: clear options, minimal back-and-forth, and obvious fallbacks when a route runs late. Done poorly, they feel like a dock appointment system (and carriers will ignore them). The goal for carrier delivery scheduling apartment building operations is to publish windows that are short enough to reduce peak congestion, but wide enough to survive route variability and traffic.
How to pick windows: protect resident rush hours, align with staffing reality, keep options open
Start by choosing windows that reduce conflict with resident traffic and match when your desk can actually receive, scan, and stage without rushing. If the building cannot reliably process a delivery during a period, do not make it a window.
A practical way to select windows is to mark three things on a simple day map (even a printed sheet): resident rush blocks, staff pinch points, and the historical arrival clusters you already see. Then place your windows in the gaps.
Rules of thumb that keep this cooperative (not confrontational):
– Avoid the obvious rushes: typical morning outflow and evening return. Even if you are staffed, these are the times when lobby congestion reduction matters most.
– Choose windows you can honor every weekday. Carriers will follow patterns they can trust.
– Keep at least two options per day whenever possible. One window feels like an appointment. Two windows feels like flexibility.
– Do not set windows that require a carrier to wait in the lobby. If you routinely cannot receive a truck until a precise minute, you need overflow triggers and a fallback door, not tighter windows.
– Align windows with your door assignment plan. If Door A is your parcel door, your windows should assume Door A access and a clear path to staging, not ad-hoc reroutes.
Micro-windows model: two or three 60–90 minute windows per day, plus a flexible catch-up window
Most buildings get the best results with two or three windows of 60–90 minutes each. That is long enough for real-world route variance, but short enough to prevent everyone from arriving in the same 30-minute band.
A simple model you can copy:
– Window 1 (mid-morning): For early-route drops and smaller waves.
– Window 2 (mid-afternoon): For main-volume residential parcels.
– Optional Window 3 (early evening, if staffing allows): For late routes and to avoid overnight lobby buildup.
– Catch-up window (flex): A published, low-priority slot for late arrivals or exceptions, used as the pressure-release valve so carriers can still complete delivery without argument.
If you have limited receiving space, treat the catch-up window as a controlled relief period, not an invitation for everyone to show up. Make it clear that it is for late routes, building access issues, or overflow situations (and pair it with your overflow triggers so the desk knows when to activate it).
What to publish: day-of-week variations, holiday exceptions, and ‘quiet hour’ blocks
Publish less than you think, but publish it consistently. Carriers and drivers need something they can screenshot, tape to a clipboard, or add as a delivery note. The building needs something staff can enforce calmly.
Include these elements:
– Standard weekday windows: The default pattern that applies most days.
– Day-of-week variations only if they are real: If Mondays are consistently heavy or staffing differs, adjust the windows for that day. Avoid having a unique schedule for every day unless you can keep it updated.
– Quiet hour blocks: Explicit ‘do not deliver’ periods that protect your highest-conflict times (resident rush, school pickup traffic, or a known lobby bottleneck). Keep the list short and tied to safety and congestion, not preference.
– Holiday and peak-season note: A short statement describing how you handle holiday volume (for example: expanded catch-up window or temporary third window) and who to contact if a driver arrives outside the plan.
– Door reference: Each window should implicitly or explicitly tie to the correct door assignment (for example: ‘Use Door A receiving bell’). Time windows without door assignment tend to fail because the bottleneck simply moves to the wrong entrance.
Also decide what you will not publish. Do not publish promises you cannot keep (like ‘immediate access’), and do not publish complicated rules that require a driver to interpret your internal constraints. Keep it readable in 10 seconds.
Communication templates (plain text): carrier-facing note and internal desk checklist
Carrier-facing note (plain text)
Building delivery plan (effective: [date])
Primary delivery door: Door A (receiving). Do not use leasing entry.
Preferred delivery time windows:
– Window 1: [9:30–11:00]
– Window 2: [1:30–3:00]
– Catch-up (late routes/exception only): [4:30–5:30]
Quiet hours (please avoid): [8:00–9:00] and [5:30–6:30]
If you arrive outside a window:
– If Door A is clear, ring receiving and we will take delivery if we can.
– If Door A is congested or another carrier is queued, please use the catch-up window or return during the next window.
Access notes:
– Use [call box / receiving bell / key fob procedure].
– Oversized items: follow posted Door B instructions.
Questions or recurring issues: contact [role + phone/email], Mon–Fri [hours].
Thank you for helping us reduce lobby congestion and keep resident paths clear.
Internal front-desk checklist (plain text)
At start of shift:
– Confirm today’s windows and quiet hours are posted at Door A.
– Ensure staging area is ready (clear floor line, carts available, QR labels/scanner ready).
– Review any expected exceptions (holiday volume, maintenance blocking a path, elevator outage).
When a carrier arrives:
– Log: time, carrier, door used, and whether arrival is within window.
– If within window: receive, scan/label, stage in assigned zone.
– If outside window: follow the script:
1) Offer the next window (or catch-up if late-route/exception).
2) If the lobby is clear and capacity allows, accept; otherwise do not improvise.
– If congestion/overflow trigger is hit: activate overflow flow (temporary staging grid or alternate door) and record exception code.
End of shift:
– Reconcile any unscanned items or mis-shelved packages.
– Note carriers repeatedly missing windows (for monthly review).
– Reset signage if it was moved during the rush.
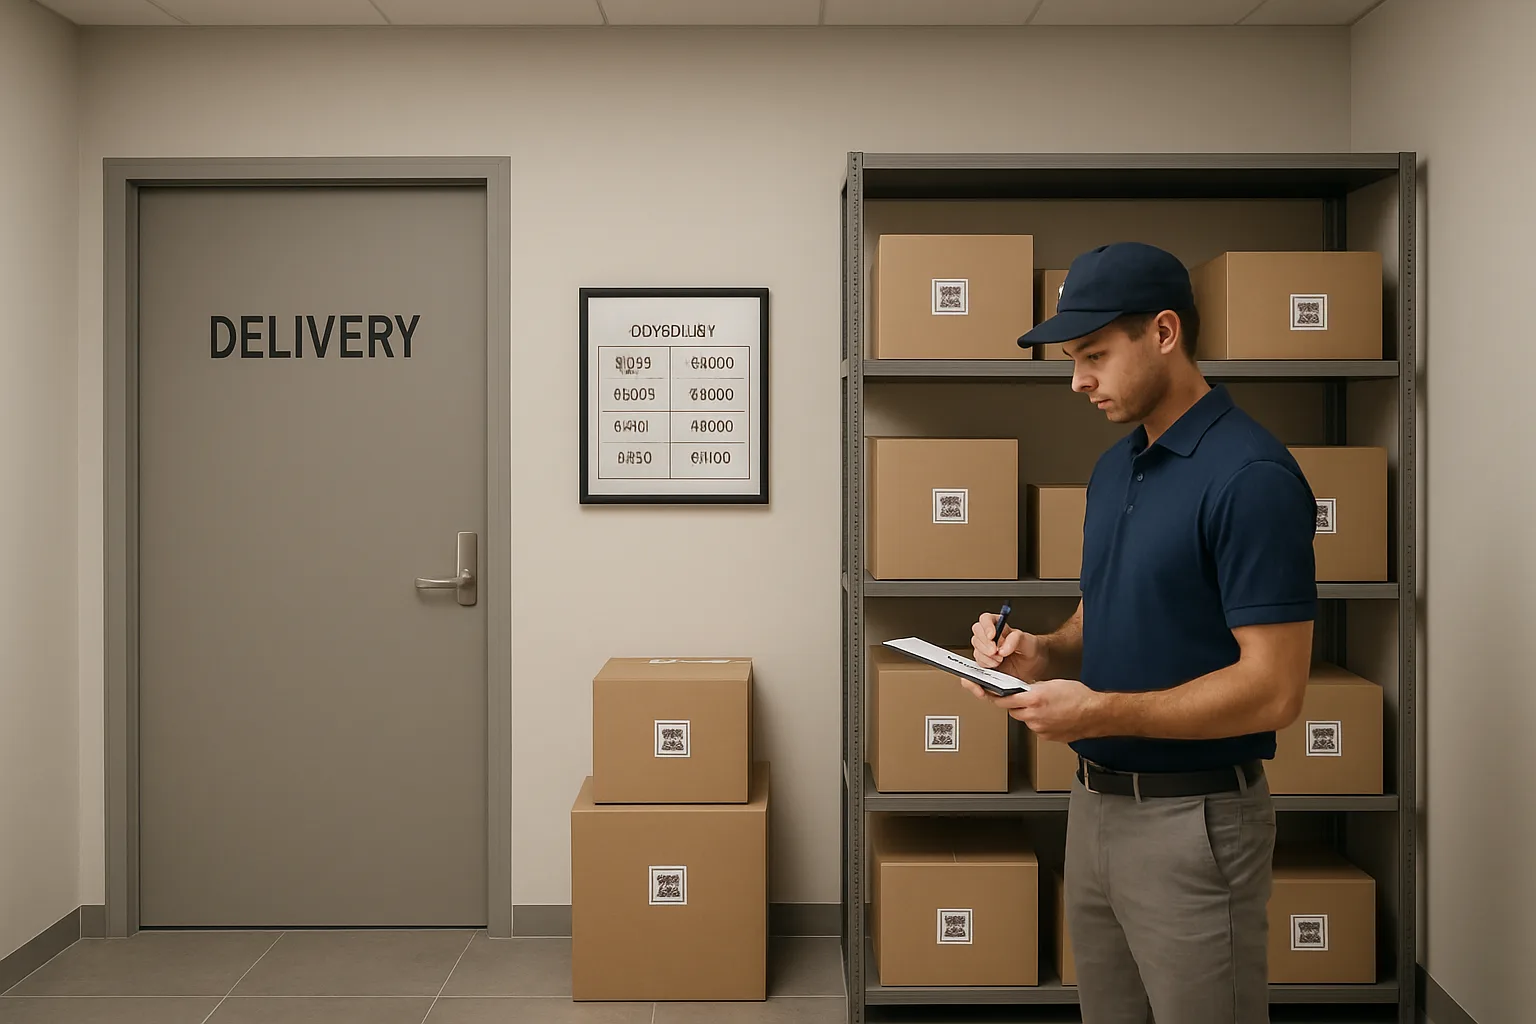
Set overflow triggers so staff always knows what to do when the plan breaks
Micro delivery time windows and door assignment reduce peak clashes, but heavy days still happen: a carrier shows up early, two vans arrive at once, the package room hits capacity, or a resident rush hits the lobby. Overflow triggers keep carrier delivery scheduling apartment building operations from turning into improvisation under pressure.
The key is to define a small set of non-negotiable triggers and pre-approved fallbacks. When a trigger is hit, staff does not debate what to do next; they run the matching flow, log a quick exception, and keep the lobby moving. This is dock scheduling lite in practice: enough structure to prevent pileups, without turning the front desk into a full-time dispatcher.
- Make triggers observable (any staff member can confirm them in seconds).
- Tie each trigger to exactly one default action (no branching decision tree).
- Prefer actions that preserve resident paths and access control, even if they add a small amount of backroom work.
- Log exceptions with simple codes so you can refine delivery time windows and door assignment later without blaming carriers or staff.
Trigger examples: ‘X packages waiting’, ‘shelves at Y%’, ‘lobby line reaches Z’, ‘more than one carrier queued’
Choose thresholds that match your actual space and staffing, then write them down as plain-language rules. Avoid vague triggers like “when it feels busy.” If a new hire cannot apply it on day one, it is not a trigger yet.
Below are common triggers buildings use. Replace the placeholder numbers with your own after a one-week baseline (or a quick walkthrough with a clipboard).
1) Packages waiting trigger: “If more than X unprocessed packages are on the intake mat or cart, switch to overflow intake.” Example: X might be one full cart, two rolling bins, or any volume that blocks the resident path past the desk. The point is to prevent a growing pile from becoming a sorting disaster and a trip hazard in the lobby corridor.
2) Shelf capacity trigger: “If any main shelf zone is above Y% full, stop normal shelving and stage by grid.” Example: Y might be “when a shelf row has fewer than two open slots” or “when the package room has fewer than N empty bins.” Use something staff can see instantly, not a calculation.
3) Lobby line trigger: “If the resident line reaches Z (a taped floor marker or the edge of the seating area), pause non-essential sorting and run a fast handoff mode.” This protects resident traffic and reduces frustrated interactions while carriers are still arriving.
4) Queue trigger: “If more than one carrier is waiting at the same door, activate the alternate door rule.” This is one of the simplest lobby congestion reduction levers: it prevents a van ‘traffic jam’ from spilling into resident space.
5) Off-window arrival trigger: “If a carrier arrives outside their delivery time windows and the lobby is already in overflow mode, accept only pre-labeled drop-offs or reroute to the alternate door.” The rule should be carrier-friendly but consistent: you are not refusing service; you are controlling where the work lands so it stays safe and searchable.
Fallback options: temporary staging grid, QR-label triage, and reroute to alternate door
Your fallbacks should be designed for speed and correctness, not perfection. The goal is to keep intake moving without creating a mis-shelving problem you will pay for all afternoon.
Temporary staging grid (fastest to deploy)
– Create a labeled grid in a controlled area: “A1–A6, B1–B6…” using floor tape, laminated signs, or shelf-end cards.
– Stage by simple rules that reduce re-handling, for example: by building section/tower, by floor band (1–5, 6–10, 11+), or by last name ranges if your resident directory supports it.
– The grid becomes the overflow buffer: packages go to the next open cell, not “wherever there is space.” Staff can later re-shelve from the grid when volume drops.
QR-label triage (accuracy under pressure)
– If you use QR labels or any scan-to-log process, switch to “log first, shelve later.” The intake action becomes: scan, timestamp, assign staging cell (A3), place package in that cell.
– If you do not have QR labels, use a simple sticker/marker shorthand: write “A3” on a small removable label and record “Carrier + time + A3” on the intake sheet.
– This reduces the most common spike-day failure: rushed sorting that leads to incorrect resident notifications or hard-to-find items.
Reroute to an alternate door (protects the lobby)
– Pre-authorize one alternate door for overflow. This is not a negotiation in the moment; it is a standing rule tied to the queue trigger.
– The alternate door should be secure, camera-covered if possible, and have a defined handoff point (for example, “inside Door B, left-side staging grid only”).
– If the alternate door is staffed less often, pair it with the triage rule: accept drop-offs only if they can be staged and logged immediately; do not allow unsupervised piles in a hallway.
Returns and pickups during overflow
– Decide in advance whether returns/pickups pause during overflow mode or shift to a specific bin. Mixing outbound and inbound during a spike is a common source of missed scans and re-deliveries. A simple rule like “outbound goes to Bin R only” prevents that.
Escalation ladder: who decides, who records it, and how to reset after the spike
Overflow only works if authority is clear. Staff should not have to ask permission while the lobby is filling. Set a short escalation ladder with decision rights and a lightweight record so the next shift understands what happened.
A practical ladder for small teams
1) Front-desk lead (or on-duty associate): Can declare overflow mode when any trigger is hit. Can reroute to the alternate door per the written rule. Logs the exception code.
2) Property manager or operations lead: Confirms any extended overflow (for example, longer than one micro-window) and approves temporary space changes (moving a cart, blocking a non-critical corridor, borrowing shelving from a storage closet). Reviews patterns weekly.
3) Building engineer or security (if applicable): Assists with access control, door unlocking schedules, and keeping resident paths clear when a carrier queue forms.
What to record (takes under 20 seconds)
– Time overflow started
– Trigger code (WAIT, SHELF, LINE, QUEUE, OFFWIN)
– Door used (A or B)
– Carrier(s) involved (name or shorthand)
– Action taken (GRID, TRIAGE, REROUTE)
– Time overflow ended
Reset rule (so overflow does not become the new normal)
– Define a clear “exit condition,” such as: “When the intake mat is clear and the staging grid has fewer than N items, return to normal shelving and normal door.”
– Assign responsibility: the on-duty lead ends overflow and notes it. Without this step, teams tend to stay in emergency mode all day, which undermines the whole carrier coordination system.
Return-to-normal checklist: reconcile scans, correct mis-shelving, and clear resident paths
A good overflow plan includes cleanup. Without a short return-to-normal checklist, today’s spike becomes tomorrow’s resident complaints and carrier redeliveries.
Use this checklist immediately after the peak clears (or at the next lull):
Checklist
– Clear resident paths first: remove carts from the lobby edge, open the primary walking lane, and ensure no packages are staged near leasing or secure entry points.
– Reconcile intake logs: confirm that everything placed in the staging grid has a matching entry (scan or manual line) with the right door and time.
– Convert staging to final placement: move one grid cell at a time into the correct shelves/lockers so items do not ‘bounce’ around and get lost.
– Spot-check high-risk items: oversized packages, temperature-sensitive items, and high-value deliveries should be confirmed in their final location before staff switches tasks.
– Correct mis-shelving immediately: if a package is found in the wrong area, fix it on the spot and note a quick reason code (RUSH, SPACE, LABEL) so you can improve the system.
– Close the loop with carriers if needed: if rerouting or off-window arrivals happened, capture which rule was used so you can adjust instructions or windows later without confrontation.
Done well, overflow triggers protect the cooperative nature of carrier delivery scheduling apartment building operations: carriers still complete routes, residents keep moving, and the package room stays searchable even on the worst days.
CTA
If you want, share your current receiving constraints (number of doors, package-room layout, busiest resident traffic hours, and your top carriers). I can help you draft a one-page door assignment + delivery time windows sheet, plus a simple overflow trigger checklist and a two-metric scorecard you can run from the front desk without adding staff.
Small Constraints, Big Calm: Make Arrival Patterns Predictable
Carrier coordination does not have to look like a freight dock with appointments and penalties. In most buildings, you can get meaningful smoothing with a dock scheduling lite model: consistent door assignment, a few micro delivery time windows that protect resident traffic and match staffing reality, and overflow triggers that prevent heavy days from breaking the system.
What keeps this workable long-term is the tone of the feedback loop. Instead of arguing about individual late arrivals, measure two things that everyone can understand: on-time-to-window (did the stop land inside the published window) and re-delivery rate (did anything bounce because access, staging, or congestion made the first attempt fail). Share results as operational facts, not accusations, and treat exceptions as inputs to refine your windows, signage, and fallback plan.
Review your rules quarterly, especially after seasonal surges, staffing changes, or construction that alters access paths. When carriers see the building is consistent and the process reduces their own delays at the door, the system stays cooperative and self-reinforcing—exactly what a busy apartment building needs.