

The 30-Second Receiving Script That Stops Misdrops at the Handoff
Most package-room problems are not “carrier problems” or “package room problems.” They are handoff problems: a busy lobby, split attention at the desk, multiple carriers arriving back-to-back, and a receiving process that changes depending on who is on shift. That inconsistency is where misdrops and disputes are born—packages left in the wrong place, accepted without a usable label, or handed off with no clear confirmation of what was dropped and where it went.
If you manage a multifamily front desk or concierge team, you need something your staff can actually use in real time: a carrier check-in script for package room intake that is spoken, repeatable, and fast. Not a binder. Not a policy memo. A 30-second delivery driver intake process that makes the same three things happen every time: identify the carrier, confirm the destination drop location, and confirm the handoff at a level that’s defensible later—without slowing the driver.
This article gives you two ready-to-use tools you can deploy immediately across shifts: a word-for-word script (including the exact “refusal lines” for common problem drops) and a one-page package room receiving checklist designed for real lobby dynamics—phones ringing, residents approaching, carts rolling in, and a driver who is trying to hit the next stop. Use it as your apartment mailroom SOP for the desk: short, consistent, and built for speed.

Why misdrops happen at the desk: the three failure points your script must cover
Most package-room problems are not “carrier problems” or “staff problems.” They are consistency problems at the handoff point—when a driver, a busy lobby, and a distracted desk collide. Different shifts use different language, different drop spots, and different thresholds for what they’ll accept. The result is a predictable pattern: items land in the wrong place, for the wrong person, with no clear proof of who accepted what.
paragraphs
Your carrier check-in script for package room has one job: create a repeatable, 30-second micro-process that survives real conditions—residents interrupting, phones ringing, multiple carriers stacking up, and drivers trying to leave fast. To prevent misdrops without slowing the driver, the script must cover exactly three things every time: identity (who is handing off), destination (where items are going in your building), and handoff confirmation (what was accepted, and by whom).
- Your script must identify the carrier fast (so you can route the drop correctly)
- Your script must force a single drop destination (so packages don’t scatter across “temporary” spots)
- Your script must create a minimal, defensible handoff moment (so disputes don’t become guesswork)
Failure point 1: Wrong place (left in lobby, wrong room, wrong shelf)
The most common misdrop isn’t a missing package—it’s a package that’s present but parked in the wrong place. In real lobbies, “wrong place” happens because staff try to be helpful in the moment: letting a driver stack items “just for now” near the desk, allowing a side-door drop because the package room is locked, or directing a cart to the nearest empty corner during a rush.
paragraphs
The operational reality: every extra acceptable drop spot becomes a new place to lose time searching later. When different shifts tolerate different locations, carriers learn the fastest path, not the correct one. Then a resident reports “not received,” staff can’t find it quickly, and the dispute begins—even if the package never left the building.
Failure point 2: Wrong recipient (unit or name mismatch, unlabeled items)
Wrong-recipient issues are usually born at intake, not at pickup. A driver drops an item labeled with only a first name, an old unit number, a smudged label, or a different street address that happens to look “close enough.” In the moment, staff accept it to keep the line moving. Later, the desk team is forced to guess where it belongs—or it sits as an “unknown” until someone complains.
paragraphs
This is where a delivery driver intake process breaks down: if the desk doesn’t apply the same minimum label standard every time, the building accumulates exception packages that consume disproportionate time. A good script isn’t about reading every label; it’s about catching the predictable mismatches quickly and routing them into a defined exception path instead of the main shelves.
Failure point 3: No proof of handoff (disputes when nobody can confirm who accepted what)
The fastest way for a simple “where is my package?” question to turn into a dispute is when there is no clear handoff moment. Many buildings unintentionally create this gap by allowing silent drop-offs: drivers set items down while staff are assisting residents, or items are placed behind a column or under a counter with no verbal exchange.
paragraphs
When there is no proof of handoff, everyone’s story sounds plausible: the carrier says it was delivered, the resident says it wasn’t received, and the desk can’t confirm acceptance. Your apartment mailroom SOP does not need heavy paperwork to solve this—it needs a consistent verbal checkpoint that establishes (1) who delivered, (2) where it was placed, and (3) what was accepted (at least by count or container). That 10-second confirmation is what prevents hours of follow-up later.
The 30-second carrier check-in script for package room (word-for-word)
This carrier check-in script for package room is designed for the real lobby: phones ringing, residents walking up, multiple carriers arriving back-to-back. The goal is not to interrogate the driver or create paperwork. The goal is a consistent, spoken delivery driver intake process that confirms three things quickly: who is here, where the items will go, and what you are (and are not) accepting at the desk.
Use the exact same wording across shifts. Consistency is what eliminates the gray areas that turn into misdrops and disputes. Treat the script as a short call-and-response: you prompt, the driver confirms, you direct the drop, and you close the handoff.
Step 0: Setup line (how to start while still greeting residents)
Use this as your default opener while you are also managing resident traffic. It signals you are in control of the handoff and sets the drop location before anything hits the floor.
Setup line (choose one):
1) "Hi. Carrier drop? One moment—please hold everything on your cart until I confirm the drop spot." (Said while you finish the resident interaction.)
2) "Hi. Package delivery? Great—what carrier are you with, and are these for this building address?" (Said when you are ready to receive.)
3) "Hi. Before you unload: today we’re dropping to the package room shelves only, not the lobby."
The script (standard)
Aim to deliver this in one calm, steady flow. It’s built to fit under 30 seconds when you’re practiced.
Staff (you): "Hi. Which carrier are you with?"
Driver: (answers)
Staff: "Thanks. Confirm these are for (Building Name) at (street number/street name)."
Driver: (confirms)
Staff: "Great. Please drop all items inside the package room on the marked intake zone. Keep oversized to the left wall."
Staff: "Quick check—do the labels show a unit number or resident name? Anything with no label stays on your cart for me to review."
Driver: (acknowledges)
Staff: "About how many pieces today—one cart, two carts, or loose items?" (You are counting by container, not scanning each box.)
Driver: (answers)
Staff: "Perfect. Once you’re done, tell me ‘all set’ and I’ll do a final glance before you go."
This phrasing does three important things without slowing the driver: it locks the destination address, forces a single drop location (no lobby scatter), and creates a clear moment of handoff closure (the ‘all set’ line).
Variations for peak times (two-sentence version)
When you are slammed, shorten the exchange but keep the same three outcomes: identity, destination, drop location.
Two-sentence version (fastest):
1) "Hi—what carrier, and is this for (Building Name) at (street address)?"
2) "Great. Everything goes to the package room intake zone only; anything without a unit/name label stays on your cart for review."
If you only have time for one sentence, keep the refusal embedded:
"All deliveries to the package room intake zone only—no unlabeled items left in the lobby."
Refusal lines (what you do not accept and how to say it fast)
Your refusal lines are what keep speed and consistency across shifts. Say them neutrally and repeat if needed. Do not debate policy; redirect to the next action.
Use these word-for-word options (pick the ones that match your building rules):
Unlabeled or unreadable label
– "I can’t accept items without a unit number or resident name label. Please relabel or keep those with you."
– "If it doesn’t identify a resident/unit, it can’t be left here. Let’s set it aside on your cart."
Wrong building / address mismatch
– "I can’t accept deliveries not addressed to this building. Please take those back with you."
– "If the street number doesn’t match, we can’t receive it here."
Lobby drops / floor drops
– "Nothing can be left in the lobby. It has to go into the package room intake zone."
– "Please don’t leave items on the floor or by the desk. Intake zone only."
Signature-required or controlled handoff items (if your building does not sign)
– "We don’t sign for resident packages. Please mark it as ‘no signature available’ and reattempt per your process."
Oversized blocking egress / safety issue
– "I can’t allow packages to block the walkway. Oversized goes to the left wall area only."
After-hours or unattended drop attempt (when desk is unstaffed)
– "We can’t accept unattended lobby drops. Deliveries must be placed in the package room during staffed hours (or use your approved access method)."
Escalation line (when the driver insists or is rushed)
This is the calm, time-saving end to the conversation when a driver pushes back. You are not trying to ‘win’; you are trying to prevent an untraceable handoff.
Escalation line (use, then stop talking):
"I understand you’re on a tight route. I can only accept deliveries if they’re placed in the package room intake zone and labeled for a unit or resident. If that doesn’t work today, you’ll need to mark it unable to deliver and reattempt."
If needed, add one follow-up choice to keep it moving:
"Your options are: drop to the intake zone with labeled items only, or take them back for reattempt. Which do you prefer?"
Key behavior: once you’ve said the escalation line, physically point to the intake zone (or the ‘set aside’ spot on the cart) and return to a neutral stance. Don’t add extra explanations that invite negotiation. Consistency is the whole point of an apartment mailroom SOP.
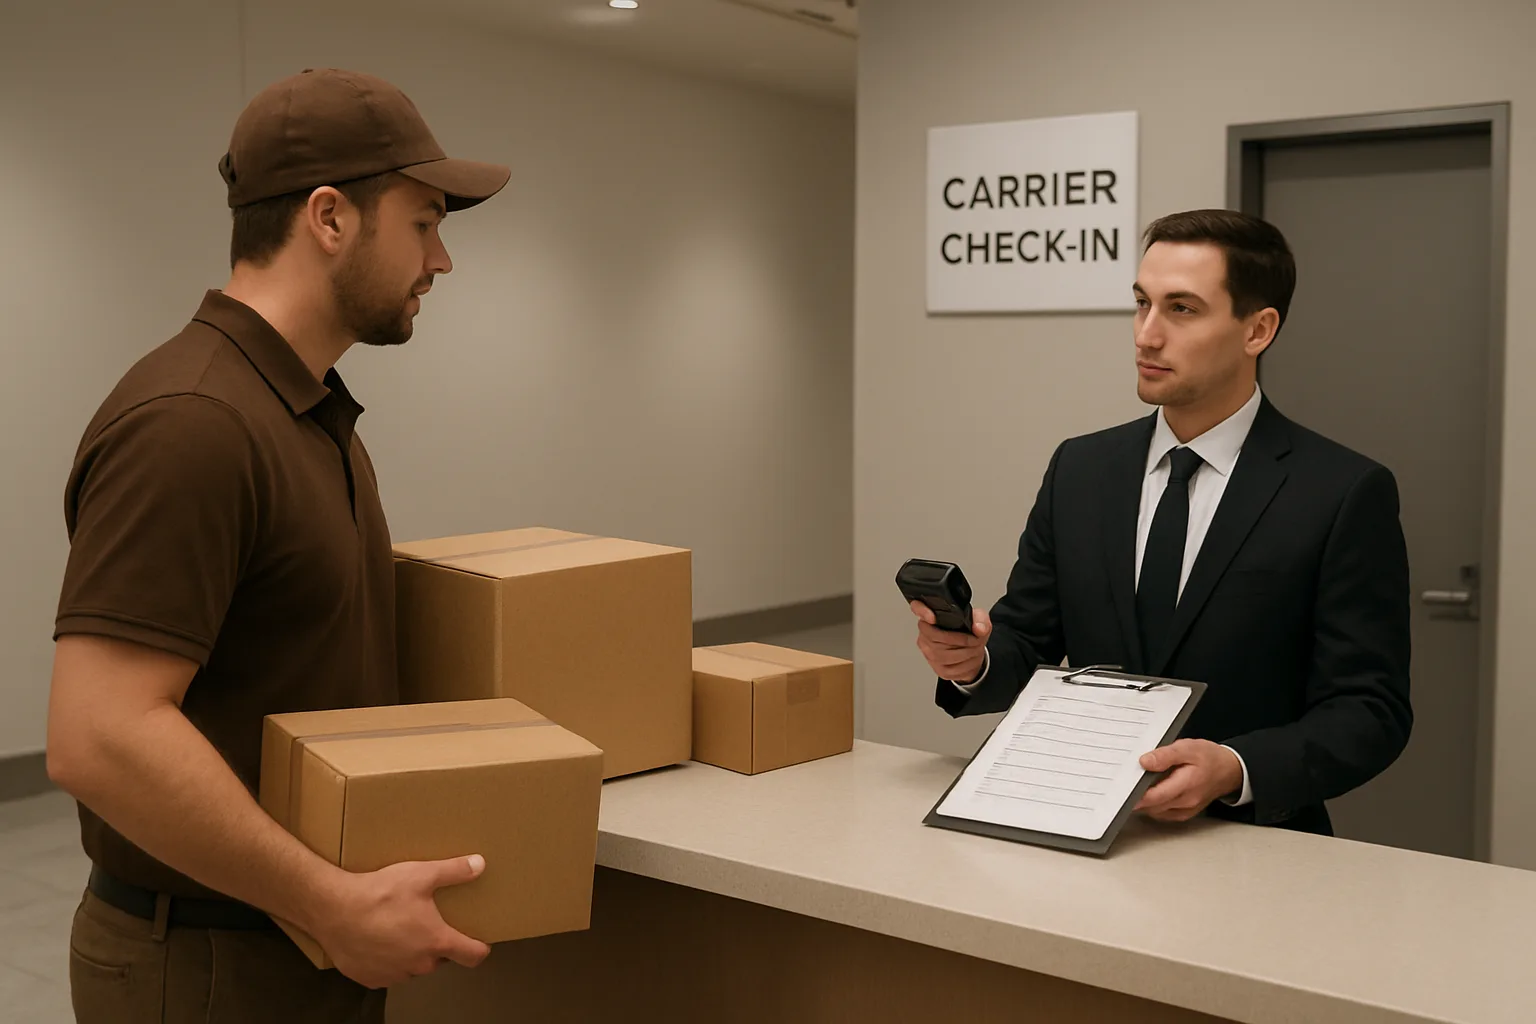
What staff must confirm in real time (without turning it into paperwork)
A fast carrier check-in only works if every shift confirms the same few things, the same way, every time. The goal is not to “inspect” deliveries; it is to prevent the three most common dispute triggers: wrong drop location, wrong recipient, and no shared understanding of what was handed off.
The simplest rule: confirm what you can see in seconds, and defer what you cannot confirm without slowing the driver. Your confirmation is a quick, spoken cross-check plus one clear handoff moment (where the driver is leaving items, and that you acknowledge receiving them).
Confirm the carrier and the drop location in one breath
What you are doing: locking down accountability (who) and destination (where) before anything hits the floor or a shelf.
Real-time confirmations (5 seconds total):
1) Carrier identity: “Which carrier are you with?” (or read the uniform/badge if obvious). If it is a third-party or gig driver, ask the company name and the retailer (for example: “LaserShip for Walmart” or “Roadie for Home Depot”). You are not verifying employment; you are creating a clear label for the handoff in your log or memory if a dispute happens later that day.
2) Authorized drop zone: “Packages to the package room shelves, please—behind the marked line.” One sentence, one location. Avoid giving choices (that is how items end up in the lobby).
3) Physical boundary: point to a taped line, cart parking spot, or counter edge that indicates “handoff complete” once items cross it. This prevents the common drift where a driver starts in the right place and then leaves the last few items by the elevator or on a bench when interrupted by residents.
What to defer: anything that requires stepping away (opening doors, fetching keys, unlocking storage) unless that is already part of your building’s standard flow. If access is needed, direct them to wait at the boundary while you open once, then return them to the same drop point.
Confirm label basics: unit or resident name, and address match
What you are doing: catching the fastest-to-fix errors without turning intake into sorting.
Check only three label basics, visually, as items are placed (no scanning marathon, no reading every label in full):
1) Unit or resident name present: You are looking for “something identifying,” not perfect formatting. If it has neither a unit nor a resident name (and is not clearly a carrier bag with an internal label visible), treat it as an exception.
2) Property address match: Confirm the street number/name matches your building. This is the quickest way to stop wrong-building drops when two properties have similar names or share a block.
3) Apartment number pattern sanity check: You are not validating the resident’s tenancy; you are catching obvious mismatches (for example: a unit “1207” when your building only goes to “809,” or a different building letter than yours uses).
What to defer: resolving minor label issues that do not block safe placement (for example: resident nickname, missing zip code, smudged barcode). If the unit/name and address match, get it into the correct area and handle any data clean-up later.
Fast exception rule (when the label basics fail): do not guess. Move it to a clearly marked “Exceptions/Needs Review” spot and say the refusal line your team uses (for example: “I can take it into exceptions, but I cannot place it on shelves without a unit/name and our address.”). That keeps driver dwell time low while preventing misroutes into resident-accessible shelving.
Confirm count by container, not by package (when carts are involved)
What you are doing: creating a shared understanding of “how much was handed off” without touching every box.
When a driver has a cart, tote, or multiple stacks, counting individual packages at the desk is where lobbies bog down. Instead, confirm by container and batch, then spot-check for obvious strays.
Use these quick confirmations:
Container-based count method (fast, defensible)
1) Count containers out loud: “I see two totes and one cart.” If it is loose stacks: “Three stacks plus one oversized.”
2) Confirm destination per container: “All for this building and going into the package room?” (You are trying to prevent the classic “one tote is for the next stop” mistake.)
3) Spot-check one label per container: glance at the top item in each tote/stack for address match. You are not proving every package is correct; you are proving you did a reasonable, consistent check.
4) If the driver wants a signature: sign only for the container count you can reasonably confirm (for example: “Received 2 totes + 1 oversized”). Do not sign for a specific package count you did not verify.
What to defer: reconciling the carrier’s manifest or device count. If their handheld says “43 packages” and you cannot validate 43 in under 30 seconds, do not debate it at the desk. Accept by container (if label basics pass) and let the carrier resolve internal counts on their end.
If your building uses QR labels or an internal tracking step: keep the driver moving. Intake confirms the handoff; labeling/scanning happens after the driver leaves (or by a second staff member during peak hours).
Confirm exceptions: oversized, perishables, high-value, and signature-required
What you are doing: preventing the handful of high-risk items from getting treated like ordinary parcels, which is where most disputes escalate.
You only need a short exception check—think “category and destination,” not “full inspection.”
Oversized items:
– Confirm where they go before they are set down: “Oversized goes to the oversized wall/locker area, not in the lobby.”
– If your policy requires resident pickup at desk for oversized, state it immediately and place it in the designated spot (do not let it become an improvised pile).
Perishables (grocery/meal kits):
– Confirm whether you have a designated refrigerated/priority area. If yes: “Perishables go on the perishables shelf.”
– If you do not accept perishables, use a clean refusal: “We cannot accept perishables for storage—please contact the resident.” Do not make exceptions ad hoc; inconsistency creates disputes.
High-value looking items (electronics, jewelry-sized boxes, branded retailer packaging):
– You are not judging value; you are identifying items that should not sit in open-access areas. Direct these to your most secure receiving zone if you have one.
– If your process includes a quick photo or immediate QR label, this is the category to prioritize after handoff.
Signature-required / adult-signature items:
– Confirm whether the driver needs a live signature now. If you cannot sign (no authorization, no ID requirement met, resident not present), say so immediately.
– If you do sign, tie it to what you actually received (container count, plus “left in package room” if applicable). Never sign “resident received” unless the resident physically took it.
What to defer: researching resident availability, calling units during the driver’s drop, or searching for storage space. Route the item to the correct exception flow and keep the handoff moving.
A simple guiding phrase for staff: “Confirm category, confirm location, then move on.” That keeps the delivery driver intake process fast while making your apartment mailroom SOP consistent and defensible across shifts.
The one-page package room receiving checklist (desk-friendly, shift-proof)
This checklist is designed to live where the handoff happens: on a clipboard, desk mat, or inside the package-room door. It is intentionally short, binary (yes/no), and built around real lobby constraints: residents walking up mid-drop, multiple carriers arriving back-to-back, and handoffs that need to be fast but defensible later.
Use it as a single page with three blocks (Before, During, After) plus mini-checklists for exceptions. The goal is not to create paperwork; it is to make the correct action the default across every shift.
Before the rush: 5-point readiness check
Run this at the top of each shift and again before known peak windows (typical: late morning, late afternoon). Each item should take seconds. If a box is not checked, fix it before the next driver reaches the desk.
Readiness (5):
1) Drop zone is clear and marked: the exact spot drivers place items (tape box on floor or a labeled counter section) is empty and unobstructed.
2) Package room path is open: no carts, strollers, recycling bins, or resident items blocking the route from lobby to shelves/cages/lockers (prevents “I left it here because I could not get in”).
3) Shelves and zones are readable: unit ranges, alphabet sections, oversize area, and exceptions area are visibly labeled from standing height.
4) Supplies are within arm’s reach: QR labels (if used), marker, exception tags, pen, and a working scanner/phone (charged, logged in).
5) Visibility is ready: lights on in the package room, camera view unobstructed (if applicable), and a clear space for a quick photo when exceptions occur.
During handoff: 8-point receiving checklist
This is the live intake checklist. It assumes you are using a short spoken carrier check-in, but it stands alone: it tells staff exactly what to verify while the driver is still present, without turning it into a slow count-every-box ritual.
Tip for speed: treat this as “confirm, place, close.” The only time you stop the flow is when an exception triggers one of the mini-checklists below.
Receiving (8):
1) Carrier identified: you can name the carrier (uniform, badge, scan screen, or stated carrier) and it matches the expected drop type (parcel, grocery, pharmacy, etc.).
2) Destination confirmed: driver is placing items in the designated drop zone or you are directing them into the package room (no lobby piles, no hallway stacks).
3) Building match confirmed: at least one visible label shows your building address or building name; if not visible, treat as an exception.
4) Label basics checked (spot-check): you can see either a unit number or resident name on the outer label for the visible top/outer layer. If you cannot see identifying info, treat as an exception (do not accept “it’s all for this building”).
5) Oversize routed immediately: anything too large for standard shelving goes straight to the oversize area, not “temporarily in the lobby.”
6) Exception types separated on contact: perishables, temperature-sensitive, high-value (as defined by your building), and signature-required are placed in their designated zone immediately, not mixed into general shelves.
7) Count confirmed by container when applicable: if the driver has a cart or multiple totes, confirm number of carts/totes/bags handed off rather than counting every package. Example: “I have one cart plus two loose boxes.”
8) Handoff moment captured when needed: if your process uses a scan, a quick photo, or a QR label applied at receiving, do it now for exceptions or bulk drops (keep routine drops moving; capture proof where disputes actually happen).
After handoff: 5-point closeout (including photos/QR label flow if used)
This is the 60–120 seconds after the driver leaves. It ensures items do not sit in the wrong place and that your team can defend what happened later without relying on memory.
If you are interrupted by residents, do the closeout in order: move items out of the drop zone first, then record, then reset.
Closeout (5):
1) Clear the drop zone: nothing remains in the lobby drop area that could be mistaken as “already received.”
2) Sort to final locations: general shelves by zone, oversize area, refrigerated/perishables zone (if applicable), signature-required secure area.
3) Record only what matters: log exceptions and bulk/container counts (not every ordinary package). Note carrier, time window, and any refusal/escalation.
4) Apply QR labels or internal tracking tags (if used): apply to items that require chain-of-custody or resident notification in your workflow; scan/associate them immediately so they do not become “unknowns.”
5) Exception sweep: check the exceptions area for any item awaiting clarification (no label, wrong building, damaged) and assign next action (call carrier, notify manager, hold with tag).
Exception mini-checklists: no label, wrong building, after-hours drop
These are the three most common sources of disputes. Keep these mini-checklists printed at the bottom of the same page so staff do not improvise under pressure.
Exception A: No label / unreadable label (do not shelve as normal)
1) Do not accept into general shelves. Place in the exceptions area immediately.
2) Ask driver to provide a scannable label or confirm the recipient information on their device (name/unit/building). If they cannot, refuse the item or request they relabel on site (per your building rule).
3) Tag as “NO LABEL” with date/time, carrier, and staff initials.
4) If you use QR labels: apply a QR tag and create an “unknown recipient” record so it can be tracked while you resolve it.
5) Set a resolution deadline: same-day escalation to supervisor/manager or carrier callback; do not let unlabeled items accumulate.
Exception B: Wrong building / wrong address suspected
1) Stop it at the door: do not move it into the package room until building match is confirmed.
2) Verify address on at least one label. If it is not your address/building name, refuse and redirect the driver to retrieve it immediately.
3) If the driver already left items: isolate in exceptions area, photograph the label (if allowed by your policy), and contact the carrier dispatch line or local station using your standard contact list.
4) Record: carrier, time, number of items (by container), and where it was staged.
5) Do not notify residents for wrong-building items; resolve with carrier first to prevent false claims.
Exception C: After-hours drop / unattended drop found
1) Do not assume carrier identity. Treat as unknown until confirmed.
2) Photograph the pile as found (wide shot for location + close shot of at least one label showing carrier/address if visible).
3) Move to secure staging: bring into package room or secured cage; separate any perishables for immediate action per your building rules.
4) Create an “after-hours drop” log entry: discovered time, location, estimated count (by container), and staff initials.
5) Next shift handoff note: leave a brief note in the shift log so the next team does not re-process or misreport the same items.
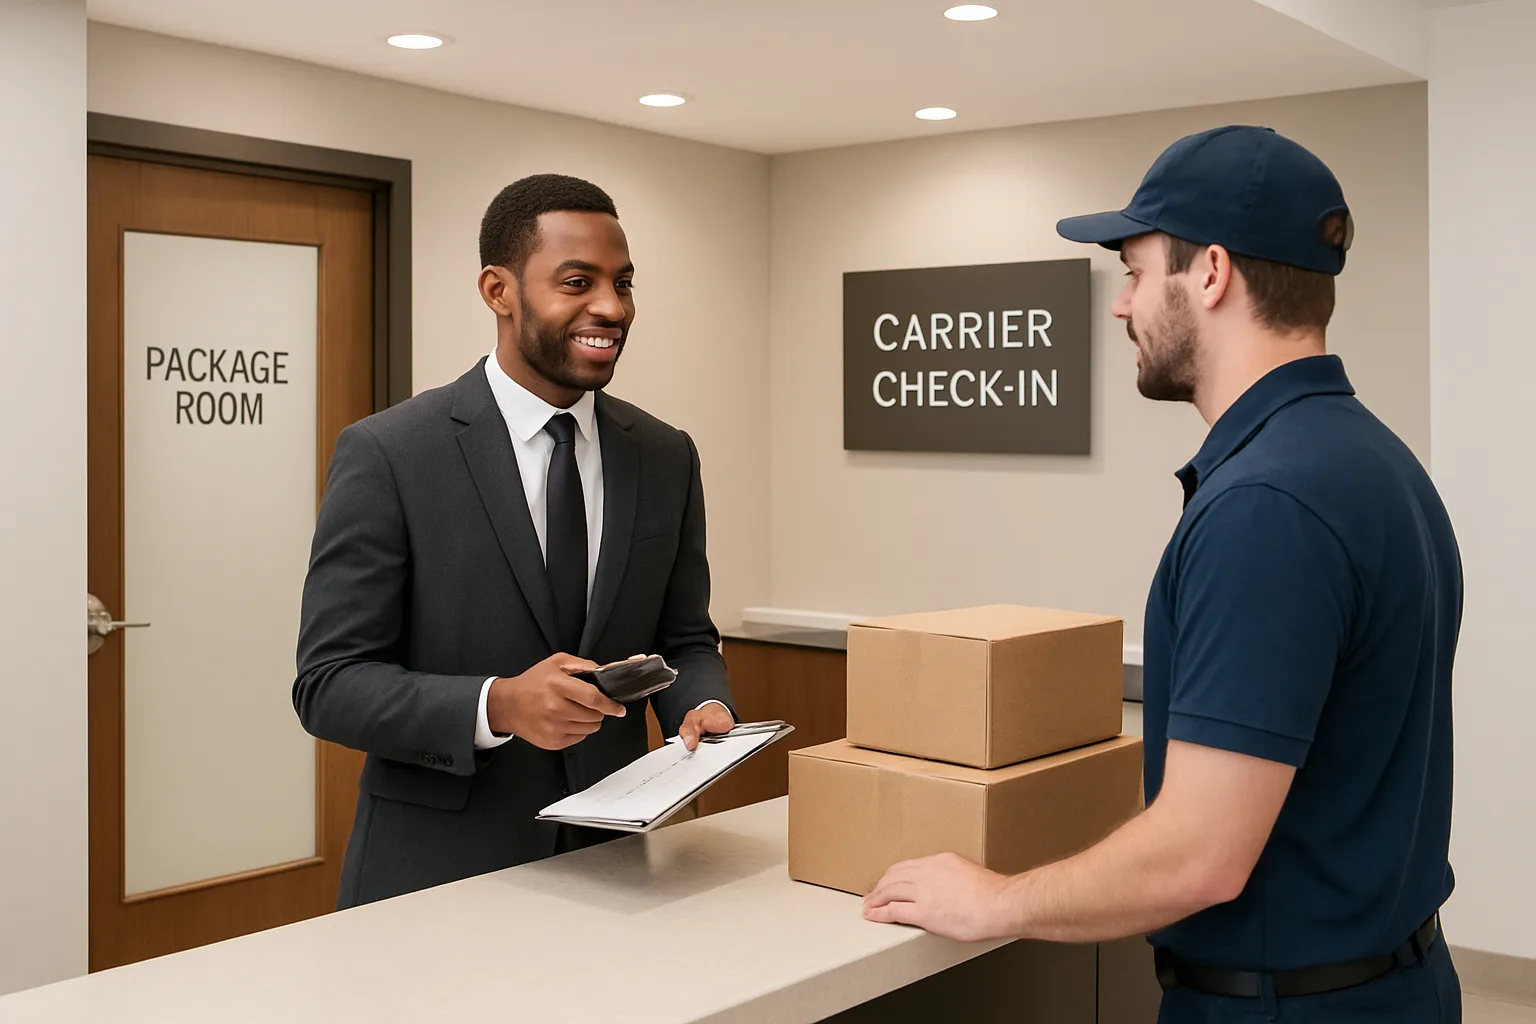
Implementation: train in 10 minutes, enforce with micro-habits, and measure fewer disputes
A receiving script only works if every shift uses the same words, the same refusal lines, and the same physical handoff point. The goal is not to create a policy binder—it is to make the right behavior the easiest behavior in a busy lobby. Roll it out like you would any front-desk standard: quick practice, visible cues, and a lightweight way to spot drift before it becomes a dispute.
Treat this as an operational tool, not a performance critique. If you get consistent carrier check-ins for package room handoffs, you will reduce the “left in lobby,” “wrong shelf,” and “nobody saw it” situations without adding measurable driver dwell time. The fastest delivery driver intake process is the one where staff never has to improvise.
10-minute shift huddle training plan (role-play scenarios)
Run this at the start of two consecutive shifts (so day and evening both get it), then repeat for new hires. Keep it standing, keep it timed, and keep it realistic—phones ringing, residents waiting, multiple carriers back-to-back.
10 minutes, structured:
1) 1 minute: State the standard. One check-in point, one script, one checklist. Everyone uses the same wording so carriers learn your routine fast.
2) 2 minutes: Demo. Supervisor plays the desk; another staff member plays the driver. Use normal pace—no “training voice.”
3) 5 minutes: Three role-plays (90 seconds each). Rotate roles so everyone says the lines out loud.
Scenario A (standard drop): Driver with 6 parcels and 1 small cart. Staff confirms location + label basics + count by container.
Scenario B (problem label): One item has no unit/name or has a different address. Staff uses the refusal line and directs the driver to correct it.
Scenario C (rushed/insistent driver): Driver tries to leave items “right here.” Staff uses the escalation line and points to the marked drop zone.
4) 2 minutes: Calibrate two building-specific rules (only two). Examples: where oversized goes; what “signature-required” means at your desk (accept only if staffed; otherwise redirect). Capture these in one sentence each at the top of your package room receiving checklist.
Lobby cues that make compliance effortless (signage, tape marks, shelf labels)
If the right drop location is obvious, the script becomes a formality instead of a negotiation. Your cues should do two things: (1) pull the carrier to the correct spot, and (2) keep staff from “making exceptions” when distracted.
Use cues that work in real lobby dynamics (noise, lines, multiple carriers):
– One drop zone, physically marked: A taped rectangle on the floor labeled “Carrier check-in here.” Place it where staff can see the handoff without leaving the desk.
– A single, readable sign at eye level: “All deliveries must check in at desk. No lobby drops.” Keep it short so carriers can scan it mid-walk.
– Shelf labels that match how people speak: “A–F / G–L / M–R / S–Z” or by floor/stack, not internal abbreviations only staff understand.
– A “Problem Items” bin or shelf: clearly labeled for “No unit/name,” “Wrong building,” “Damaged,” so staff can move exceptions out of the main flow without hiding them.
– A dedicated oversized landing spot: marked and consistent (e.g., “Oversized only”), so it does not become a random pile that triggers disputes.
– Clipboard or desk mat placement: Put the package room receiving checklist exactly where the handoff happens. If staff has to turn around or open a drawer, it will not get used during rushes.
– Optional QR label flow cue (if used in your building): Keep spare labels and a scanner/phone stand at the same spot every shift so “label, scan, place” is muscle memory, not a scavenger hunt.
Manager spot-check routine (what to observe, not what to audit)
Spot-checks should verify the behavior that prevents misdrops—not punish people for being busy. Do short observations during real peak windows (late morning and early evening). You are checking for consistency and speed, not paperwork volume.
A simple routine that works:
– Two 5-minute observations per week. Stand where you can see the drop zone and hear the first sentence of the script.
– Watch for four “musts”:
1) Driver stops at the check-in point (not drifting into the lobby or package room).
2) Staff uses the same opening line and confirms the drop location out loud.
3) Staff visually checks label basics on at least one item per batch (unit/name + address match) and catches obvious exceptions.
4) Items go to the correct shelf/zone immediately (not staged in an unmarked pile).
– Watch for three “drift signals” (coach these fast):
1) Staff accepts “I’ll just leave it here” even once—carriers will repeat what you allow.
2) Staff walks away from the desk mid-handoff, leaving items unattended.
3) Exceptions get mixed into the main shelf flow (no-label items quietly placed “somewhere safe”).
– Coach using one sentence: “Use the same line every time; point to the zone; exceptions go to the problem shelf.” Keep coaching aligned with the script wording so staff does not have to remember your version vs. the standard version.
Simple metrics to watch: misdrop reports, unknown packages, carrier callbacks
You do not need a dashboard to know whether the script is working. You need a small, consistent way to capture the same few friction points each week so you can correct the process (or the physical setup) quickly.
Track these four signals in a shared log (paper at the desk or a simple shared note):
– Misdrops reported: Any package found in the wrong place (lobby, wrong shelf/room, wrong building). Record date/time, carrier (if known), and where it was found.
– Unknown packages: Items with no unit/name, illegible label, or mismatched address. Record count and how resolved (returned to carrier, held in problem bin, corrected label).
– Carrier callbacks/returns: Times staff had to call a carrier back or refuse a drop. Record reason category (no label, wrong address, signature-required, after-hours).
– Resident disputes: “I never got it” claims tied to a handoff window. Record whether there was a clear handoff confirmation (staff present, location used, any photo/scan/QR label flow if your building uses it).
How to use the metrics without overthinking:
– Review weekly for 10 minutes. Look for repeats (same carrier, same time window, same shelf area).
– Make one adjustment at a time. Examples: move the tape box, relabel shelves, clarify one refusal line, or add a problem-items bin.
– Share one learning with all shifts in a single sentence at lineup: “This week: no-label items go straight to the problem shelf—do not place them on resident shelves.” This keeps the apartment mailroom SOP consistent across shifts without adding meetings.
Frequently Asked Questions
How do I use the script when multiple carriers arrive at once?
Stack them in a visible queue and run the same three confirms per carrier: carrier name, drop location, and count by container. Use a marked “staging line” on the floor so each driver unloads in a separate lane, then close one handoff before starting the next.
What should staff do if a package label is missing or unreadable?
Do not accept it into the package room. Use a refusal line: “I can’t take unlabeled items—please relabel it with unit/resident and building address.” If the driver can’t relabel, direct them to return to station or contact dispatch; log it as “refused—no label” with time and carrier.
How do we handle deliveries for the wrong building or street address?
Refuse immediately and point out the mismatch on the label. Keep it simple: “This label isn’t for this address, so I can’t receive it.” If the driver insists, escalate to dispatch while the item stays with the driver (not behind your desk).
What’s the fastest way to confirm counts without scanning every package?
Count by containers: number of carts, totes, or bundles, plus any oversized items. Example: “Two totes and three oversize to the package room.” If your process includes scanning/QR labeling, do that after the driver leaves unless an exception requires real-time verification.
Should we ever sign a carrier handheld or paper manifest?
Only if your building’s policy requires it and you can match what you’re signing to what was physically handed off (at least by container count). If you can’t verify, use a consistent refusal: “I can’t sign for an unverified count; I can confirm drop location and containers received.”
How do we handle high-value, perishables, or signature-required items without slowing the line?
Route exceptions to one quick fork: (1) signature-required goes to a designated staff member for immediate sign-and-secure, (2) perishables go to the agreed cold-storage spot or are refused if none exists, (3) high-value goes to a locked shelf/bin with a quick log entry. Everything else follows the standard handoff.
Make Your Package Room Handoff Repeatable
If you want help turning this into a building-ready front desk flow—clear drop-zone rules, QR-label accountability where appropriate, and a receiving checklist your team actually follows—TrackNest can support an operationally realistic rollout that fits how your lobby works day to day.
Pilot It for One Week: Consistency Is the Win
The simplest way to reduce misdrops is not more rules—it’s fewer words, said the same way, every time. A standardized carrier check-in script for package room receiving closes the three gaps that cause most disputes: wrong place, wrong recipient, and no proof of handoff. When every shift uses identical language and the same quick confirmations, you stop relying on memory and start creating predictable, repeatable outcomes.
Run a one-week pilot with two calibrations that match your building: (1) the only approved drop zone(s) and (2) the non-negotiables you will not accept (for example: unlabeled items, drops outside the approved area, or signature-required items without the resident present). Do a 10-minute role-play at shift change, put the one-page package room receiving checklist at the exact spot where the handoff happens, and listen for the refusal lines being used calmly and consistently. You’re not trying to slow drivers down—you’re trying to remove the ambiguity that creates callbacks, searches, and resident frustration later.
If you want fewer “it says delivered but we don’t have it” conversations, make the handoff boring. Same script. Same checks. Same drop zone. Every carrier, every time.