
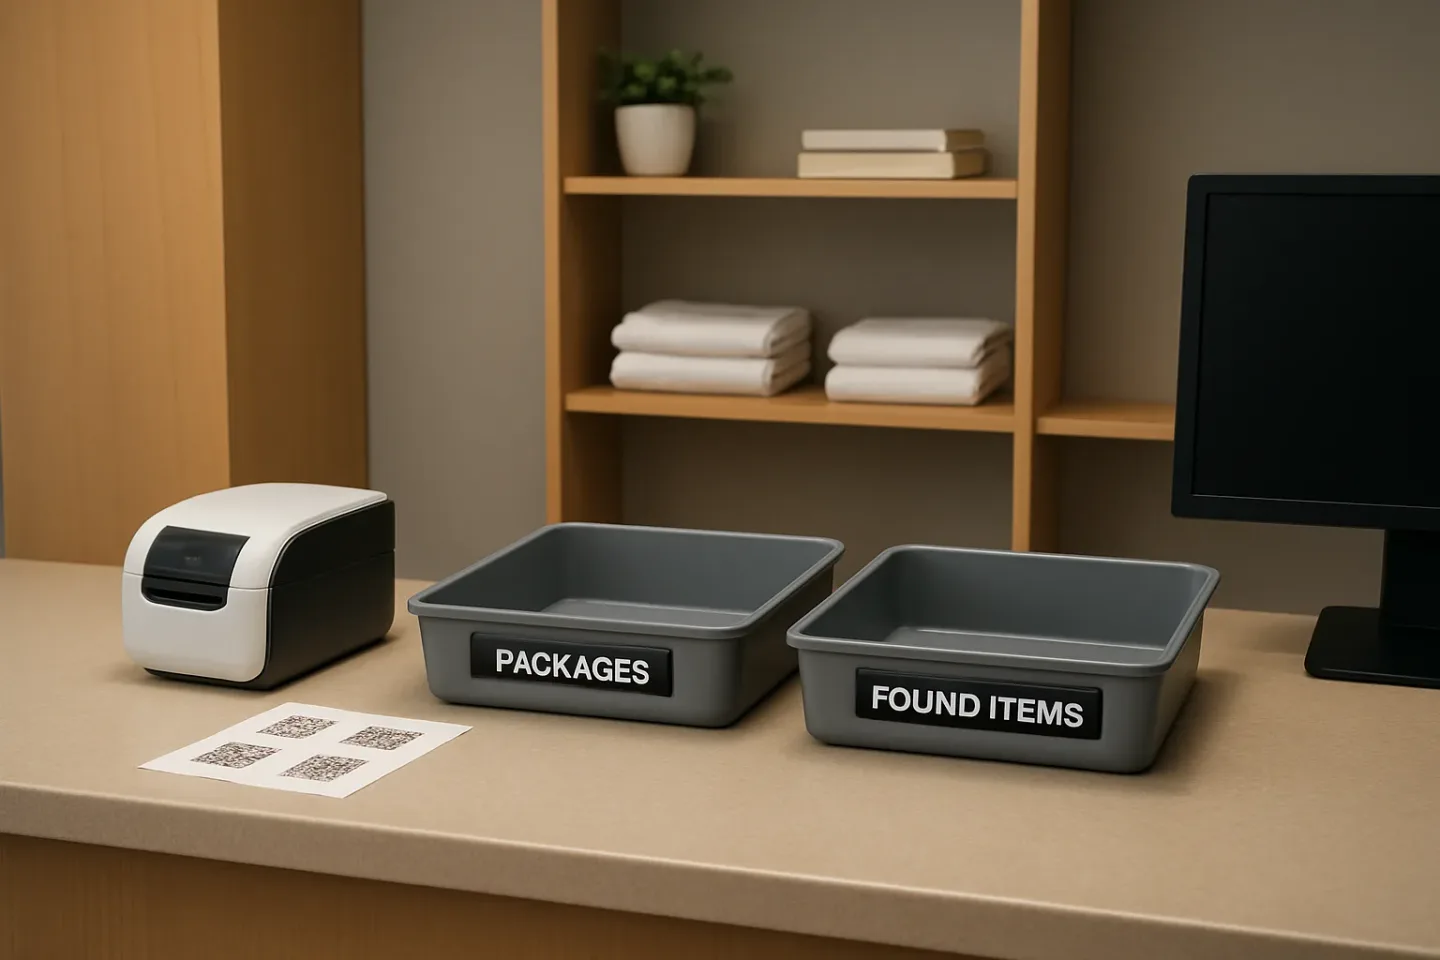
Front desks, mailrooms, and campus service counters often run two separate systems: one for deliveries and another for found property. In practice, it’s the same people, the same storage room, and the same failure modes: mislabeled items, “mystery” ownership, disputes, storage creep, and messy shift handoffs.
This article lays out a combined lost and found and package tracking workflow—one intake-to-closeout process that treats packages and found items as two “item types” in the same operational pipeline. The goal is consistency: clear statuses (claimed/returned/disposed), defined retention windows, location tracking, and QR labeling so items don’t disappear into a pile.
Why combine them? Because the problems are identical
Whether it’s an Amazon box for a student or a phone left in a hotel lobby, the operational questions are the same:
- Identification: Who is the intended recipient or likely owner?
- Chain of custody: Who handled it, when, and what changed?
- Storage control: Where is it right now—precisely?
- Status clarity: Is it waiting, claimed, returned, shipped, or disposed?
- Handoffs: Can the next shift pick up without re-learning the story?
Running two separate processes usually creates two sets of labels, two logs, and two storage habits. A combined workflow standardizes documentation and reduces the “special case” exceptions that cause errors.
The combined intake-to-closeout model (one pipeline, two item types)
Instead of “package flow” and “lost-and-found flow,” use a single pipeline with a required set of fields. The only difference is the item type and a few optional fields.
Core record fields (for both)
- Item type: Package or Found Item
- Intake source: Carrier/driver, guest, student, staff, housekeeping, security
- Intake timestamp and intake staff
- Photos: label side + item overview (helps resolve disputes without “he said/she said”)
- Description: plain-language + distinguishing features
- Initial storage location: a named shelf/bin/cabinet, not “back room”
- Retention window: a date for review/disposition (based on your internal policy)
- Status: from a controlled list (see below)
- QR label ID: one unique identifier that follows the item everywhere
Package-specific fields (when item type = Package)
- Recipient name / student ID / employee ID (as available)
- Unit/room/building/mailstop
- Carrier and tracking number (if present)
- Delivery exception notes (damaged box, opened, no label, etc.)
Found-item fields (when item type = Found Item)
- Found location (e.g., “Lobby restroom, stall 2” or “Dorm A, 3rd floor lounge”)
- Finder role (guest/student/staff) and contact (optional)
- Potential owner cues (case initials, lock screen photo, hotel room number on key sleeve)
Operational insight: A “found location” for packages is the loading dock; a “recipient” for found items is “unknown.” Keeping the same fields lets you train once and audit once.
Status design: the backbone of a dispute-resistant workflow
Status is where combined workflows either stay clean or fall apart. Avoid free-text statuses like “handled” or “done.” Use a short, controlled set that matches real-world actions and audits well.
Recommended status set (works for both streams)
- Received — item entered, QR applied, initial photos captured
- Stored — assigned to a specific location (shelf/bin), ready for pickup
- Notification Sent — recipient/possible owner notified (if applicable)
- Claim Requested — someone is requesting the item; identity verification pending
- Claimed / Picked Up — released to recipient/owner; signature or acknowledgment captured
- Transferred — moved to another office (security, housing, mailroom, manager) with a handoff record
- Returned to Sender (packages) / Returned to Owner (found items)
- Disposed — closed per internal retention policy (no legal assumptions; document what your policy requires)
Two common “gotchas” to design around:
- “Claimed” vs. “Returned”: Claimed means released at the desk; Returned means you shipped/delivered it back through another method.
- “Stored” must include a location: If you can’t answer “where exactly is it?” the status is incomplete.
Retention windows: prevent storage creep without making legal promises
Most “lost-and-found chaos” isn’t from intake—it’s from indecision months later. The fix is not a bigger closet; it’s a retention window attached to every record and a recurring review routine.
How to operationalize retention windows
- Set categories (examples: “standard items,” “perishables,” “high-value,” “IDs/keys”) and assign default review dates.
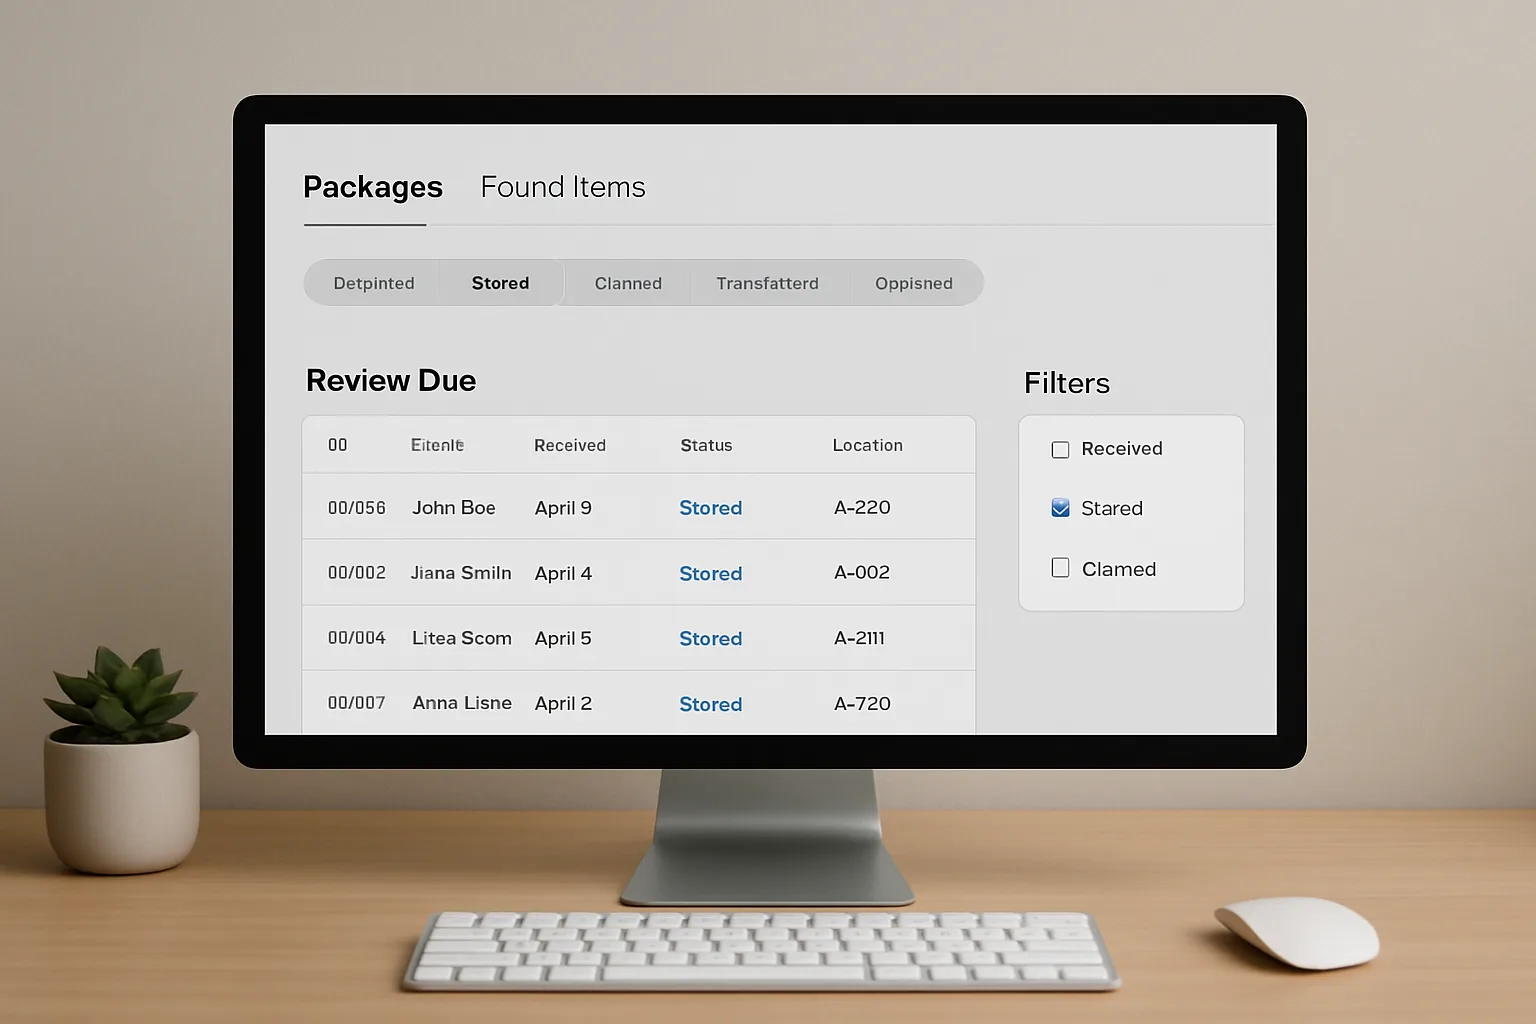
- Use a “Review Due” queue so staff can process aging items weekly.
- Document disposition actions consistently (disposed, donated, shredded, transferred)—based on your internal policy and approvals.
- Keep an audit trail: who approved, when, and what method was used.
Reminder: Your workflow should record what you did and when you did it. Avoid wording that implies legal determinations; keep it operational and policy-based.
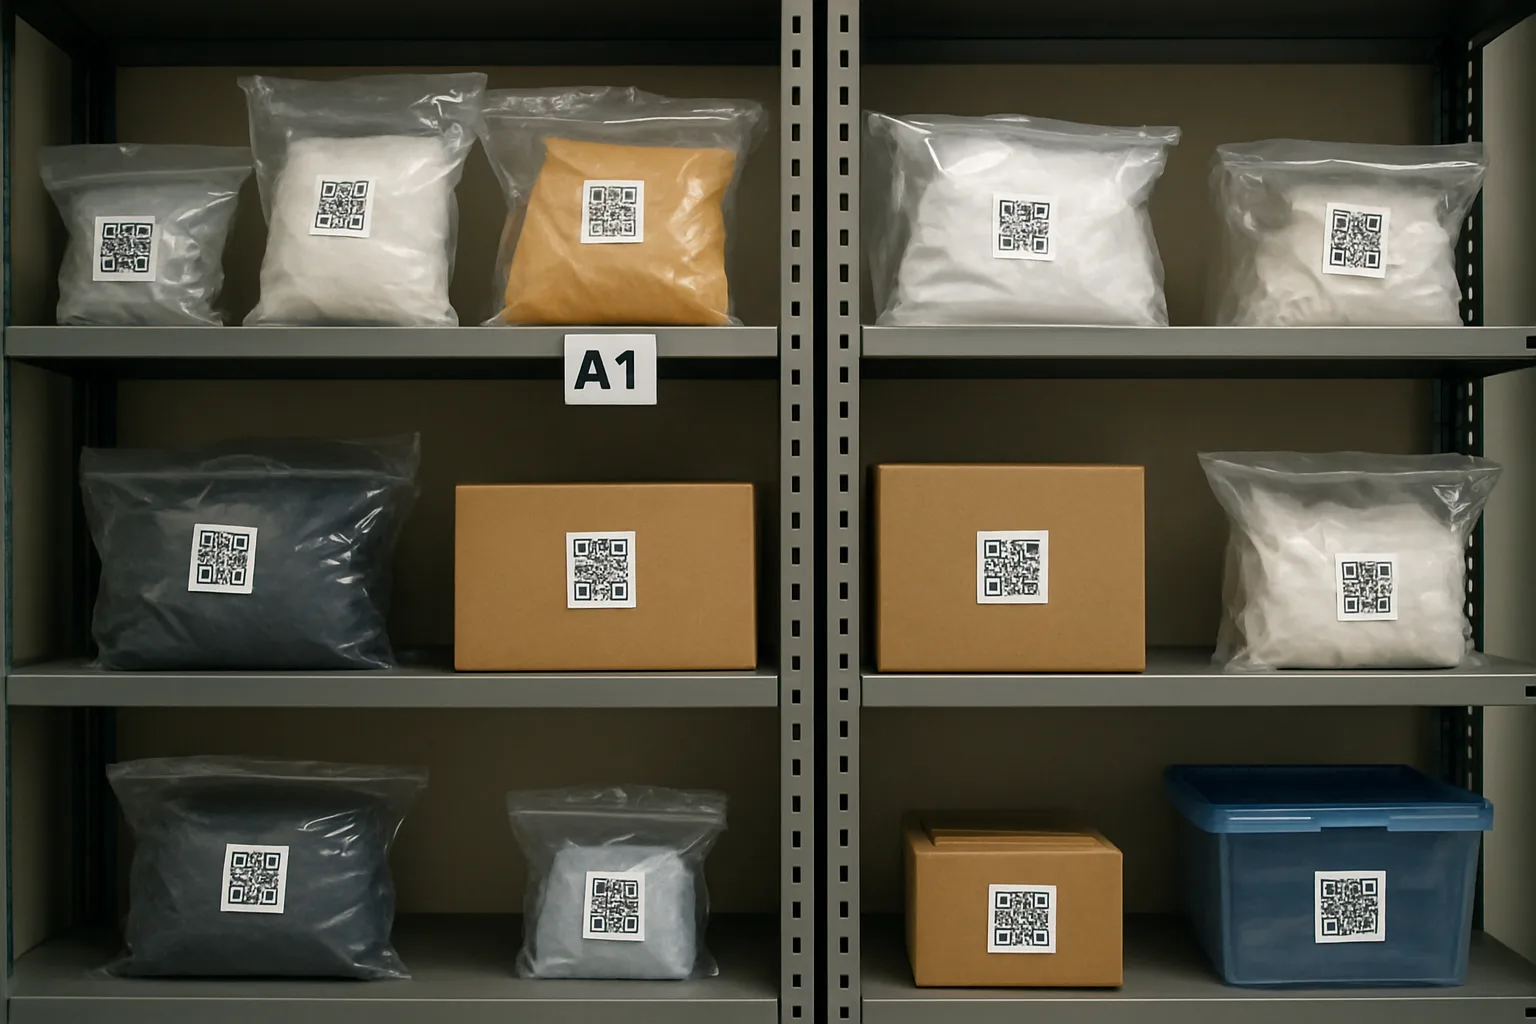
QR labeling + location tracking: turning “a pile” into an inventory
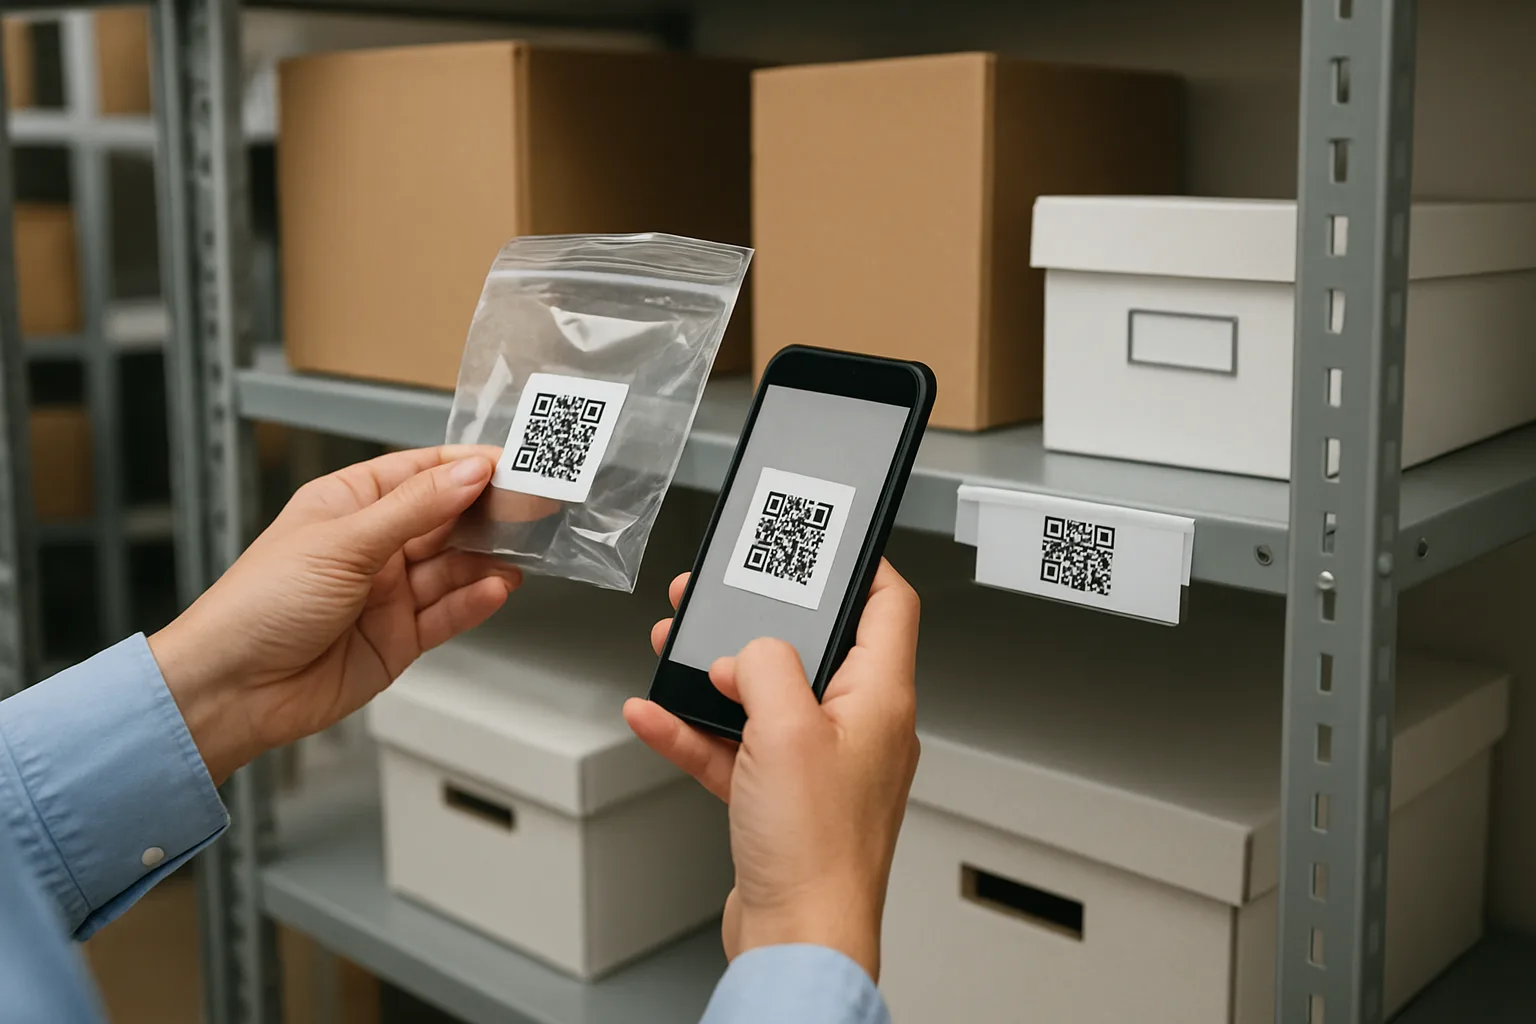
The fastest way to reduce misidentification is to stop relying on handwriting and memory. A QR label lost and found approach—also applied to packages—creates one scannable ID that links photos, timestamps, and location history.
What to label (and how)
- Every item gets a QR label at intake, even if it already has a carrier label. (Carrier labels can be damaged, removed, or unclear.)
- Bag small found items (chargers, jewelry) and label the bag; photograph contents before sealing.
- Use location codes (Shelf A3, Bin C2, Locker L5) and require a scan when moving items.
Why this improves chain of custody
A scannable trail reduces ambiguity when multiple staff touch an item. If someone asks, “Who moved this?” you can answer with a scan history rather than guesses—supporting a practical chain of custody lost items record without making it overly complex.
Training the desk: one checklist for both streams
To make a combined workflow stick, staff need a short, repeatable script. Post it at the intake station and build it into onboarding.
Unified intake checklist (packages + found items)
- Create record: choose item type (Package / Found Item).
- Photograph: overview + label/identifiers.
- Apply QR label: place on the item or bag; confirm it scans.
- Enter key details: recipient or found location; description.
- Assign storage location: scan location tag; place item.
- Set retention review date: default by category; adjust if needed.
- Notify: if a recipient/likely owner exists, send notification.
Shift-handoff verification (end-of-shift)
- Clear the counter: anything left out must be either in process or stored.
- Review the “Received (not stored)” queue and resolve or leave a note.
- Spot-check high-risk items: valuables, IDs/keys, medication (per your policy).
- Sign off the handoff: who reviewed, timestamp, exceptions list.
How this looks in real environments
Hotel front office example: the “same counter” reality
A guest reports a missing tablet while a courier drops off three packages. With a unified workflow, the associate:
- Creates a Found Item record when housekeeping turns in the tablet, adds photos, applies a QR label, and stores it in a locked bin location.
- Creates Package records for the deliveries, applies QR labels, and stores them in Shelf B2.
- If the guest later claims the tablet, the status moves to Claim Requested and then Claimed after identity verification steps your property chooses (documented as operational notes).
Campus operations example: multiple staff, one truth
A student center receives deliveries all day and also collects wallets, headphones, and dorm keys. With a single campus lost property management workflow:
- Student workers follow the same intake checklist for everything.
- Supervisors review the “Review Due” queue weekly to prevent overflow.
- Transfers to housing or campus police use a Transferred status plus an acknowledgment scan—clean hotel lost and found process software-style accountability adapted for campus roles.
FAQ
- Should packages and found items share the exact same form?
-
They should share the same core fields (photos, QR ID, location, status, retention review date). Then add conditional fields by item type (recipient details for packages; found location for lost-and-found). This keeps training simple without losing key details.
- What’s the minimum status set we need?
-
At minimum: Received, Stored (with location), Claimed/Picked Up, Transferred, and Disposed/Closed. If you notify recipients/owners, add Notification Sent and Claim Requested to reduce confusion.
- How do QR labels help if the package already has a carrier tracking number?
-
Carrier tracking describes the shipment journey. Your QR label tracks the on-site journey: intake, shelf location, internal transfers, and pickup—especially helpful when labels are damaged or when items are repackaged or bagged.
- How do we handle items with unclear ownership?
-
Create the record anyway, mark the owner/recipient as unknown, and rely on photos, found location, and notes. Use a status like Stored plus a retention review date so it doesn’t linger indefinitely.
- What’s the best way to manage handoffs across shifts?
-
Use a short end-of-shift checklist plus a queue view for “Received (not stored)” and “Transfers pending acknowledgment.” If an item changes hands, record it immediately (scan-to-transfer) so the next shift isn’t guessing.
CTA: Make one desk run like one system
If your team is juggling separate logs for deliveries and lost property, a unified workflow with QR labeling and location tracking can dramatically reduce rework and “mystery item” pileups. TrackNest is built around these front-desk realities—packages and lost-and-found in one operational flow.
Next step: Map your current steps to the unified checklist above, then standardize statuses, retention review dates, and scan-to-transfer handoffs across every shift.
Conclusion
Packages and found items don’t need separate playbooks. When you standardize intake fields, design clear statuses, attach retention windows, and make location tracking scannable with QR labels, the desk becomes predictable—even with many staff members and high turnover.
The win is simple: fewer disputes, faster retrieval, cleaner storage, and a reliable record of what happened—without relying on memory or handwritten notes.