
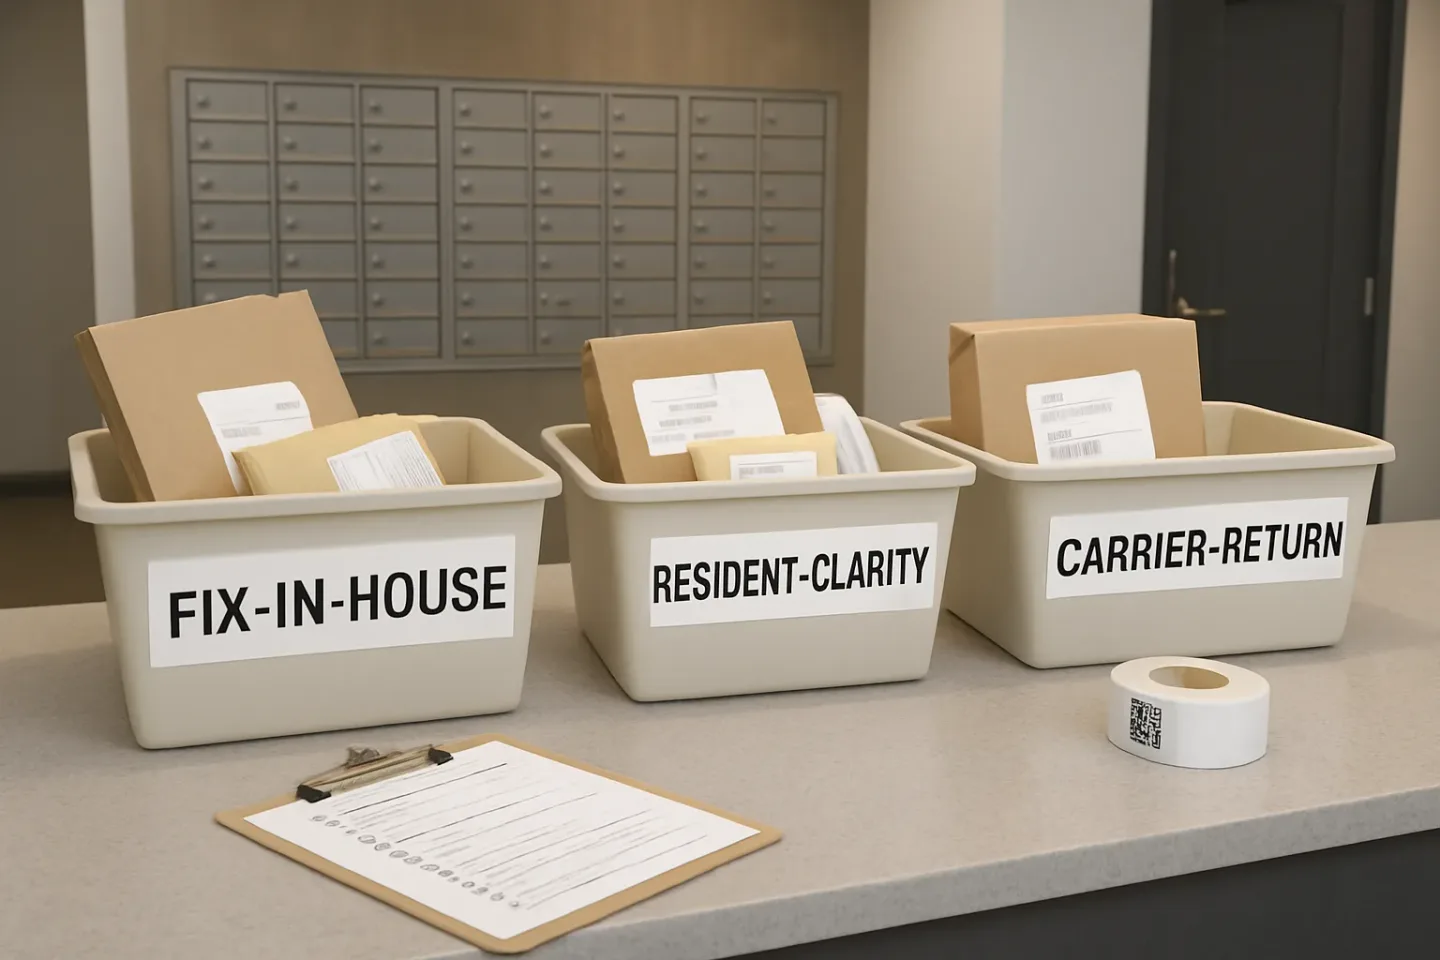
Dead-letter packages don’t “just happen” — they’re a workflow problem
Every multifamily front desk eventually gets the same slow-building headache: a missing apartment unit package (or two…or twenty) that can’t be shelved, can’t be notified, and can’t be confidently returned. The label has a name that looks familiar but not exact. The street line says your building, but the unit is blank. The recipient used a nickname, a maiden name, or “c/o Concierge.” Or worse: the label conflicts with your address format and could belong to the building next door. So the package sits—because nobody wants to guess, nobody wants to hand it to the wrong person, and everyone assumes “we’ll figure it out later.”
Later turns into a permanent pile. Residents stop trusting the package room. Carriers get frustrated by repeat questions. Staff waste time re-checking the same labels across shifts. And when a resident complains, the building can’t clearly show what happened and when—only that the box was “somewhere behind the desk.”
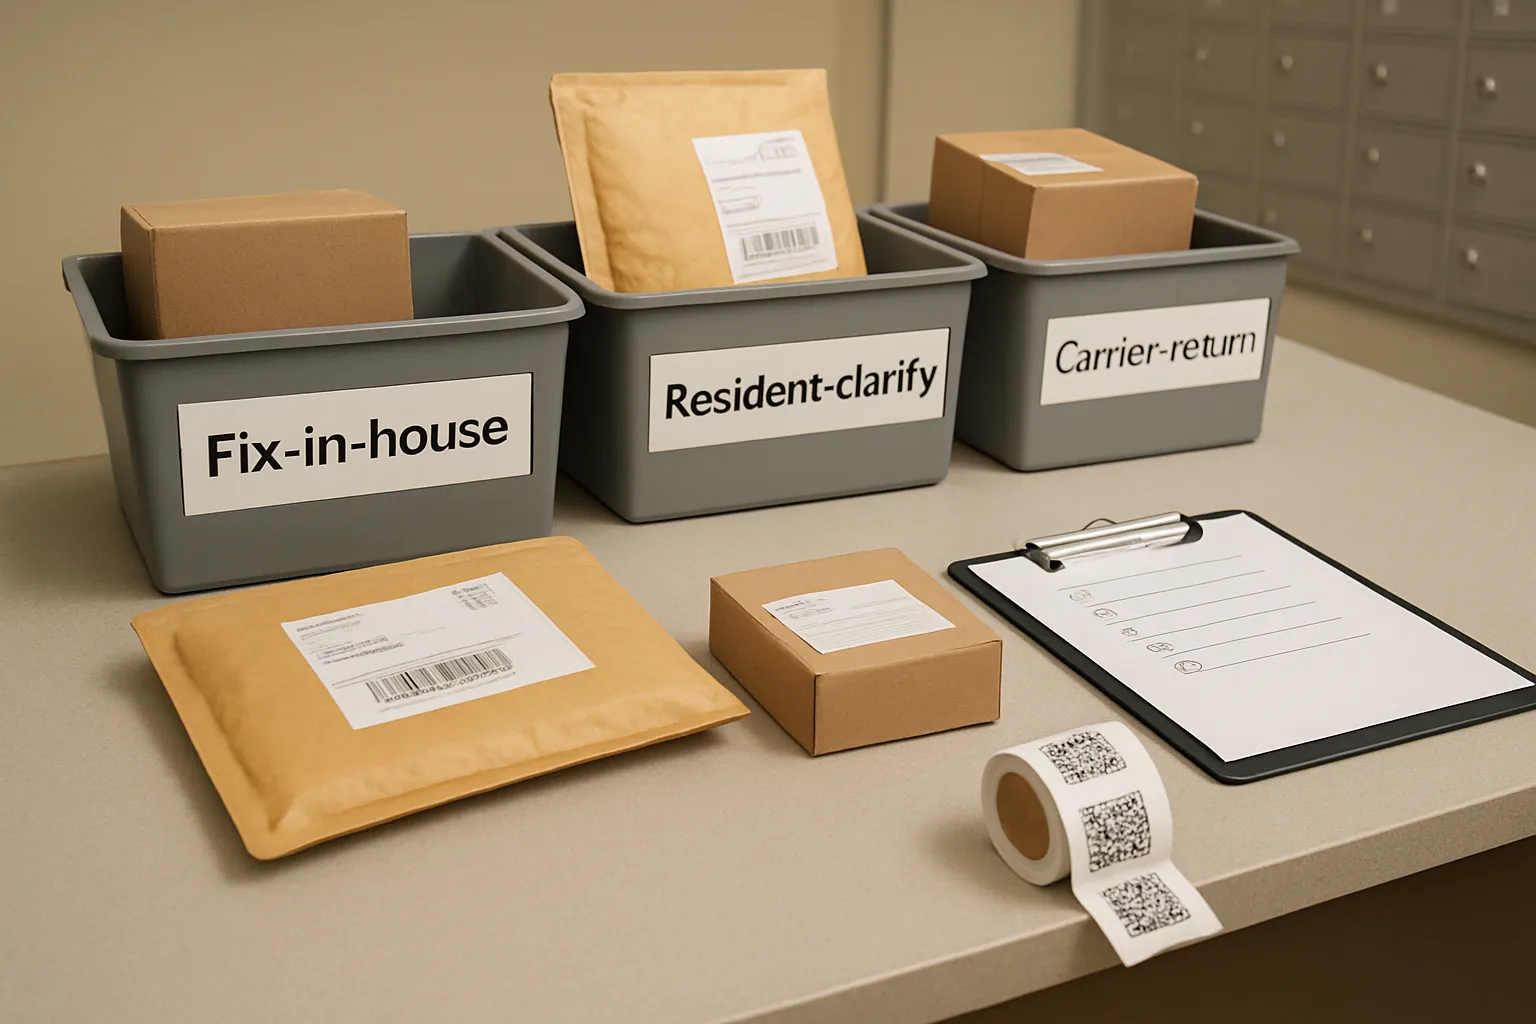
This SOP fixes that by making every ambiguous delivery take the same path: label → bucket → action → timer → log. “3-Label Triage” is a fast method that classifies every bad label into one of three buckets with non-negotiable time limits: Fix-in-house (verified match, minimal risk), Resident-clarify (likely your resident but missing/ambiguous unit info), or Carrier-return (conflicting/unverifiable address). The goal isn’t to do more investigating—it’s to do less guesswork, make a defensible decision quickly, and keep incorrect address deliveries from clogging your operation.
Below, you’ll get a decision tree you can run in under two minutes per package, plus exact scripts, staging rules, and logging standards. The result is a package triage workflow your entire team can execute consistently—so the “dead-letter” shelf stays temporary, not permanent.
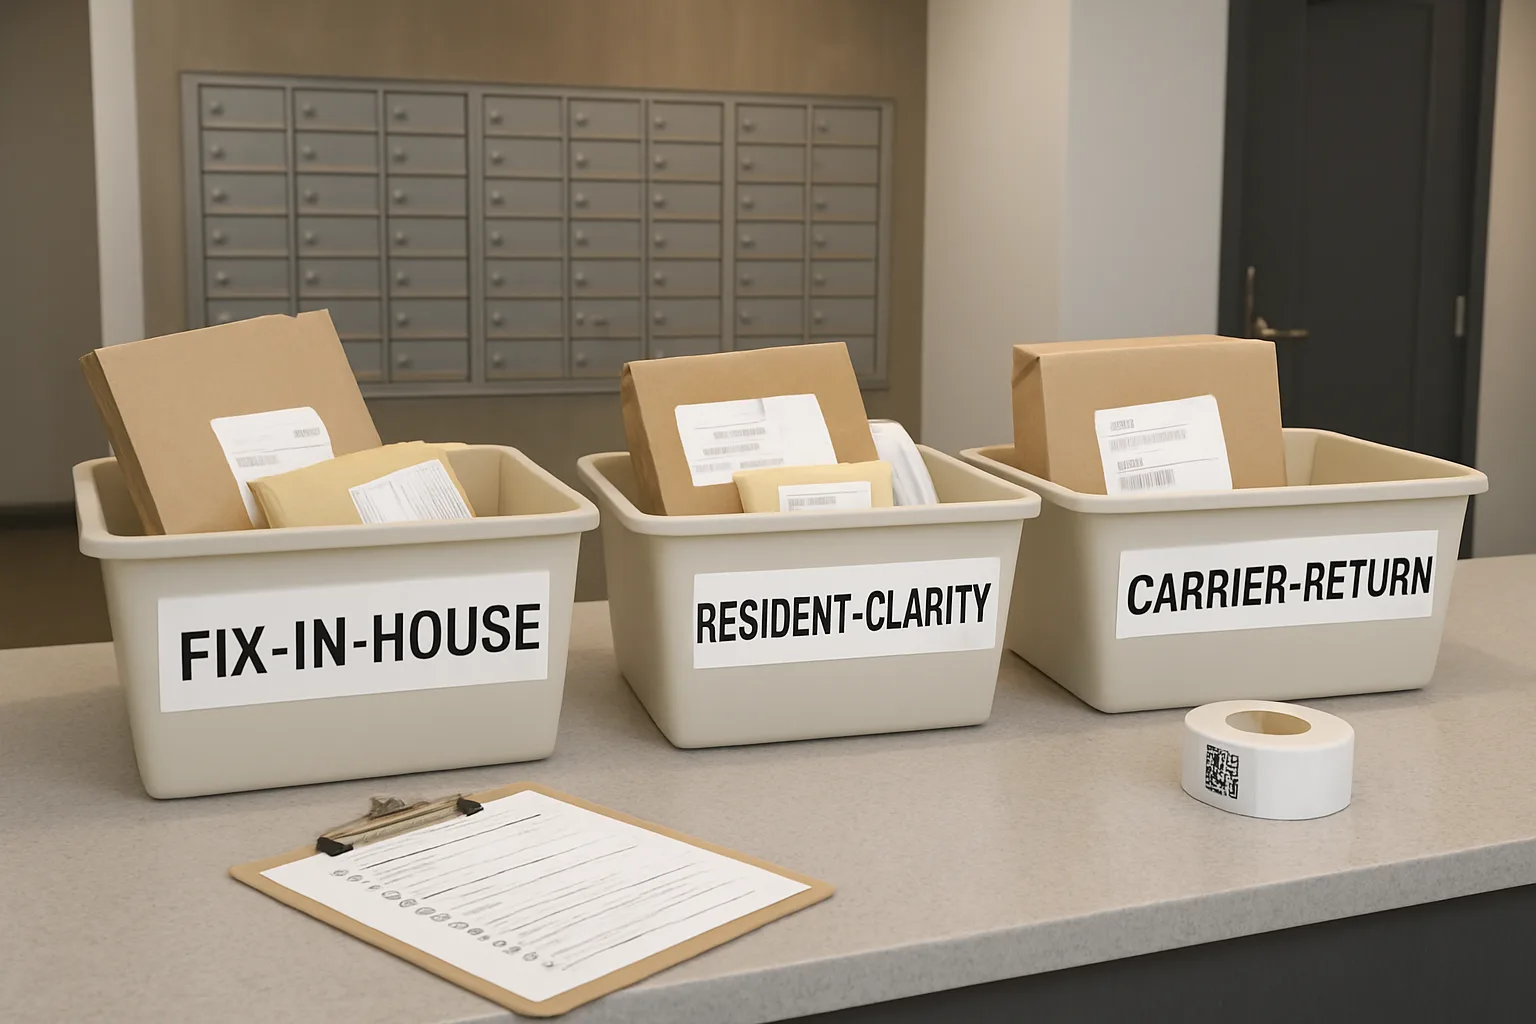
Define the 3-Label Triage Buckets (and the Non-Negotiable Timers)
A missing apartment unit package becomes a problem when “we’ll figure it out later” turns into a growing dead-letter shelf. The goal of 3-Label Triage is simple: every bad label gets classified the same way, every time, with a timer attached. That consistency is what keeps the pile from becoming permanent and keeps your actions defensible if a resident or carrier disputes what happened.
Think of triage as: label → bucket → action → timer → log. You are not trying to be a detective. You are trying to be fast, accurate, and consistent under real front-desk constraints.
Before the buckets, set two ground rules for staff: (1) no guessing and no “reasonable assumptions” about units or names, and (2) no package opening and no relabeling unless the new information comes from a verified source (defined below).
- Triage outcome must be chosen immediately at intake (no “misc” category)
- Only three buckets are allowed; anything unclear goes to Bucket B or C, not “hold”
- Timers are mandatory; when the timer expires, the package moves forward
- Verification must be documentable (who said it, what they said, when, and how you confirmed identity)
Bucket A: Fix-in-house (verified match, minimal risk)
Use Bucket A when you can correct the label outcome without resident outreach and without relying on assumptions. “Fix” does not mean you modify the shipping label; it means you confidently assign the package to a specific resident/unit in your package system and place it in the normal pickup flow.
This bucket is appropriate when the building address is clearly yours and you can make a verified, single-match unit assignment using approved sources.
Bucket B: Resident-clarify (likely resident, missing/ambiguous unit info)
Use Bucket B when it’s probably for someone in the building, but you cannot make a single verified match from your internal sources. This is the most common missing apartment unit package scenario: correct building address, incomplete unit field, name that’s close-but-not-exact, or a nickname/maiden name that’s not on file.
Bucket B creates a short, structured resident window to clarify. The key is to limit the back-and-forth: ask the minimum questions needed to verify identity and unit, and set a clear deadline before the item is escalated or returned.
Bucket C: Carrier-return (conflicting or unverifiable address)
Use Bucket C when the address is conflicting, incomplete to the point of being unsafe to route internally, or not verifiably your building. This includes obvious incorrect address deliveries, labels showing two different streets, wrong city/ZIP combinations, or a building number that matches nearby properties.
Bucket C is also for items that cannot be tied to a current resident within the resident-clarify window. Returning is not punitive; it’s the cleanest way to prevent indefinite holding and to push the correction back to the sender/recipient through the carrier’s established process.
Timers: 10-minute intake scan, 24–48 hour resident window, scheduled return cadence
Timers keep triage from becoming a side project. Treat them as policy, not preference. If your team can’t meet the timers during peak volume, reduce research depth rather than extending holds.
Use these defaults and adjust only if your property manager approves a building-wide standard (and you can consistently staff it):
1) 10-minute intake scan: Within 10 minutes of receipt (or by the end of the carrier drop-off batch), the package must be tagged with a triage bucket and logged with basic label data. This prevents unlabeled drift between shifts and stops “mystery shelf” growth.
2) 24–48 hour resident window (Bucket B): Residents get one clear window to confirm ownership and unit. Choose 24 hours if your building has high volume or limited space; 48 hours if you have weekend/holiday gaps. After the window closes, the package is escalated for manager review or moved to Bucket C per your SOP.
3) Scheduled return cadence (Bucket C): Returns are processed on a predictable schedule (for example: daily at close, or Monday/Wednesday/Friday at 3 pm). A fixed cadence prevents returns from being forgotten and reduces repeated carrier contacts.
Red lines: when to stop research and move the package forward
These “red lines” protect your team from well-intentioned but risky behavior (misdelivery, privacy issues, and endless time sink). Build them into training and coach to them consistently.
Stop researching and move the package to the next step when any red line is hit:
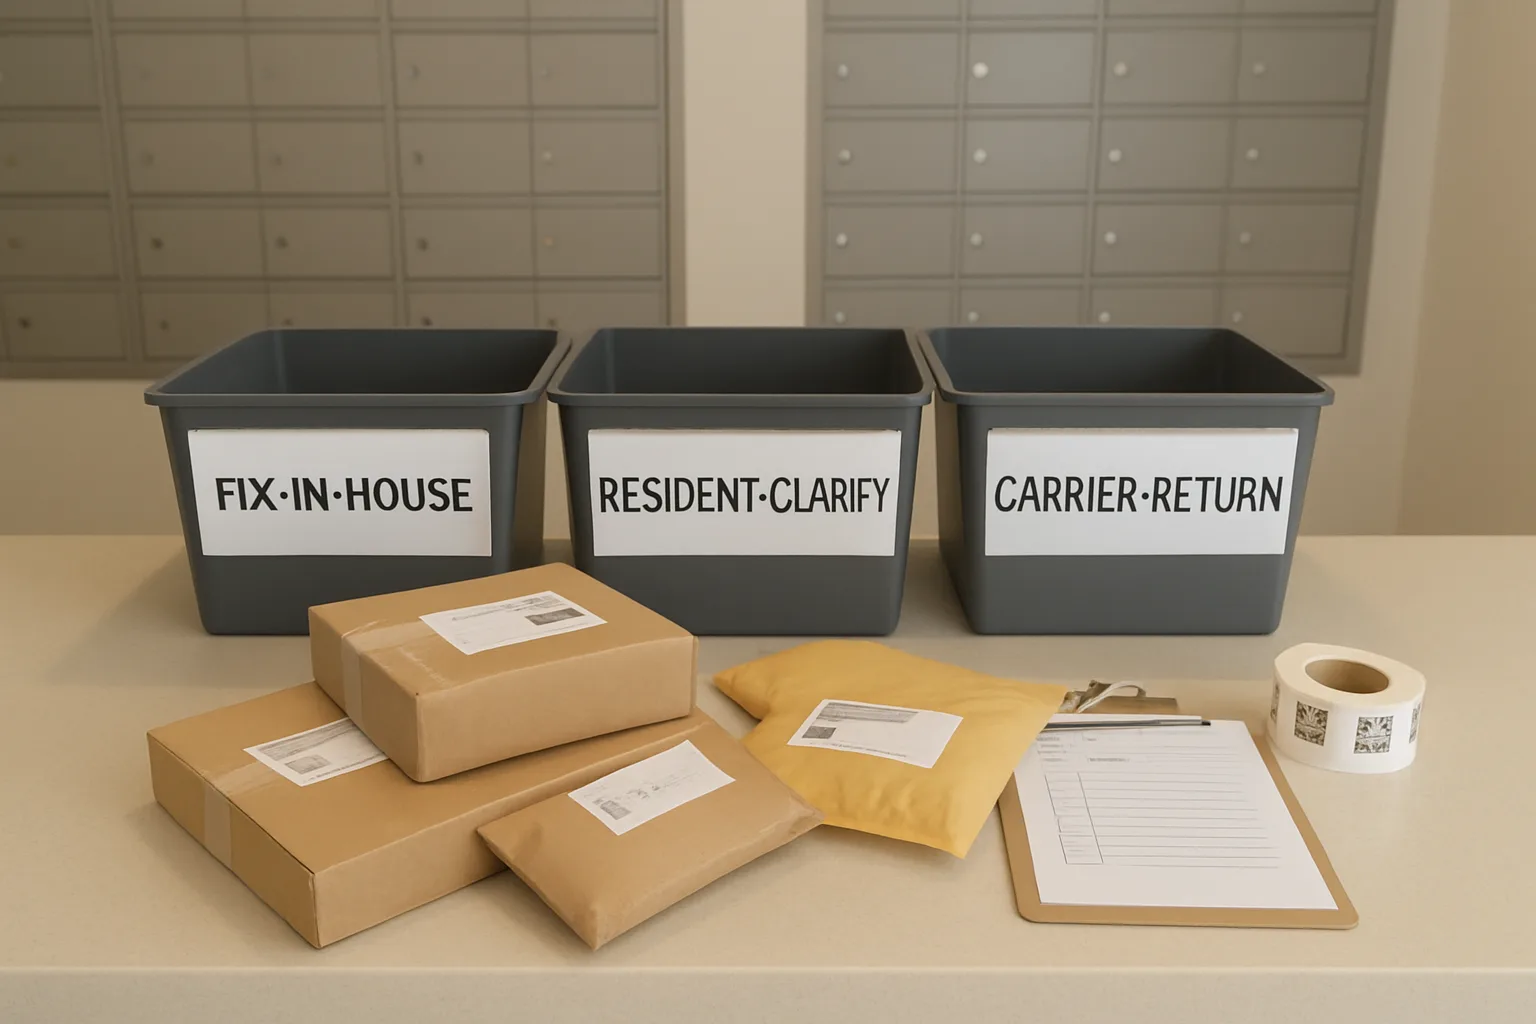
Intake Checklist: 60-Second Label Read + What to Stamp/Tag Immediately
This intake routine is designed for speed and defensibility. The goal is to capture the right facts once, at the moment the box hits the desk, so you don’t re-handle the same missing apartment unit package three times across shifts. Treat every unclear label the same way: read, record, tag, stage. No guessing, no “I think that’s for 4B,” and no repackaging.
Use one consistent intake surface (front desk counter, mailroom table) with the same tools every shift: a pen, a date stamp (or pre-printed received stickers), a “triage” tag sticker, and access to your resident roster. If you’re using a package log or scanning app, the same fields below apply—capture them before the package leaves your hands.
- 60 seconds total: 40 seconds to read/capture, 10 seconds to run mismatch checks, 10 seconds to tag and stage.
- If you can’t finish intake in one touch, pause and stage it in an “Unprocessed” bin—don’t mix it into any bucket zone until it’s logged and tagged.
- Do not write on the shipping label itself. Add your own tag/sticker on a clear area of the box (or on the poly mailer) without covering barcodes.
The 60-second label read: fields to capture (name, street, unit, tracking, carrier, notes)
Read the label top-to-bottom once. Your job is not to solve it at intake—your job is to record what’s there so classification later is fast and consistent. Capture the following fields exactly as printed (including misspellings).
Minimum fields to capture in your package log (paper or digital):
1) Recipient name as printed (include initials, middle names, or business names)
2) Street address line(s) as printed (including building number, street name, “Apt/Suite/Unit” text)
3) Unit field as printed (even if blank—record “unit missing”)
4) City/State/ZIP as printed
5) Tracking number (or unique shipment ID)
6) Carrier (UPS/USPS/FedEx/Amazon/other) and service level if shown
7) Sender name (helpful when residents use nicknames)
8) Delivery timestamp (label scan time and/or when your desk receives it)
9) Any delivery instruction text (e.g., “LEAVE WITH CONCIERGE,” “ATTN: MAILROOM,” “C/O,” “RECEPTION”)
10) Condition notes (damaged, opened, leaking—if present) and oversized flag (yes/no)
Quick mismatch checks: building address variants, common nicknames, duplicate streets, old property names
Before you tag the package, run quick “sanity checks” that catch the most common sources of incorrect address deliveries without turning intake into detective work. These checks should take 10 seconds when you know what you’re looking for.
Quick checks to run every time the unit is missing or the label looks off:
Building address variants (same building, different formatting)
– Does the label use an alternate street suffix (Street vs St, Avenue vs Ave) that is still clearly your property?
– Does it list an old property name, phase name, or building nickname that residents/senders still use?
– Does it list the leasing office address when residents should use the residential address (or vice versa)? Record it—don’t correct it yet.
Duplicate/nearby streets and similar building numbers
– If your city has similar street names (e.g., “W 10th” vs “10th Ave,” “Main St” vs “Main Ave”), flag it as potential wrong property.
– If there’s a neighboring building with a close number (120 vs 102, 800 vs 880), flag it.
Common nickname patterns (not a full search—just recognize them)
– First-name-only labels, handles, or shortened names (“Mike,” “Jen,” “KJ,” “AJ”).
– “Care of” (C/O) shipments and gifts (“C/O Concierge,” “C/O [another name]”).
– Corporate or department labels (“HR Dept,” “Front Desk,” “The Smith Family”).
What to do with the result of the quick check
– If the street/ZIP clearly doesn’t match your building, don’t spend time searching residents. Tag it for likely return review and move it out of the main flow.
– If the address is clearly your building but the unit is missing/ambiguous, keep it moving through triage with clean notes (e.g., “Addr match; unit missing; name printed: JEN”).
Immediate tagging: date/time received, triage bucket placeholder, initialer accountability
Tagging is what stops the “mystery pile” from becoming permanent. Every item gets a received mark and a triage placeholder even if you haven’t decided the final bucket yet. The tag creates accountability across shifts and makes aging rules enforceable.
Tag/stamp every package immediately with:
– Received date/time (use a stamp or a consistent “REC’D: YYYY-MM-DD HH:MM” format)
– Your initials (who touched it last)
– Intake status: “TRIAGE” (meaning it has not been fully classified) or the best-fit placeholder bucket (A / B / C) if obvious
– One short reason code (keep it short so it’s readable at a glance). Examples:
– “UNIT MISSING”
– “NAME NO MATCH”
– “ADDR CONFLICT”
– “OLD PROPERTY NAME”
– “C/O”
– “SUITE/UNIT UNCLEAR”
If you use a paper tag sticker, a simple consistent format works:
– REC’D: ____ / ____ INIT: ____
– STATUS: TRIAGE (A/B/C when set)
– REASON: __________
Important guardrails
– Do not write a guessed unit on the package.
– Do not cross out carrier information.
– If a resident later confirms details, record the confirmation source in the log; only then can the package be re-tagged into the final bucket.
Where to stage each bucket physically to avoid commingling (shelf/zone rules)
Physical staging is half the SOP. If you commingle unclear packages with ready-to-pickup packages, you create mis-deliveries and “I never got a notification” disputes. Use separate shelves/zones with clear signage so any staff member can walk up and understand the state in two seconds.
Recommended staging zones (even in a small package room):
Zone 0: Unprocessed (intake overflow)
– Anything not yet logged/tagged. Goal: empty this first.
Zone A: Fix-in-house candidates (verified-match ready)
– Items that appear solvable quickly once you perform verification steps.
– Keep this zone close to the main pickup shelves because it should turn fast.
Zone B: Resident-clarify holding
– Items awaiting resident confirmation (missing unit, nickname, roommate label).
– Keep separate from pickup shelves; residents should not have self-access unless your policy allows it.
Zone C: Return/Carrier attention
– Items with conflicting or unverifiable address signals.
– Keep physically separated to prevent accidental release.
Shelf/zone rules that prevent commingling
– One package = one home. Never move it between zones without updating the log (and updating the tag status).
– Face tags outward so “REC’D date” and “STATUS” are visible without touching the item.
– Use an “Aging line” on each zone: oldest items in front. This makes daily sweep decisions faster and consistent.
– Oversized items: designate a floor outline or oversized rack that still follows A/B/C separation—oversized is not a separate bucket; it still needs a triage status.
Shift-handoff minimum
– At shift change, the outgoing staff should be able to point to each zone and state: “This is Unprocessed, this is A, this is B awaiting resident replies, this is C pending carrier return,” with counts that reconcile to the log.
Decision Tree: Classify Every Bad Label in Under 2 Minutes
Goal: every missing apartment unit package (or otherwise ambiguous label) gets a bucket assignment in one pass: Bucket A (Fix-in-house), Bucket B (Resident-clarify), or Bucket C (Carrier-return). The fastest teams don’t “research”; they run a consistent sequence of yes/no checks, stop at the first fail, and start the correct timer.
Use this as a stand-up decision tree at intake. If you can’t reach a confident “yes” at a step, don’t guess—route it to the bucket tied to that failure condition and move on.
- Before you start: have these tools ready (no hunting): current resident roster (with move-in/move-out dates), approved alternates list (roommates/authorized pickup), internal address map (official street formatting + ZIP), and your package log screen or paper log.
- Hard stop rule: if you hit a conflict you can’t resolve from approved sources in under 2 minutes, stop and assign the bucket. You can always revisit during the next sweep, but don’t create a permanent “maybe” pile.
Step 1: Is the street address unquestionably this building?
Look only at whether the delivery location is clearly your property. This is where most incorrect address deliveries get caught early.
Pass = you are confident the carrier intended this building (even if the unit is missing). Fail = anything that suggests another property could reasonably be the correct destination.
Step 1 pass/fail checks (fast)
Pass if ALL are true: (1) street number matches your building, (2) street name matches your official address (allowing common abbreviations), (3) city/state align, and (4) ZIP is your ZIP or a known carrier-printed variant you’ve documented.
Fail immediately (route to Bucket C) if ANY are true: different street number (even by one digit), different street name (not an abbreviation), different city, a ZIP that corresponds to another nearby property, or the label shows two different address lines that point to different locations (for example, “123 Oak St” plus a second line that names a different property).
Step 2: Does the resident name match a current roster entry (including approved alternates)?
Now decide whether the addressee can be tied to a real, current resident record—without “creative interpretation.” You’re not trying to identify the person; you’re trying to verify them against an approved source.
Pass = the name matches a current resident or an approved alternate tied to a current unit. Fail = no match, or the only match is to a past resident (moved out) or a unit that’s not current.
Step 2 pass/fail checks (fast)
Pass if ONE of these is true: exact match to a current leaseholder name; exact match to an authorized occupant/roommate listed for a current unit; exact match to a documented “preferred/alternate name” on file (for example, hyphenated/maiden name recorded by management).
Conditional pass (still Bucket B unless unit is certain): last name matches a current household AND first name appears as a common nickname variant already documented by the resident in writing. If it’s not documented, treat it as a mismatch.
Fail (route to Bucket C unless Step 1 and other evidence strongly point to a current resident—then Bucket B): name matches only a former resident, corporate sender employee name with no resident tie, initials only with no roster tie, or a name that matches multiple current residents with no other differentiator on the label.
Step 3: Is there a single, verified unit candidate?
This is the fork that separates Bucket A from Bucket B. You’re deciding whether staff can safely “fix in house” (A) or whether you need the resident to clarify (B).
Pass = there is exactly one unit that can be verified from an approved source without guessing. Fail = multiple plausible units or no verified unit.
Step 3 pass/fail checks (fast)
Pass (Bucket A) when you can point to ONE verified unit based on approved sources, such as: the resident roster directly lists the unit; the package label includes a unit that exists in your building and matches that resident’s record; a standing delivery instruction on file (written) ties that name to that unit. Log the source you used.
Fail (Bucket B) when: the unit is missing; the unit is illegible; the unit format is ambiguous (for example, “12” could mean 012, 120, 1200); the name matches multiple households; or the label says “Front Desk / Concierge” without a unit and the resident match is not unique.
Fail (Bucket C) when: the unit provided does not exist in your building AND the street address is questionable OR the name doesn’t match any current resident/alternate. That combination is a classic “wrong building” signal.
Common edge cases (how to bucket them without debate)
Use these as tie-breakers so teams make the same call every time. The point is consistency, not cleverness.
Resident name mismatch, nicknames, maiden names
If the last name matches a current resident but the first name is different: Bucket B unless the alternate name is documented on file. Do not assume nicknames (for example, “Peggy” for “Margaret”) unless your building maintains an explicit list.
If the label shows a maiden/hyphenated name not on file: Bucket B (resident-clarify). Ask the resident to confirm the exact name string used for shipping going forward.
Roommates, partners, and “care of” (c/o)
If the addressee is “c/o [current resident name]” and the current resident name is unique with a known unit: Bucket A (Fix-in-house) if the unit is verified from the roster; otherwise Bucket B.
If the addressee is a roommate/partner not listed as an authorized occupant or alternate: Bucket B. Don’t “add” them informally by repeatedly routing as Bucket A—use the clarification to update records or enforce your authorization policy.
Corporate senders, vendors, and “attention:” lines
If the label reads like a business shipment (for example, “ATTN: [name] Leasing Office”) but it arrived at the resident package room/front desk: treat it as Step 1/Step 2 dependent. If it’s clearly for building operations, route through your internal receiving process (not resident triage). If it’s addressed to a person with no roster match: Bucket C.
If it’s addressed to a resident name plus an “ATTN” line that doesn’t match anyone: ignore the ATTN for identity and follow the resident name + verified unit rules.
Suite vs unit, building numbers, and internal formatting quirks
If the label says “Suite” but your property uses “Unit” (or vice versa), treat them as equivalent ONLY when the number maps cleanly to a real unit and the resident name matches that unit. Otherwise Bucket B.
If the unit includes letters (for example, “12B”) and your building has both “12B” and “120B”-type patterns, don’t interpret—Bucket B unless the roster confirms one exact unit for that name.
Concierge instructions (e.g., “leave with doorman,” “hold at desk”)
These instructions do not substitute for a unit. If the resident identity and unit are verified: Bucket A. If identity is likely but unit is missing/ambiguous: Bucket B. If the address is questionable: Bucket C.
Never treat “deliver to concierge” as permission to assign a unit based on past pickups. Use it only as a handling instruction after the bucket decision is made.
Conflicting addresses: when to stop and return (Bucket C)
Conflicts are the fastest path to a defensible return because they create real risk of misdelivery. Don’t try to “solve” a conflict with internet searches or resident guessing.
Route to Bucket C immediately if you see any of the following
Two different street names/numbers on the same label (often a copied address line plus a corrected one).
Wrong ZIP that matches a different nearby property, especially if the street number also resembles that other property.
Neighboring property name or old property name that is not yours AND the street address doesn’t cleanly match your official address record for the package room/concierge entrance (treat as incorrect address deliveries).
Similar building numbers / duplicate streets (the local trap)
If your area has “123 Main St” and “123 Main Ave,” or multiple buildings sharing a campus name, require a clean match to your official street line. If not clean, Bucket C.
If the address matches your building but the label includes another property’s name in the attention line (for example, a different community name): Bucket B only if the resident name matches your roster and you can verify a unit; otherwise Bucket C.
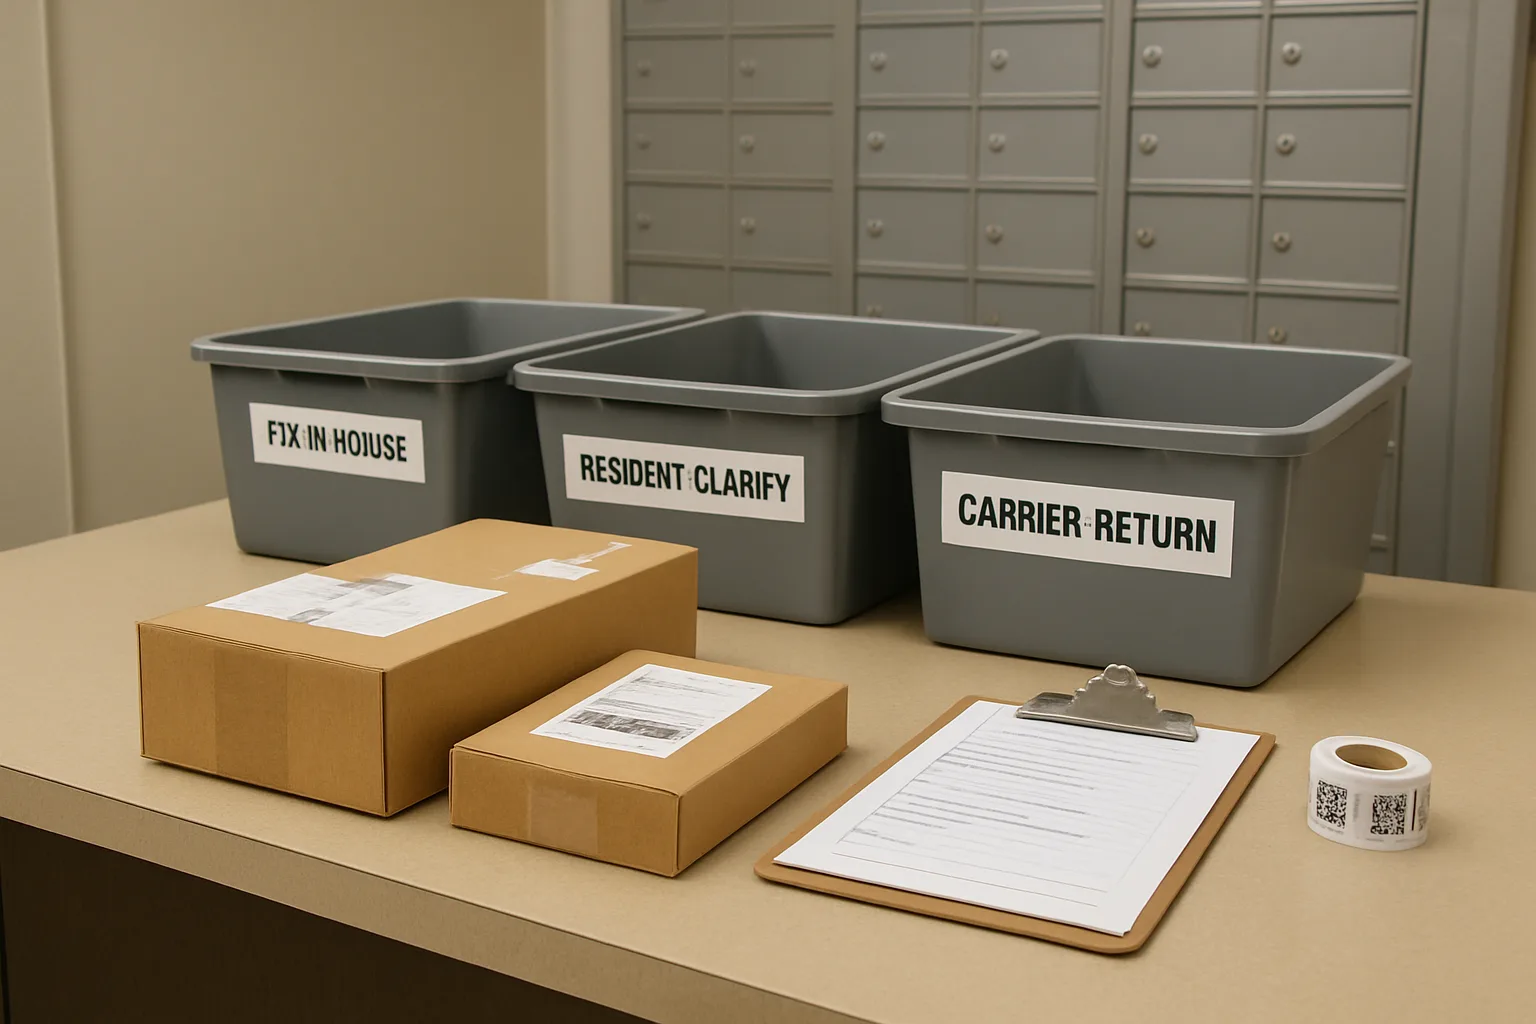
Bucket Playbooks: Exact Scripts, Actions, and What to Log
This is where the “3-Label Triage” becomes defensible operations: each bucket has (1) an allowed action set, (2) a resident/carrier script, and (3) a minimum log standard. The goal is to resolve every missing apartment unit package without guessing, without creating side conversations across shifts, and without letting incorrect address deliveries become a permanent shelf category.
Use the playbooks below as copy-and-paste front desk SOP text. Adjust only the contact channels (SMS/email/portal) and your building’s return cadence—keep the verification rules consistent so the team’s decisions hold up later.
- Golden rule for all buckets: release only to a verified recipient or verified unit. If you cannot verify, move the package forward by timer (clarify window or carrier return).
- Never “solve” ambiguity by handwriting a unit number based on memory, social media, or a neighbor’s suggestion.
- Do not open packages. Do not move inner contents. Do not cover the original label.
- If a resident is upset, anchor on process: “We can’t release a package without a verified match. Here’s what we can do next.”
Bucket A (Fix-in-house): approved sources for verification and how to document them
Use Bucket A when the package clearly belongs in the building and you can create a verified unit match with minimal risk. This is the fastest path to resolution—but only if the verification source is on your approved list and you can document it in one line.
Bucket B (Resident-clarify): SMS/email/phone scripts, what questions to ask, and how to prevent ‘not mine’ loops
Use Bucket B when it’s likely for a current resident but the unit is missing/ambiguous or the resident name mismatch prevents a safe release. Your job is to ask the smallest set of questions that produces a verifiable match—then stop.
Bucket C (Carrier-return): carrier desk scripts, refusal vs return, and how to note ‘incorrect address deliveries’ without blame
Use Bucket C when the address is conflicting, unverifiable, or points to another property (including similar street names, wrong building number, wrong ZIP, or a business suite vs apartment unit confusion that you cannot validate). The goal is to remove it from your chain of custody on a predictable cadence and record exactly why.
Carrier relabeling: when it’s allowed, who can authorize, and what proof to require
Relabeling is where buildings get into trouble. Treat any new label as a chain-of-custody change: allowed only with proof, only by authorized staff, and only when the original label remains visible or is preserved (photo/log). If you can’t meet the proof standard, do not relabel—route to Resident-clarify or Carrier-return.
Logging template: minimum fields for defensibility (who/what/when/why)
Your log is the difference between a clean resolution and an argument later. Log the minimum fields every time the package changes bucket, a resident is contacted, a carrier is contacted, the label is altered, or the item leaves your custody. Keep entries short, factual, and repeatable across shifts.
CTA
Want a cleaner, more accountable package room? Turn this triage method into a building-ready checklist your team can follow on every shift—same buckets, same timers, same logs—so ambiguous deliveries stop becoming permanent clutter.
Make the decision fast, make it consistent, and make it provable
A dead-letter shelf becomes permanent when the building treats ambiguous labels like exceptions. They’re not. They’re predictable—and a front desk SOP should handle them the same way every time: read the label, choose the bucket, start the timer, take the next action, and log the why.
When your team uses the same three buckets for every missing apartment unit package—Fix-in-house, Resident-clarify, or Carrier-return—you reduce resident back-and-forth, stop re-checking the same boxes across shifts, and create a clean chain of custody. Just as important, you can show defensible, timestamped actions when a resident name mismatch or conflicting address turns into a complaint: what you verified (or couldn’t), who you contacted, how long you held it, and when it left your control.
Adapt the scripts and timers to your building’s realities, but keep the red lines intact: don’t guess, don’t “release on vibes,” don’t relabel without a verified source, and don’t let anything live off-timer. Consistency is what turns package chaos into a controlled, auditable process.