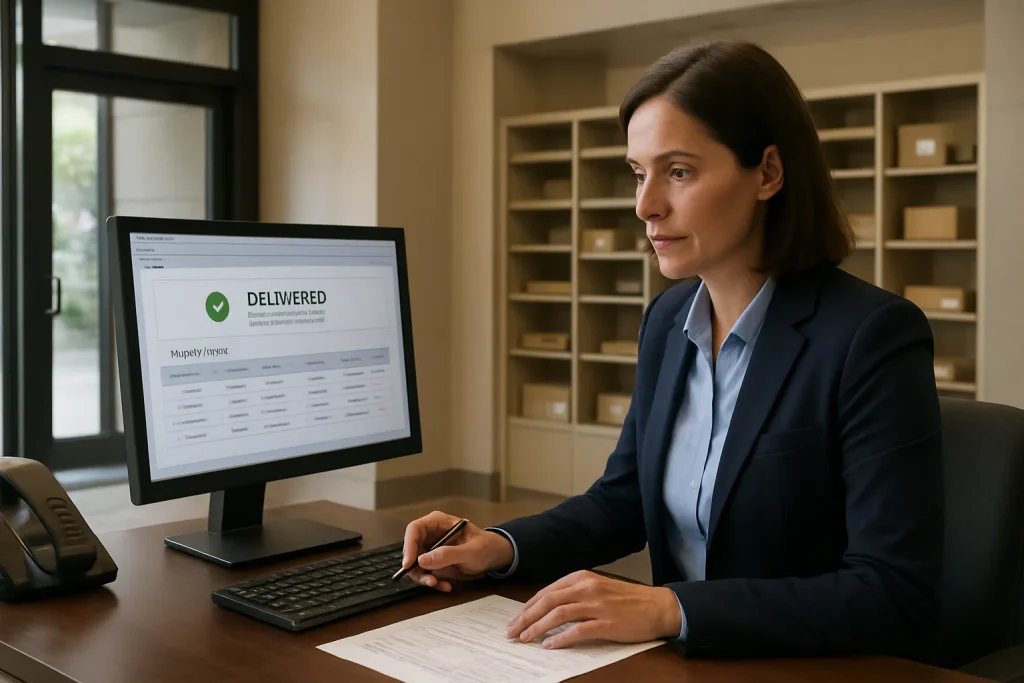
When a resident says, “You lost my package,” the fastest way to reduce friction (and liability exposure) is to stop debating intent and start reconstructing events. The goal of package dispute resolution apartment front desk teams is simple: produce a clear, auditable timeline that shows what happened, what you can prove, and what remains unknown.
This playbook is designed for the Monday-morning moment: a complaint lands, emotions are high, and you need a repeatable delivered but not received workflow that results in documentation—without overpromising legal outcomes.
Step 1: Pull evidence in the right order (fastest path to the truth)
Start with records that establish custody changes. Each handoff is a decision point; your job is to find the first “break” in the chain.
1) Carrier scan + delivery proof (establishes “delivered to building” vs not)
- What to pull: carrier tracking page, delivery timestamp, delivery location notes (e.g., “Front desk,” “Mailroom”), photo if provided, signature name (if any).
- Why first: if it never reached your property, everything else is secondary.
- Red flags: scan shows “Delivered” but address is off by one digit; photo shows a different lobby; timestamp is outside desk hours.
2) Desk intake record (proves received into your custody)
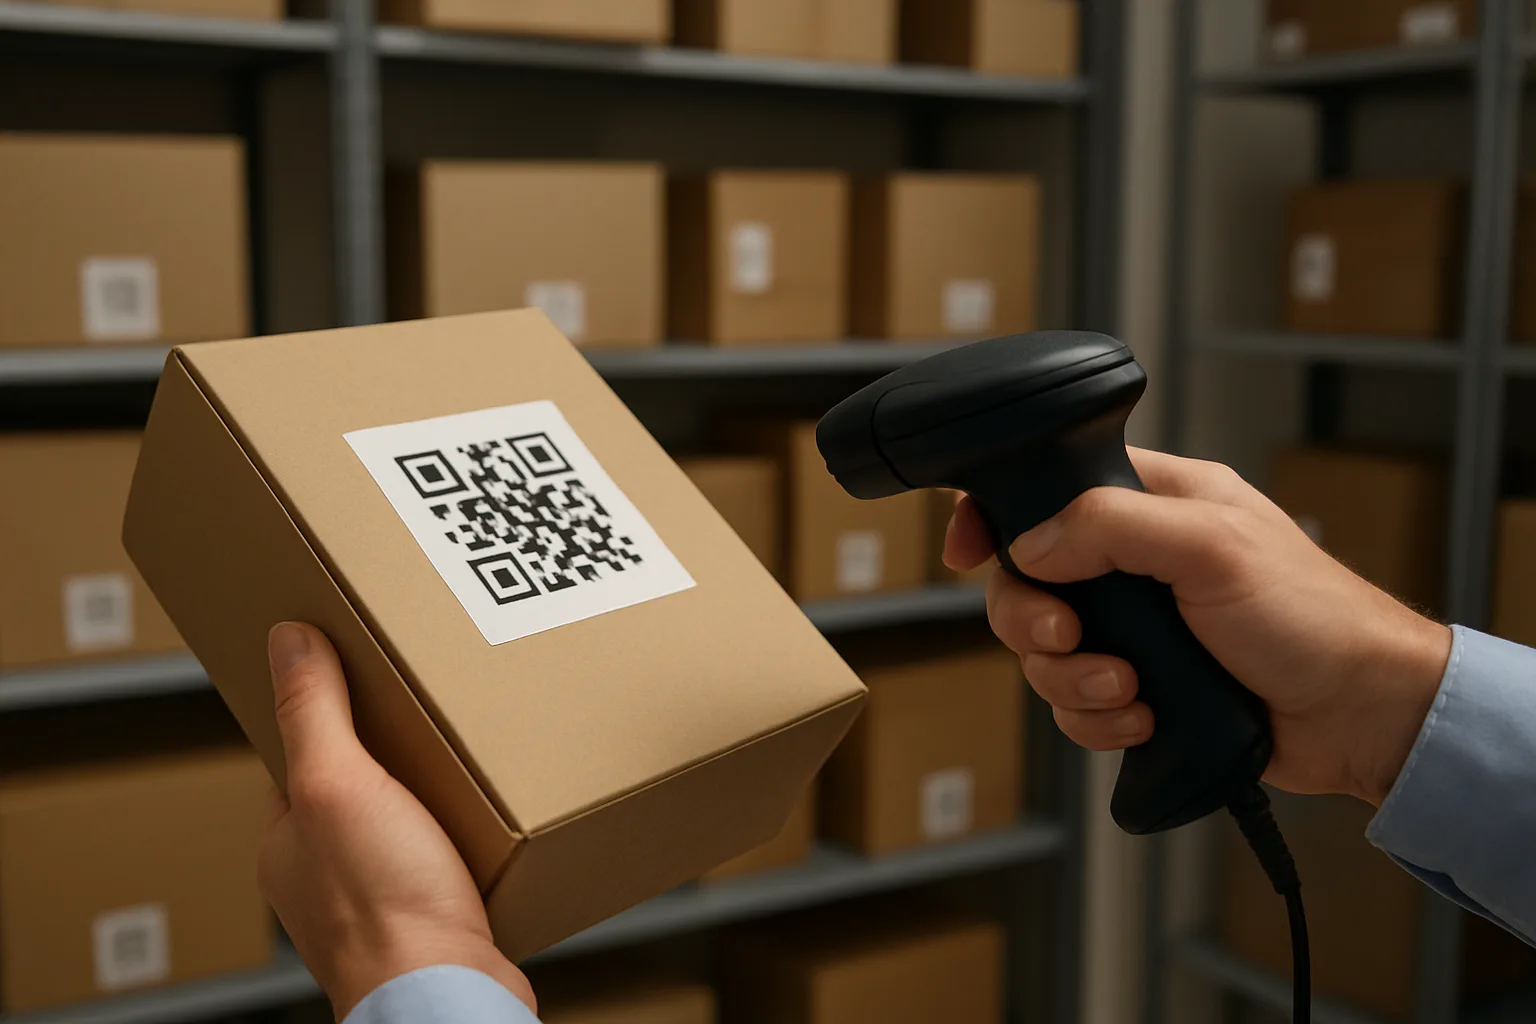
- What to pull: package log entry, QR label scan, staff initials, intake photo (if you capture one), exception notes (“left at side door”).
- Why second: it answers the core question: did the building accept custody?
- Minimal evidence standard: one reliable timestamp + identifiable package details (carrier + tracking last 4, resident name/unit, and staff/scan source).
3) Storage location record (proves where it should have been)
- What to pull: shelf/bin assignment, mailroom zone, cage/locker ID, who placed it, and when.
- Why third: most “missing” disputes are really mis-shelved disputes.
4) Pickup verification (proves release and to whom)
- What to pull: pickup timestamp, recipient identity verification method (ID check, signature, resident QR), who released it, and any exceptions (“roommate pickup approved”).
- Why fourth: release is the highest-risk step; your documentation must be strongest here.
- Minimal evidence standard: a release record that ties package ID to a person + method (signature/ID/QR) + releasing staff member.
Step 2: Build a timeline that an auditor (and a resident) can follow
In audited environments, the difference between “we think” and “we can show” matters. Government audit guidance repeatedly emphasizes documentation, internal controls, and traceable records as the backbone of accountability (see the Inspector General audit report at gpo.gov for an example of how auditors evaluate control breakdowns and recordkeeping).
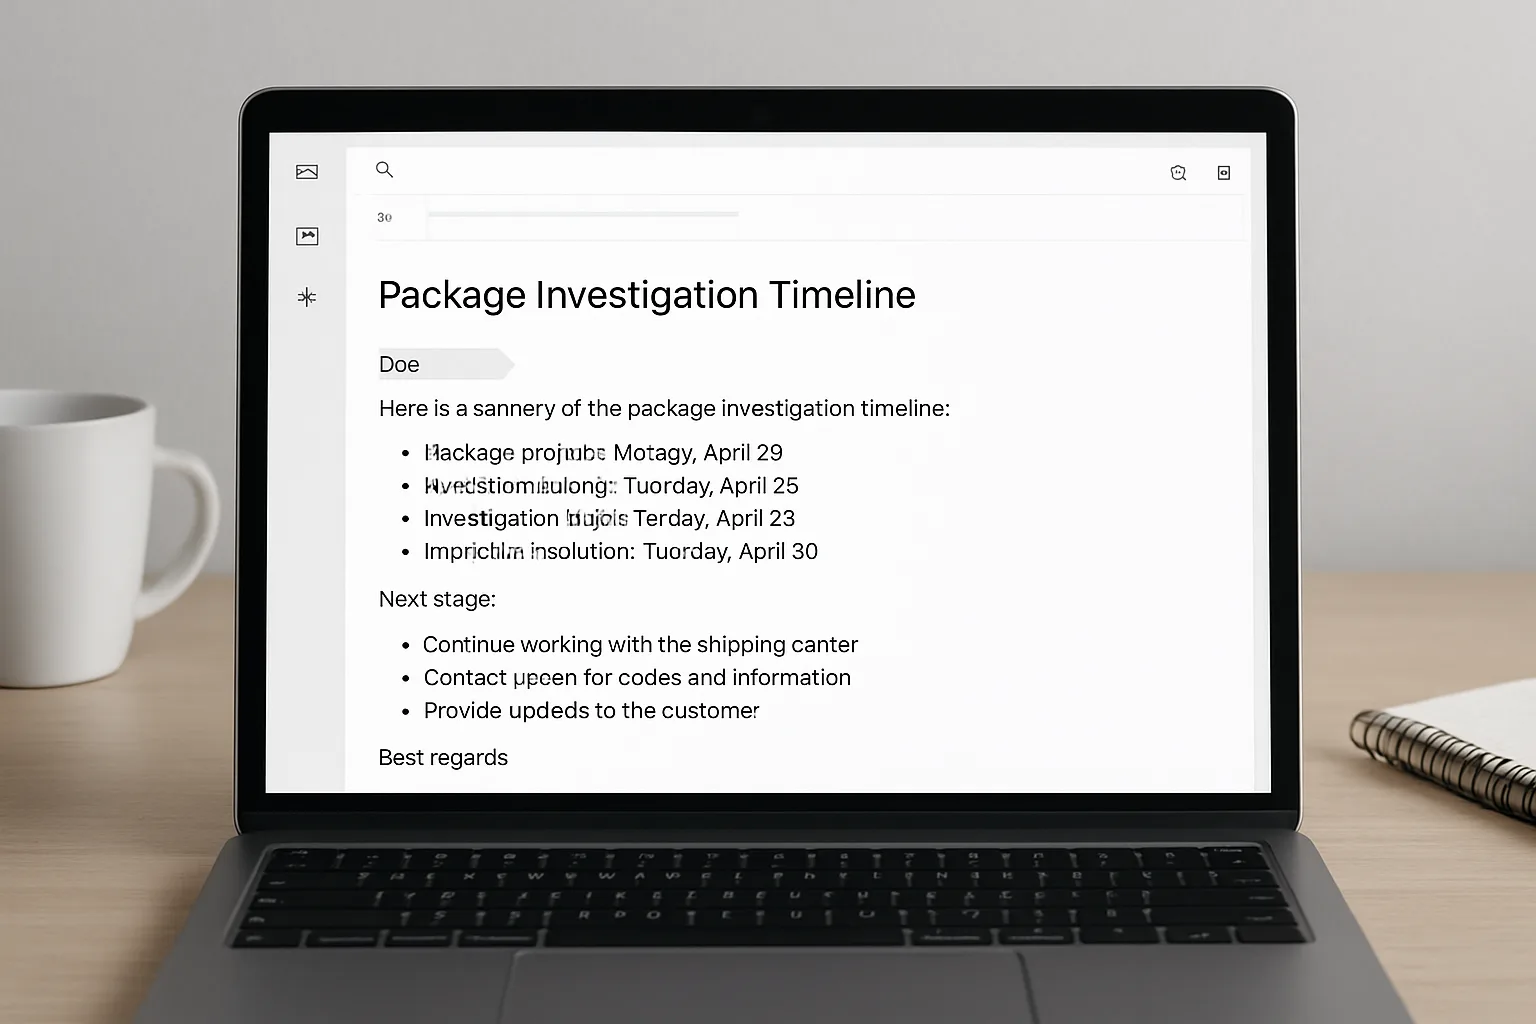
Use a simple, consistent “timeline table” structure—even if you’re building it in an email or ticket. Include four fields every time:
- Timestamp: exact time (and timezone) or best-available window
- Actor: carrier/desk staff/resident/unknown
- Source: tracking page, QR scan log, camera bookmark, desk notebook, locker system, etc.
- Confidence level: High / Medium / Low, based on record quality
Timeline template (copy/paste)
- [YYYY-MM-DD HH:MM] | Actor: Carrier | Source: Tracking “Delivered” scan + photo | Confidence: High
- [YYYY-MM-DD HH:MM] | Actor: Front desk (J.S.) | Source: QR intake scan + label ID # | Confidence: High
- [YYYY-MM-DD HH:MM] | Actor: Front desk (J.S.) | Source: Storage assignment: Shelf B-3 | Confidence: Medium (manual entry)
- [YYYY-MM-DD HH:MM] | Actor: Resident (or proxy) | Source: Pickup verification: resident QR + staff release (A.K.) | Confidence: High
- [YYYY-MM-DD HH:MM] | Actor: Unknown | Source: Camera review pending (Lobby cam 2) | Confidence: Low
Operational insight: Confidence levels keep your team honest. They also help residents understand why you can’t treat guesses as facts.
Step 3: Classify what happened (so your response is consistent)
Once the timeline is built, classify the outcome. This prevents vague “accountability” talk and pushes you to a specific resolution path.
A) Never received by desk
- What the timeline shows: Carrier marked delivered, but no intake record; delivery timestamp outside staffed hours; delivery photo doesn’t match property.
- Next actions: request carrier GPS/delivery detail; check camera for delivery window; document “no custody acceptance.”
B) Received but mis-shelved (most common operational miss)
- What the timeline shows: Intake exists; storage location missing/inconsistent; package not found in expected zone.
- Next actions: conduct a structured search (same carrier, same date, similar unit numbers); re-scan shelves; reconcile “unassigned” pile.
C) Released to wrong person (failure in package pickup verification)
- What the timeline shows: Pickup recorded but verification method is weak (“verbally confirmed”), or proxy not authorized.
- Next actions: pull release staff statement; lock down release policy; preserve camera clip; notify management immediately.
D) Theft after release (delivered to resident area, then stolen)
- What the timeline shows: Locker/desk release confirmed to resident; resident reports theft later.
- Next actions: provide resident documentation; advise on carrier/retailer claim; offer to coordinate camera review where allowed.
E) Carrier misdelivery (delivered to wrong building/unit)
- What the timeline shows: Carrier scan doesn’t match address; photo shows different doorway; carrier admits route error.
- Next actions: document and route resident to carrier claim; note that building did not take custody.
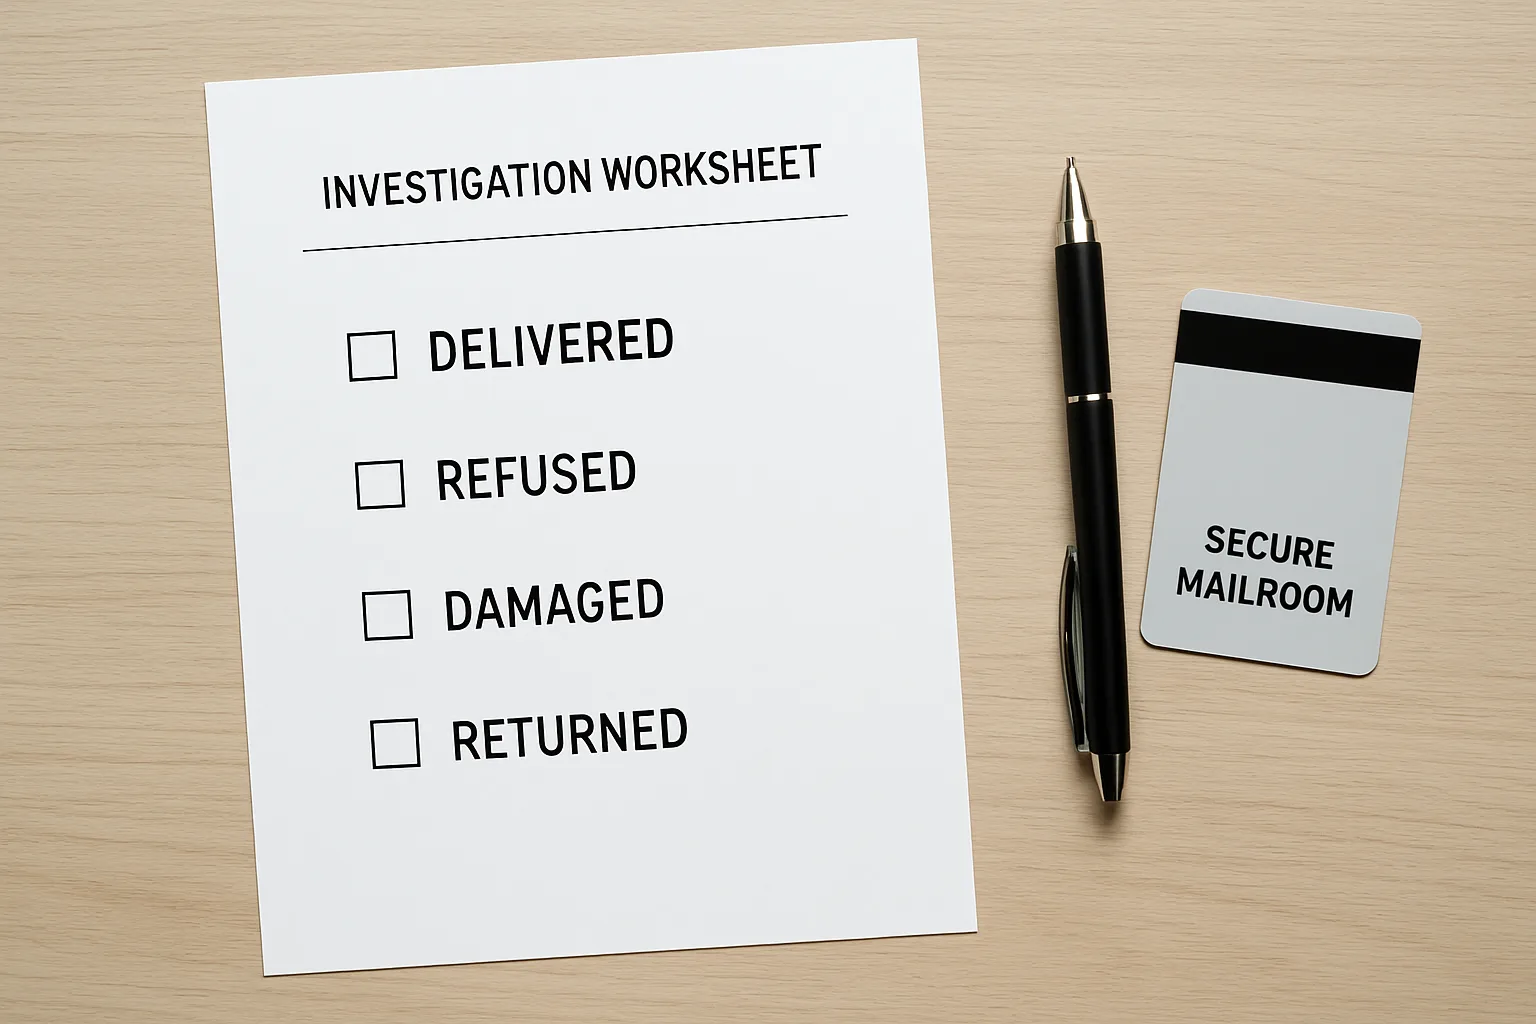
Step 4: Run the “delivered but not received” workflow (a checklist you can follow)
Use this package investigation checklist to keep staff aligned and avoid rework.
- Open a case: assign case ID, resident name/unit, tracking number, and promised update time.
- Freeze edits: export/download logs (intake/release) so later corrections don’t muddy the record.
- Pull the four evidence anchors: carrier scan, intake record, storage record, pickup verification.
- Build the timeline: add confidence levels; note gaps plainly.
- Search systematically (if intake exists): check same-day intakes, similar unit numbers, oversize area, returns shelf, and mislabels.
- Camera review (if applicable): bookmark clips by timestamp; record which cameras were checked and which were unavailable.
- Classify outcome: pick one category; don’t blend multiple narratives.
- Close the loop: send the resident a written summary + next steps + what documentation you can provide.
- Process fix: log the control gap (e.g., missing shelf assignment) and update SOP/training.
Resident messaging: firm, helpful, and documentation-forward
Your message should do three things: (1) acknowledge the concern, (2) share what you can document, and (3) give the next step with a timeframe.
Message template (edit to fit your policy)
Hi [Resident Name],
We investigated the package you reported missing (Tracking: [####]). Here’s what our records show:
• [Timestamp] Carrier marked the item as delivered to [Front Desk/Mailroom] (carrier tracking record).
• [Timestamp] Our team [does/does not] have an intake scan/entry for this item (front desk package log).
• [Timestamp] [If applicable] The package was stored at [Location ID].
• [Timestamp] [If applicable] The package was released using [verification method] (release log).Based on this timeline, the most likely outcome is: [classification]. Next, we will [camera review / shelf re-audit / request carrier delivery detail] and provide an update by [time/date].
If the carrier record is the only proof of delivery and we have no intake record, you may also want to open a claim with the carrier/retailer. We can provide our documentation upon request.
Regards,
[Name/Title]
Keep it factual. Avoid statements like “We are not responsible” unless your management-approved policy requires it—and even then, pair it with what you can do next.
FAQ
What counts as an “audit-ready” package audit trail?
An audit-ready trail shows each custody change with a timestamp, who performed the action, and the source record (scan log, system entry, signature/ID/QR verification). It also preserves gaps transparently rather than filling them with assumptions.
How long should we keep package chain of custody records?
Follow your property’s retention policy and any owner/regulatory requirements. Operationally, keep records long enough to cover common dispute windows and chargeback/claim timelines, and ensure logs can be exported if systems change.
If the carrier says “delivered” but we have no intake record, what do we tell the resident?
Share the facts: the carrier scan exists, but the building has no custody record. Offer to check cameras for the delivery window if available, and provide documentation to support a carrier/retailer claim.
What is the minimum acceptable package pickup verification?
At minimum: a release record tying the package ID to the person receiving it, plus a verification method (resident QR code, signature, or ID check) and the releasing staff member/time. Stronger controls reduce “wrong person” disputes.
How do we handle a suspected mis-shelved package without wasting hours?
Search by pattern: same delivery date/time block, same carrier, similar unit numbers, oversize area, and returns shelf. Reconcile “unassigned” packages and review whether the storage-location step was skipped.
Should we promise reimbursement if we can’t find it?
No. Keep communications operational and evidence-based. Provide documentation, explain the classification, and route the resident to appropriate next steps (carrier/retailer claims, management review) according to policy.
CTA
If your front desk is handling frequent disputes, standardize the workflow: require a scan at intake, a recorded storage location, and a verified release. TrackNest-style processes (QR labels, consistent logs, and handoff checkpoints) make package disputes easier to resolve because the timeline is already there—you’re just exporting it.
Conclusion: Treat disputes like timeline reconstruction, not blame assignment
Effective package dispute resolution at an apartment front desk comes down to disciplined evidence ordering, a consistent timeline format with confidence levels, clear outcome classification, and resident messaging that sticks to documented facts. When you build your process around chain-of-custody documentation, you don’t just solve today’s complaint—you reduce the next one.